
Beef Brisket Recipe In The Oven
This beef brisket made in the oven is about as close as you can come to Texas-style smoked brisket without actually using a smoker. Juicy beef brisket is rubbed with an amazing dry rub and baked in the oven until tender. Learn how to make a great beef brisket right in your kitchen.
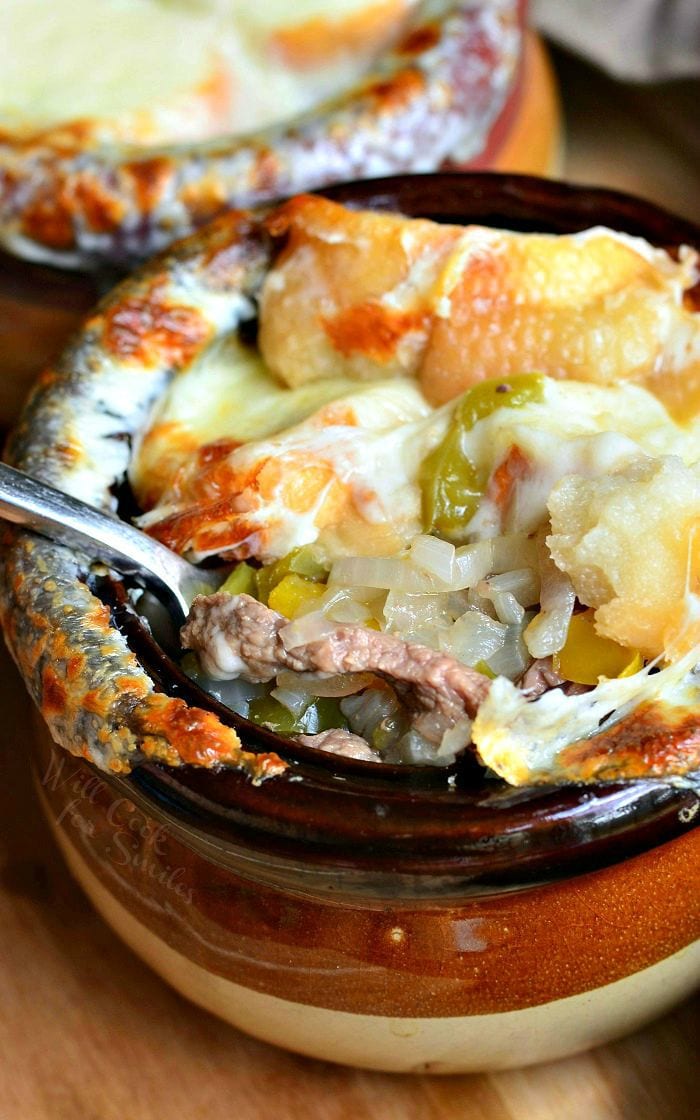
For this brisket and many other meats, I use my favorite Dry Rub recipe. Try making corned beef brisket in the oven as well, you won’t be disappointed. If you just love Beef Brisket in the oven, you must try my French Onion Beef Brisket.
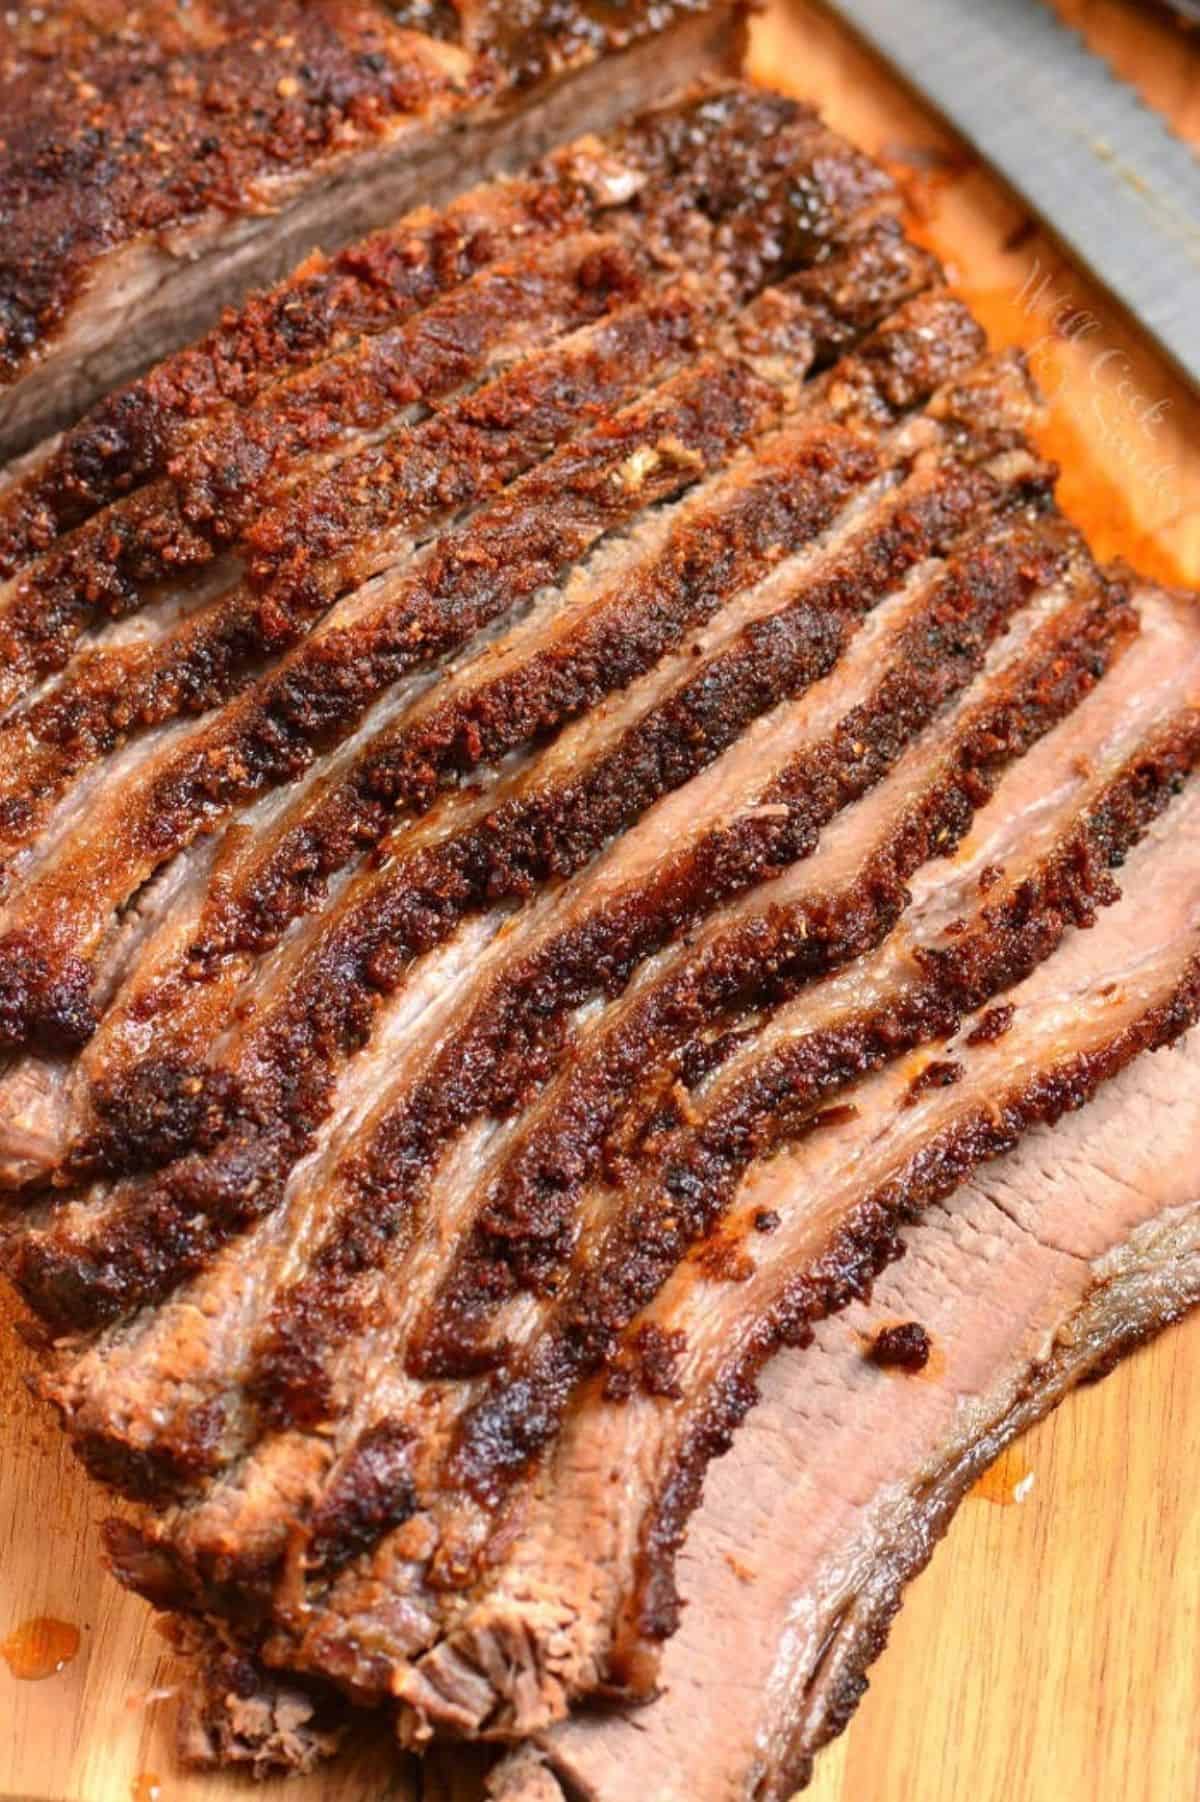
What Is Beef Brisket?
Beef brisket comes from the lower chest area of the cow. It’s a very tough cut of meat because it comes from the area where there is a lot of muscle and tendons. Because it’s a tough cut of meat, brisket should be cooked at low temperature for a long period of time.
There are two basic parts of the whole beef brisket. The bottom part of the brisket is called a “flat” and it doesn’t usually contain much fat at all. Top part of the brisket is called a “point” and it is mostly fat with very little meat on it.
Ideally, the whole brisket is cooked at the same time because the fat juices from the top point part seeps into the flat. This makes brisket flat meat juicier. Unfortunately, many grocery stores don’t carry the whole brisket but only carry the flat. (For the whole brisket, check your butcher shops.)
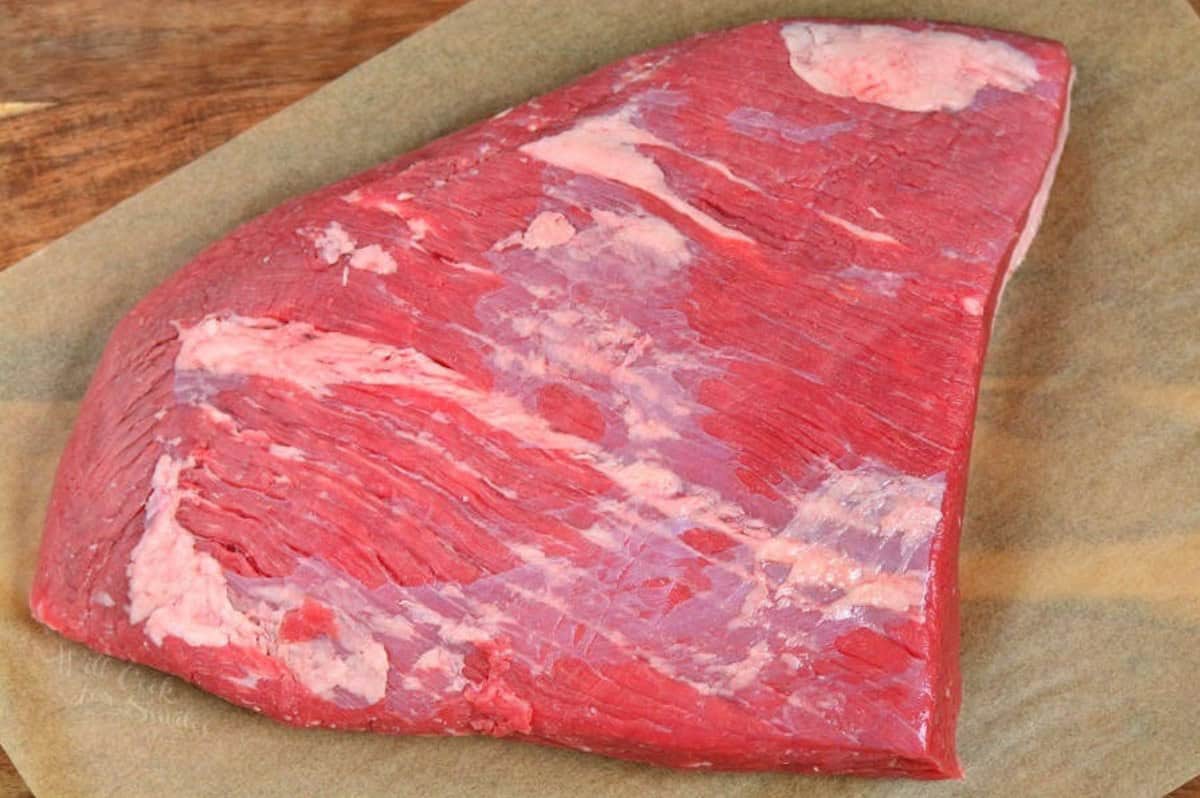
Because flat is much more common, I normally work with that cut. Try to get beef brisket that has a little more fat on top, in the fat cap. (Flat brisket cut still had a small fat cap on top.)
Of course, for best results and for a true Texas-style brisket, it should be cooked in a smoker. Since not everyone has a availability and time to slow cook the brisket in the smoker, I want to share my recipe for making the beef brisket in the oven.
Cooking Instructions For Juicy Beef Brisket
Note: Be prepared to start the brisket a day before cooking it. Giving it time to soak up the flavors from the dry rub overnight will give you a much better result.
Before Cooking (Up To 12 Hours Before)
- Let’s start with making our favorite dry rub, that should take a whole 5 minutes to make.
- Take brisket flat out of the package, lay it on a cutting board and pat it dry with a paper towel.
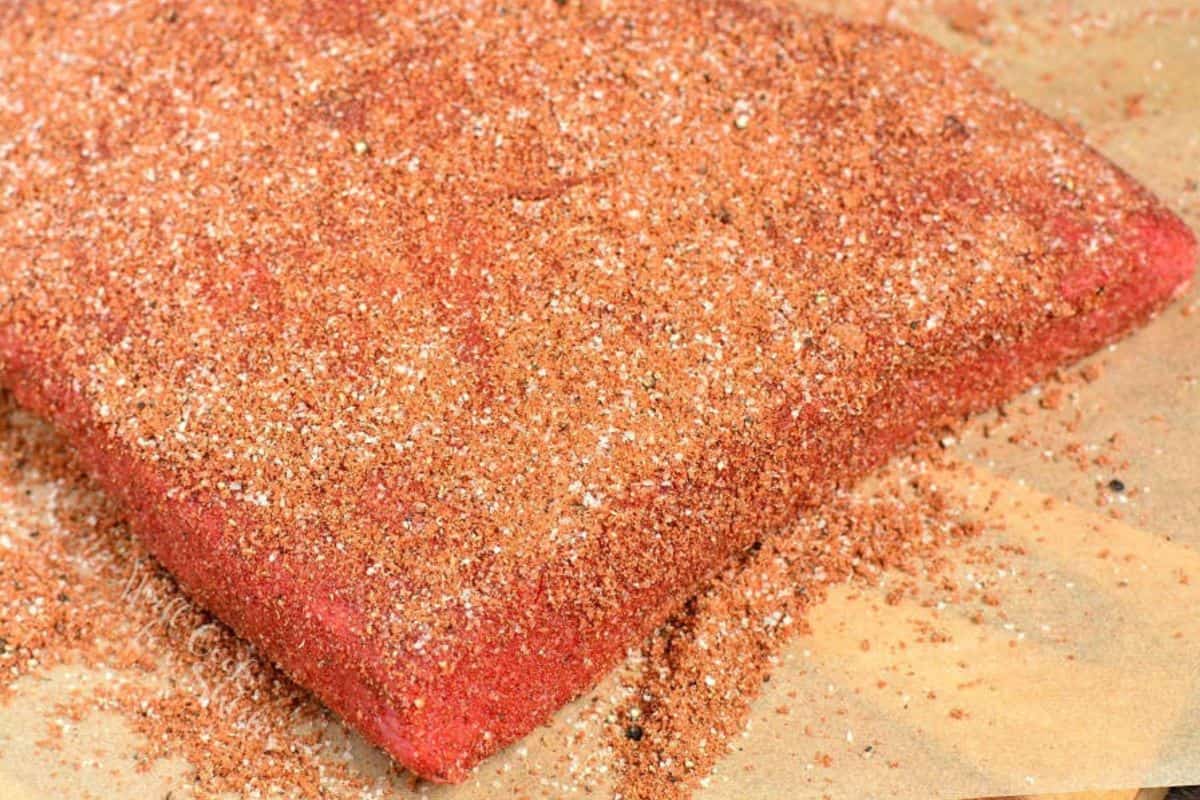
- Spread a generous amount of dry rub on top, flip the brisket over and spread a generous amount of dry rub over that. Make sure there is a good amount of seasoning and rub it all over all the sides of the brisket. Massage the rub into every nook and cranny and make sure it’s nicely coated all over.
- Wrap rubbed brisket in a couple of layers of foil, covering it tight. Place in a pan or a dish just in case some juices leak out, so that it doesn’t leak all over the refrigerator.
- Refrigerate the brisket overnight or up to 12 hours. Take the brisket out of the refrigerator an hour before cooking it, unwrap and let it get to room temperature.
Cooking Brisket
- Preheat oven to 300°F and place a rack inside the large roasting pan. Lay a couple of sheets of foil that are long enough to loosely cover the brisket, crisscross, on top of the rack. (You can layer the bottom of the roasting pan with aluminum foil to catch whatever drippings might leak through.)
- Place the brisket, fat cap up, in the middle of aluminum foil prepared in the roasting pan. Bring the aluminum foil together and close it, covering the brisket loosely, leaving a little space between the brisket and the foil.
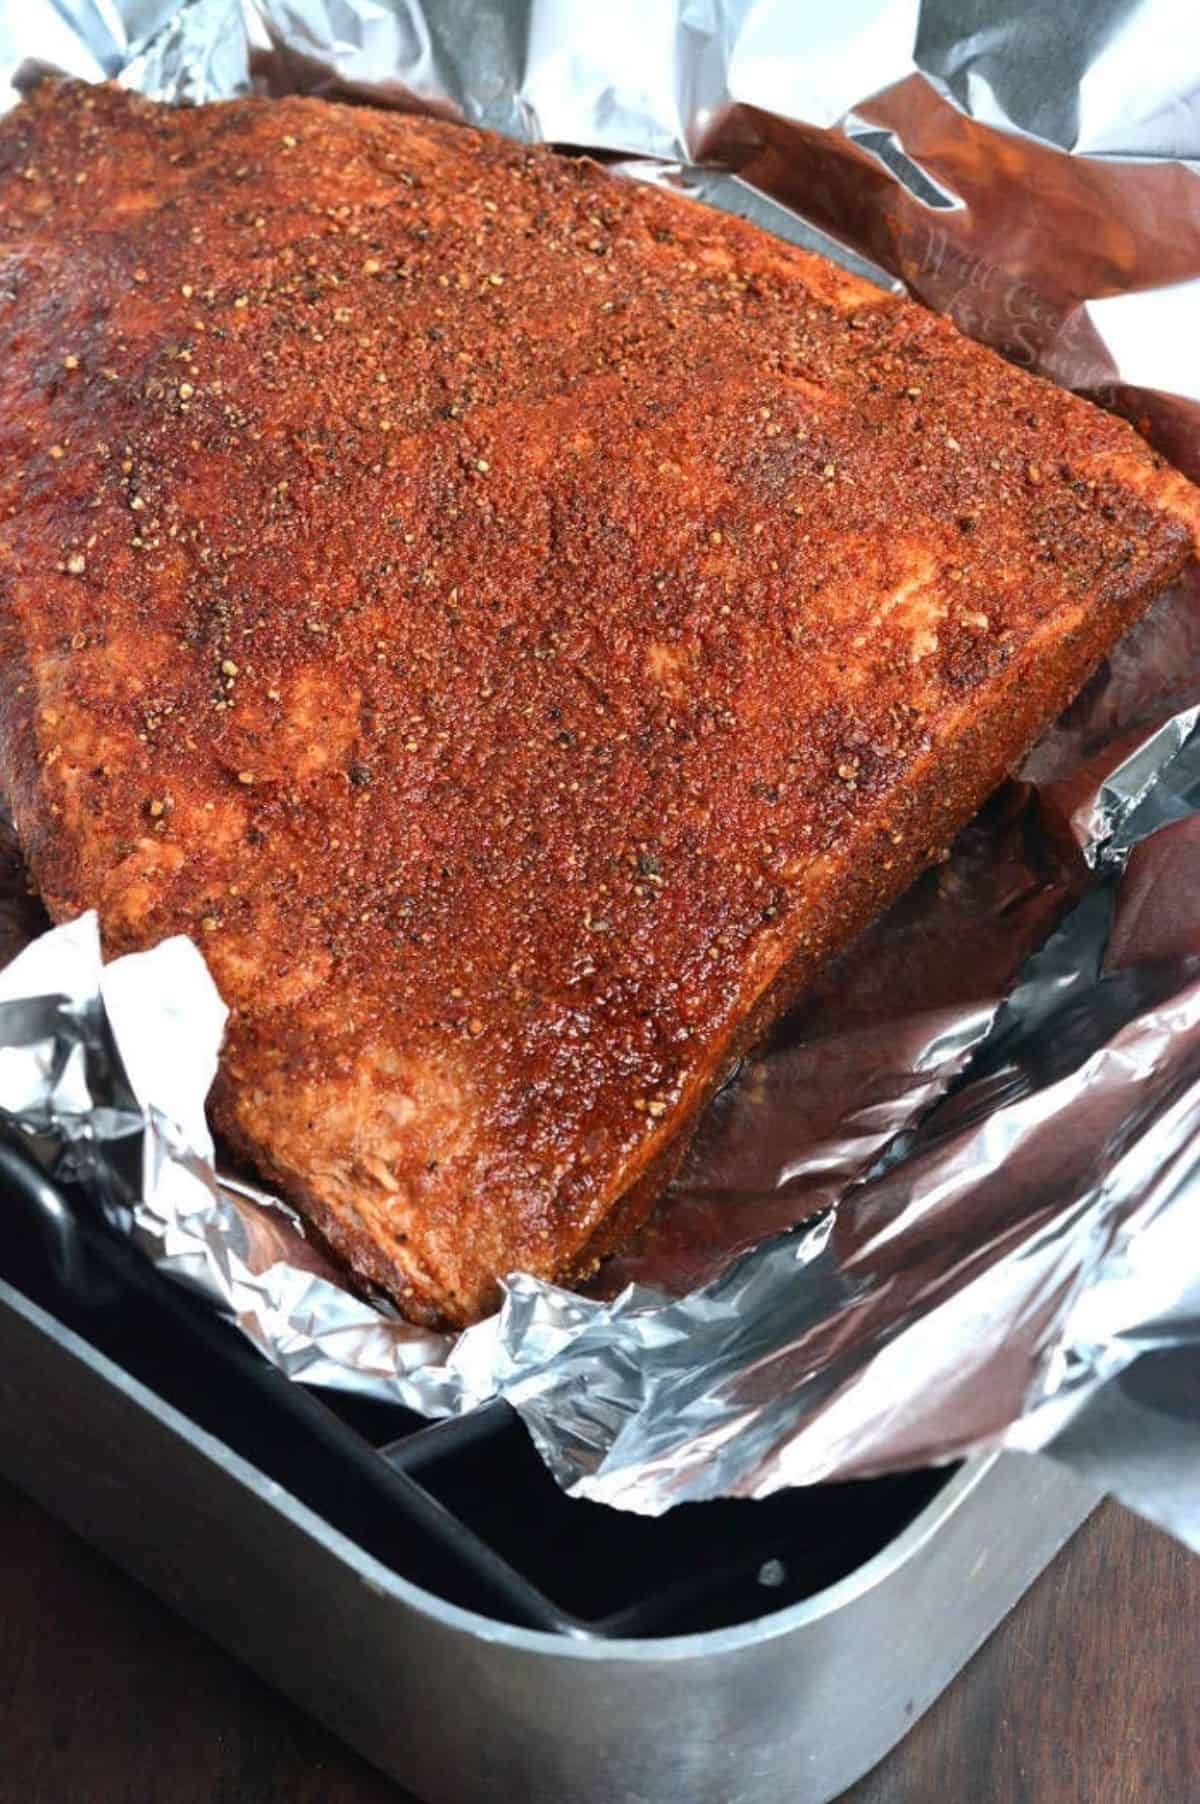
- Place in the oven and bake for about an hour and 15 minutes per pound, until the brisket reaches 185°F. Use a meat thermometer to measure the thickest part of the brisket.
- Open the foil and bake brisket for another 45 minutes to an hour, until internal temperature reaches 200-202°F.
- Take the brisket out onto the cutting board, tent it with a sheet of foil, and let it rest for 30 minutes.
- Make sure to cut the brisket against the grain.
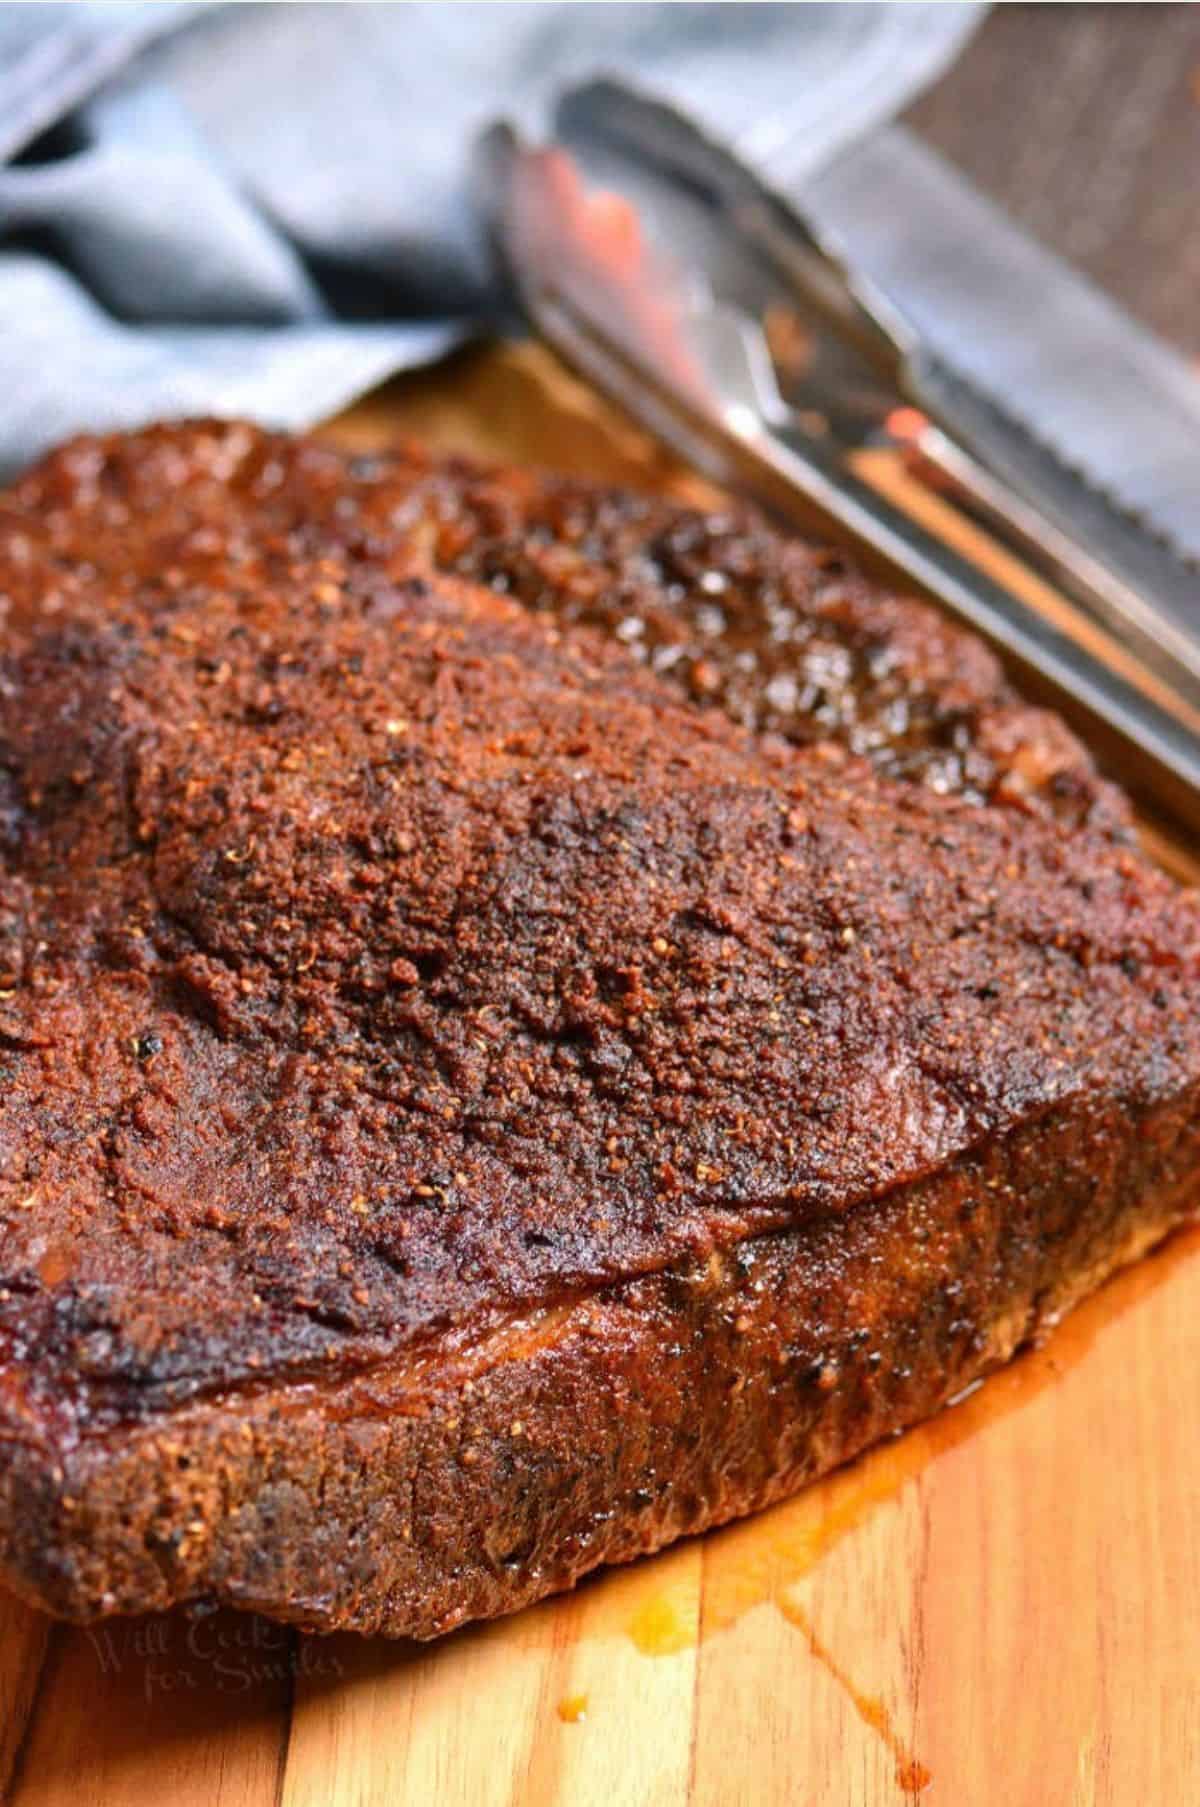
Beef Brisket Serving Size
Wondering how much brisket to get? That’s the story of my life. Recommended serving size for brisket is 1/2 lb of uncooked meat per person.
It’s also very subjective because it highly depends on the sides that you’re servings with it. Lighter sides will not fill guests as much, so more brisket will be needed per person. Heartier sides, will be more filling.
To me, recommended servings never seems enough so I get an extra pound or two of meat. It’s better to have meat leftover than not have enough.
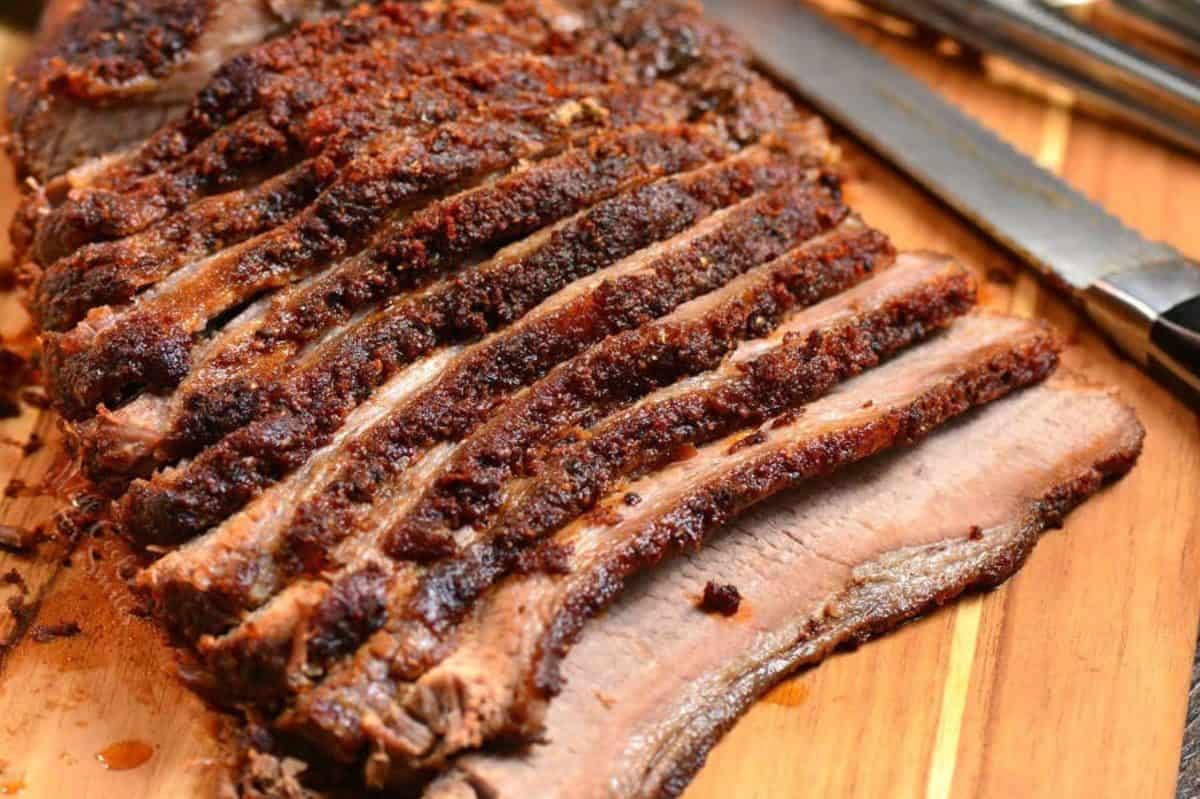
Storing Instructions
If you have leftover brisket, store it covered in the refrigerator, covered tightly.
Wrap cooled brisket in a sheet of parchment paper and then wrap it in some aluminum foil.
Keep in the refrigerator for 3-5 days.
Best Way To Reheat It
Brisket is nicely reheated in the oven.
Preheat oven to 350°F. Slice cold brisket and wrap the slices in foil.
Reheat the foil packets in the oven for 15-20 minutes, depending on how thick the slices are and how many slices there are in the foil. You can place foil wrapped brisket directly on the oven rack or on a baking sheet.
Note: the little fat layer on top won’t have the crunch once it’s been reheated.
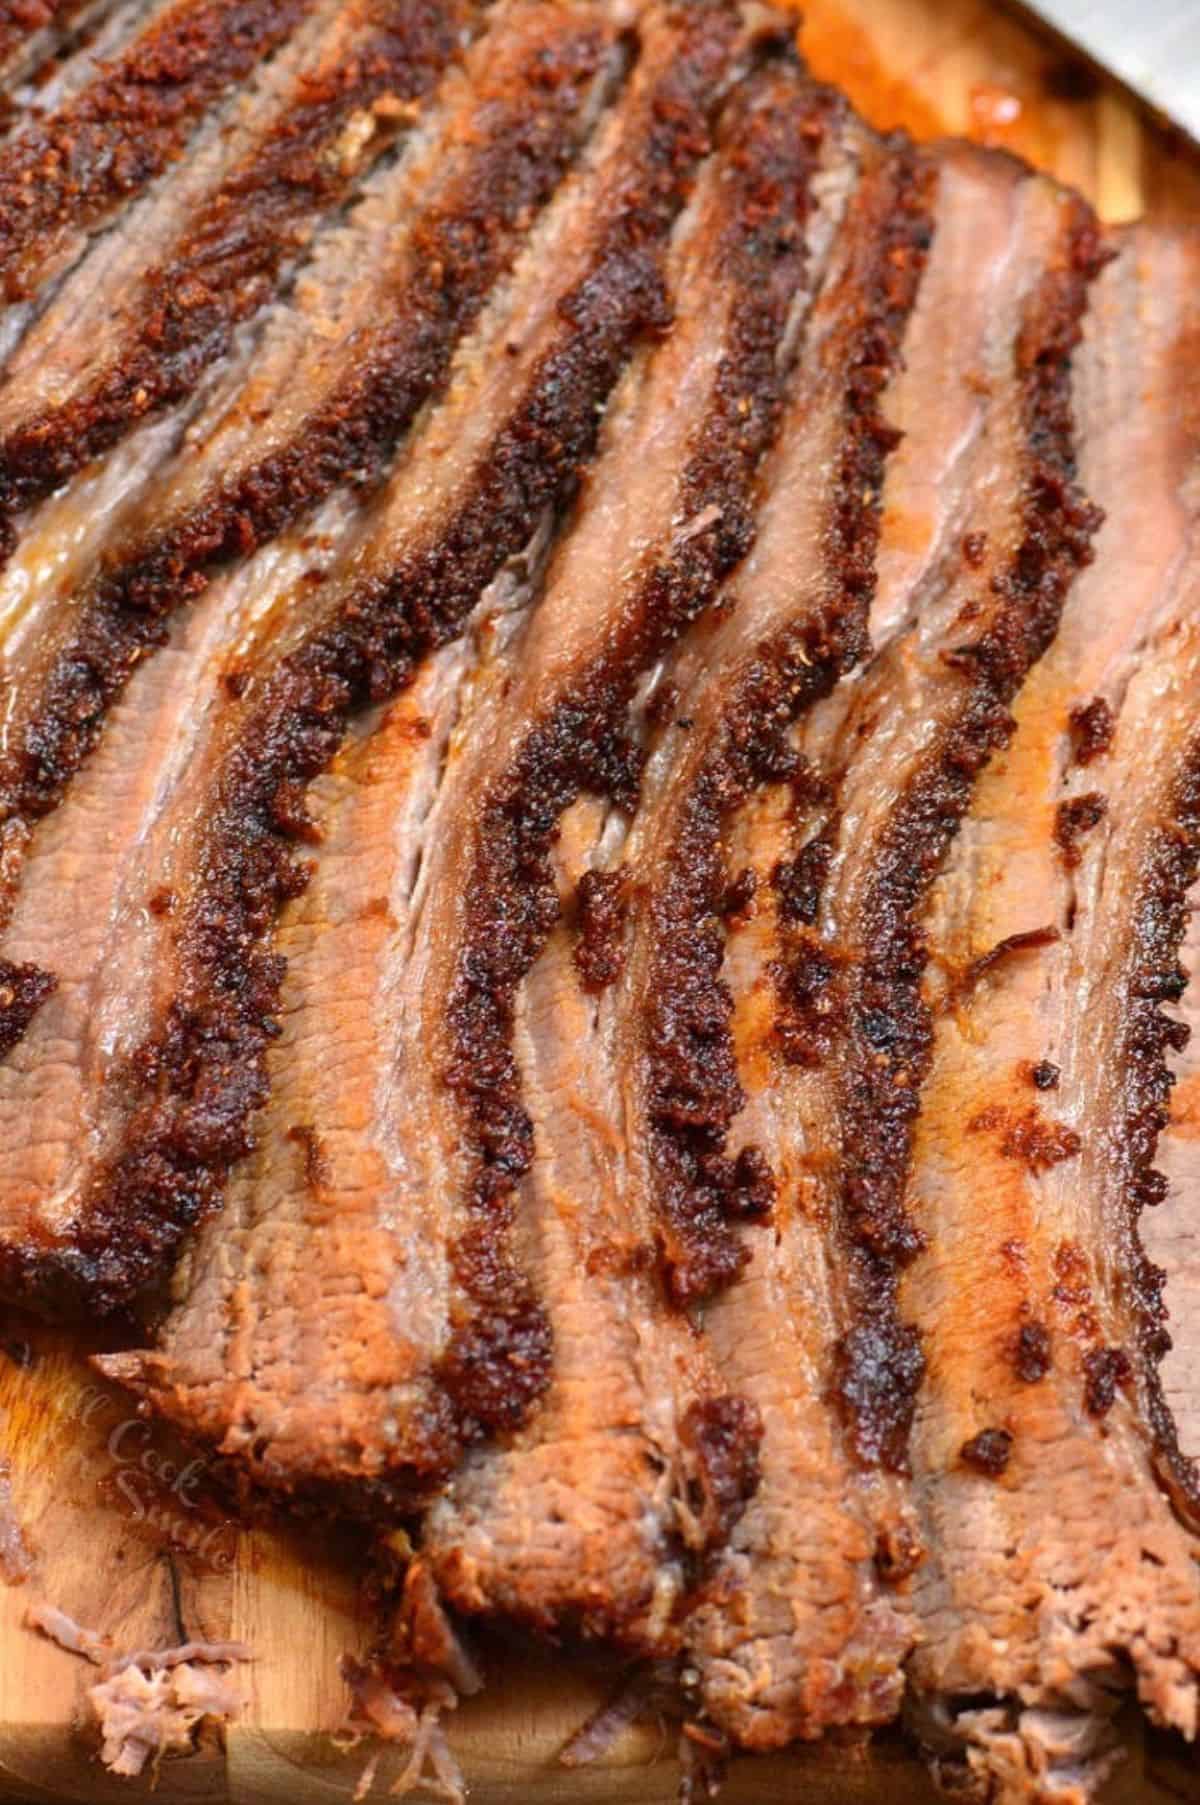
Some More Beef Recipes To Try
Making Corned Beef Brisket In The Oven
Tips for Grilling The Perfect Steak
Beef Brisket with Balsamic Sauce
Bacon Wrapped Mustard Beef Brisket
DID YOU MAKE THIS RECIPE? PLEASE leave a 🌟 star rating! Let me know how you liked it by leaving the 📝 comment below or share and tag me on social media @willcookforsmiles. DON’T FORGET to subscribe to my newsletter!
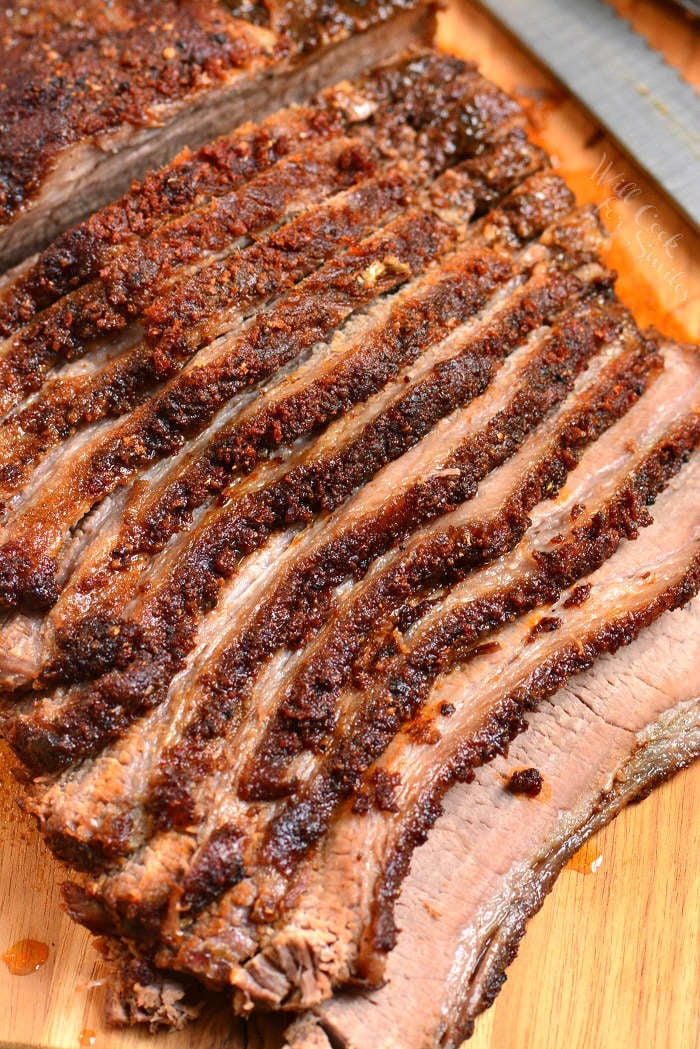
Beef Brisket Recipe In The Oven
Instructions
- NOTE: Be prepared to start the brisket a day before cooking it. Giving it time to soak up the flavors and tenderize from the dry rub overnight will give you a much better result.
Meat rub and refrigerating:
- Mix dry rub ingredients. (This recipe for dry rub will cover a 6 lb brisket.)
- Take brisket flat out of the package, lay it on a cutting board and pat it dry with a paper towel.
- Spread a generous amount of dry rub on top, flip the brisket over and spread a generous amount of dry rub over that side. Make sure there is a good amount of seasoning and rub it all over all the sides of the brisket. Massage the rub into every nook and cranny and make sure it’s nicely coated all over.
- Wrap rubbed brisket in a couple of layers of foil, covering it tight. Place wrapped brisket in a pan or a dish just in case some juices leak out, so that it doesn’t leak all over the refrigerator.
- Refrigerate the brisket overnight or up to 12 hours. Take the brisket out of the refrigerator an hour before cooking it, unwrap and let it get to room temperature.
Baking the brisket:
- Preheat oven to 300°F and place a rack inside the large roasting pan. Lay a couple of sheets of foil that are long enough to loosely cover the brisket, criss-cross, on top of the rack. (You can layer the bottom of the roasting pan with aluminum foil to catch whatever drippings might leak through.)
- Place the brisket, fat cap up, in the middle of aluminum foil prepared in the roasting pan. Bring the aluminum foil together and close it, covering the brisket loosely, leaving a little space between the brisket and the foil.
- UPDATE: Place in the oven and bake for about 1 hour and 15 minutes per pound, until the brisket reaches about 180°F. Use a meat thermometer to measure the thickest part of the brisket. (My 4.5 lb. brisket takes about 5 1/2 hours but there are many factors that can affect exact time. Meat itself will take different time and brisket can also stall at a certain temperature in the oven much like a smoker. Use a leave-in meat thermometer to monitor the temperature of your brisket and that way you won't have to keep opening the oven .)
- Open the foil and place it back in the oven. Bake brisket for another 45 minutes to an hour.
Let it rest:
- Take the brisket out onto the cutting board, tent it with a sheet of foil, and let it rest for 30 minutes.
- Make sure to cut the brisket against the grain.
Video
Notes
- Plan ahead for best results: For the most flavorful and tender beef brisket, apply the dry rub and refrigerate overnight. This extra time allows the seasoning to penetrate the meat and helps tenderize it.
- Brisket cut matters: This recipe is written for a flat cut of beef brisket. Choose one with a visible fat cap for juicier results. Cooking time may vary depending on thickness and fat content.
- Cook low and slow: Oven temperature and time are key. Brisket should be cooked slowly until it reaches the proper internal temperature, don’t rush it, or it may turn out tough.
- Use a meat thermometer: Brisket is done when it’s tender and reaches the correct internal temperature, not just by time alone. Every brisket cooks a little differently.
- Rest before slicing: Let the brisket rest after baking so the juices redistribute. Skipping this step can cause the meat to dry out.
- Slice against the grain: Always slice beef brisket against the grain for the most tender texture.
- Foil alternatives: Parchment paper can be used instead of aluminum foil if preferred.
- Adjust seasoning to taste: If you’re sensitive to spice, reduce the heat in the dry rub to suit your preference.
- Leftovers & reheating: Brisket reheats best in the oven, wrapped, to maintain moisture and tenderness.
Nutrition
Would you like to save this recipe?
Categories:
4th Of July Recipes, Beef Recipes, Christmas Dinner Recipes, Father's Day Recipe Ideas, How To Techniques, Most Popular Recipes,All images and text ©Lyubov Brooke for ©Will Cook For Smiles. Please do not use my images without prior permission. If using my posts in collections and features, please link back to this post for the recipe.
Disclaimer: Nutrition information shown is not guaranteed to be 100% accurate as most ingredients and brands have variations.








Since it’s all cooking in the oven it’s fine to use the same foil. I hope you enjoy it!
Do leave the brisket in the same foil that it marinated in or do I put in clean foil before it goes into oven? Thanks.
I made the recipe, following the directions. It was delicious! Moist and tender, dipping sauce was flavorful and enhanced the meat. Thank you for sharing this recipe, it’s a keeper!
Yay! So glad you liked it, Jason! Thanks for stopping by to let me know. 🙂
I have an 18lb brisket. It would take an awful lot of foil to wrap this many times so I am roasting it in a aluminum pan. I am going to foil the top, then plastic wrap then foil again. I have done this before and it does a good job keeping the heat and moisture in. So I guess I want to make sure I that I need to cook this for 13 1/2 hours correct or should I cook it longer? Because it is so big I put the rub on today (Monday) and will start it bright and early Thursday morning. Any suggestions would be great.
Sorry stupid question I suppose the 300° is Fahrenheit?
No stupid questions here! Yes, Fahrenheit is correct!
Hi,
My brisket is a bit smaller (.975 kg, or 2.15 lbs). How would you recommend cooking it, and for how long? I tried the recipe before and the rub was tasty, but the brisket was rather dry and tough. I think it may have some fat on it–do I roast fatside down or up?
Also, do you recommend having it sit on the foil or on the rack above the foil, and do you cover it with foil while cooking?
Sorry for having so many questions, but normally brisket is more than we can afford as students so I really want to get it right this time!
Sincerely,
Jay
Dumb question, but does the oven continue to cook at 300 degrees or do u require to bring the temp down ? Seems a bit too hot ?
Hi Savi,
Yes, you want to cook it 300 for the full time and just make sure to use a meat thermometer to test the internal temperature so it doesn’t overcook.
Came out really dry! But the flavor is on point!
Love the rub, better than any store bought rub.
Thank you!!! So glad you enjoyed it!
Wow! Thank you so much! I am so glad you liked it!
Great flavor and the smell that flows through the house is amazing definitely using it again.
Hi Joshua,
I am so glad you liked it! 🙂
My 10 pound brisket was already around 200 degrees when I checked on it after only 7 hours. Check your thermometer well before the appointed time. Smells wonderful.
So glad you liked, Suzanne!
Hello from bonnie Scotland!
First of all, I would like to preface this comment by saying that I have not tasted this recipe yet, but I have just put the rubbed brisket in the fridge in preparation. I made the dry rub a few days ago and I bought a couple of small jars, about 3 inches tall, because I thought that the dry rub recipe would make enough for one beef joint, not a whole lot. Of course, I didn’t actually look at the quantities before shopping and I was very lucky I had another old airtight jar that could hold the rest of the rub!
In any case, the rub smelled absolutely delicious while massaging it into the meat. Unfortunately, I can only let it sit in the fridge for a few hours as I’ll be cooking it tonight. I work 17:00-20:00 on weekdays, which is kind of the prime supper-cooking hours for me. On top of that, I can only really afford about 1kg (2ib) beef joints at a time, so I can’t let the meal cook while I’m at work. I just hope 4 hours is long enough for the meat to soak in some of the flavour. Rest assured, though, next weekend, I will be making it properly!
Up until now, I’ve been looking up herbs that go with beef and rubbing them into the meat; rosemary, thyme, basil, that sort of stuff. I am trying to get more into cooking which is difficult, since I’ve got the smallest kitchen you’ve ever seen.
Once again, the meat smells amazing, and I am sure it will taste just as good!
Hi Jester,
Thank you so much for taking the time to stop by and tell me about yourself, I love hearing from new people around the world! I would love to hear how your corned beef brisket turned out, I hope you enjoyed it!
UPDATE:
First attempt was a bit too sinewy, which was probably the cut of meat. Seond attempt, which I just tried just now (rubbed the powder in yesterday, left it overnight) was much better. It was absolutely delicious, leaving it overnight definitely helped the flavour seep into the meat and even gave the house a lovely aroma for a while!
I will definitely be doing this again in the future. Once I move to America, I may even use this recipe as my Thanksgiving centerpiece, complete with a bed of veggies, roast potato instead of mash, lovely gravy, the works.
Thank you for the delicious meal!
The cut of meat really does make a big difference in the end result. I’m happy you tried it again with better results! Thanks for taking the time to stop by and tell me how it went. 🙂
I cooked this over the 4th of July and was told it was the best brisket they had ever had! It was definitely the best brisket I have ever cooked. I loved all of the detailed instructions and tips! I will be checking back for more great recipes.
Hi Pam,
Thank you for such a sweet compliment! I am so glad everyone enjoyed it!
Hi Lyuba. Thanks for the recipe and especially the per pound time. My brisket flat was on the smaller side. This was a hit with my wife. She loved the rub too!
Thank you again,
DK
Hi Daniel,
Yay! I am so glad you enjoyed it! Thanks for stopping by to let me know! 🙂
Thanks for this recipe! The electronic thermometer helped to keep it from over cooking. Seasoning was excellent!
Hi Kelly, So glad you liked it!
I cooked this recipe for my whole family with a 12 lbs brisket and it went perfect!
I was really scared at the beginning because of the size of it, but using the thermometer as you suggested helped me a lot
Everybody loved the result, thank you very much!
I am so glad you enjoyed it! 🙂
Ever tried this in a Dutch oven?
followed the French Onion version to a ‘t, risking coronavirus to get the danged onions. If you’re not a fan of smoked paprika you’ll be very disappointed. Just yuk. and also meat came out quite tough but not the fault of the recipe – likely the cut.
Oh, I’m so sorry you don’t like smoked paprika and that you didn’t like the flavor! I hope you will try something else another time. Stay safe!
I love this recipe! I made it for my son’s graduation party last summer and it was a success. I try to make it often. One thing different that I do – I sear my brisket in a hot pan with butter before putting it in the oven. It gives it a nice crust, and seems to seal in some of the juices. If my brisket is too large for my searing pan, I cut it in half to sear.
Hi, Lu! I am so happy you and your family liked the recipe! Thank you for letting me know! 🙂
Hi, cooked the brisket and ended up with an inch of liquid in the aluminum foil that the brisket is in. Your recipe does not mention this. Any thoughts.
Hi, Steven! The meat does give out juices as it cooks which is fine that shouldn’t make the meat dry.
Is this good for like a 15.7 lb. brisket??
I made gravy from the juice that was in the foil – yummy!
Yum! That sounds so good! I am so glad you liked it!