
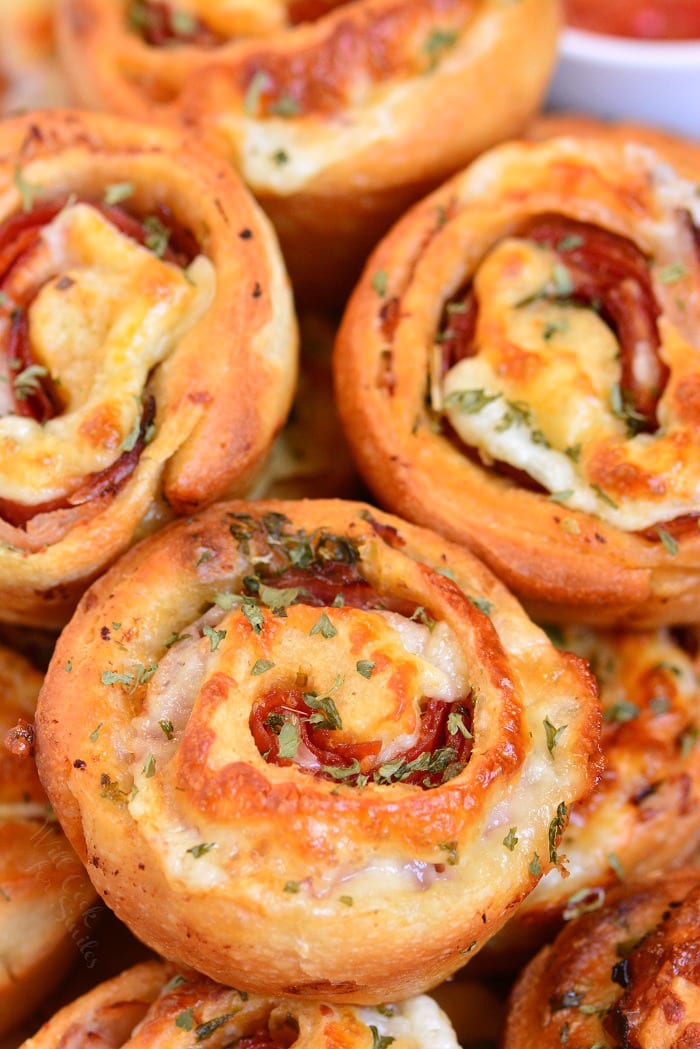
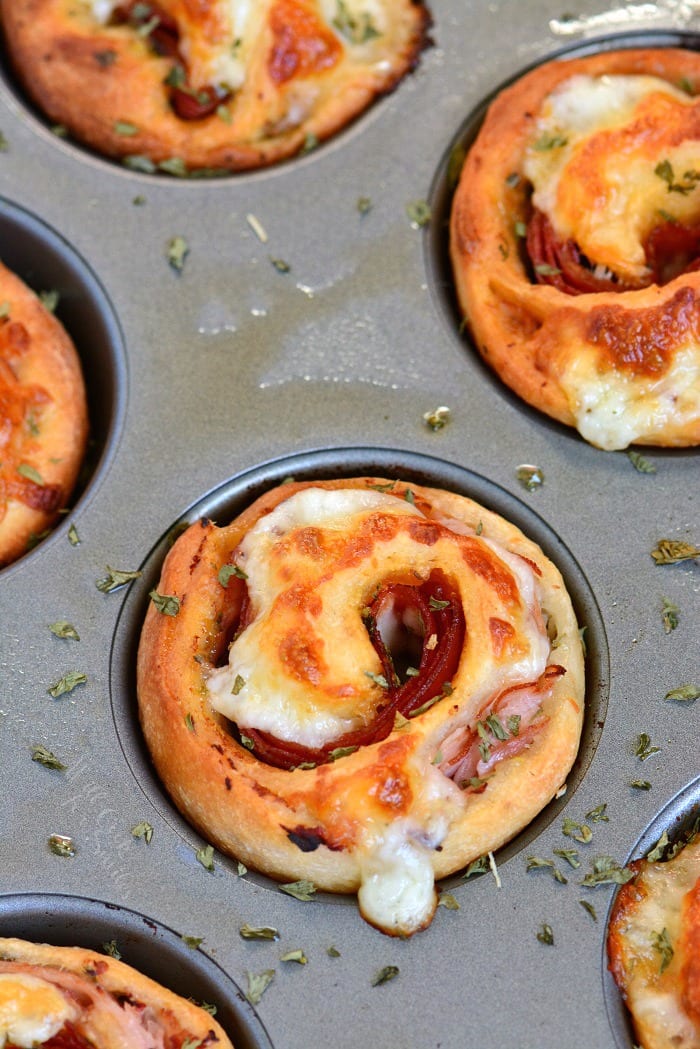
Italian Sub Pinwheels
What Makes These Pinwheels So Good
- Classic Italian sub flavors, baked into every bite. The combo of ham, salami, and pepperoni with herbs and mozzarella is bold and savory, like your favorite sub sandwich or Italian tortellini pasta salad in handheld form.
- The herb oil is the secret. Olive oil, balsamic vinegar, oregano, parsley, and red pepper flakes brushed right onto the dough seasons every layer from the inside out.
- Muffin pan means perfect shape. Baking the pinwheels in a muffin tin keeps them from unrolling and gives each one a beautiful, even shape.
- Ready in 30 minutes. From start to finish, this is a genuinely fast appetizer that doesn’t sacrifice any flavor.
Table of Contents
Ingredient Notes and Substitutions
- Pizza dough: A 13.8 oz can of classic pizza crust (like Pillsbury) works perfectly here and is the easiest option. You can also use fresh dough from your deli counter, which usually comes as 1 lb and will give you a few extra pinwheels. Just plan to have a little more filling on hand if you go that route.
- Olive oil + balsamic vinegar: This combination is what makes the herb brush so good. The vinegar adds a subtle tangy depth that you’d miss if you skipped it. Don’t substitute red wine vinegar here, it changes the flavor. You can use my homemade balsamic vinaigrette recipe instead.
- Herbs: Dry oregano and dry parsley work well because they’re going into the oven. Fresh herbs tend to burn before the dough is done.
- Crushed red pepper flakes: Adds just enough heat to balance the richness of the meats and cheese. Add more if you like a kick, or leave it out for a milder version.
- Ham, salami, pepperoni: Use thin deli slices so the meats layer easily and roll without bunching. Ask your deli counter to slice them on the thinner side.
- Mozzarella: Shredded works best because it distributes evenly and melts into the roll. Pre-shredded is fine, or shred a block yourself for a bit more melt.
How To Make Italian Pinwheels: Steps and Tips
Roll the dough out to the full 12×15 inch rectangle. Thicker dough means the center won’t cook through properly, so don’t skip this step. Be careful not to roll too thin or break the dough.
PRO TIP: Brush the herb oil all the way to the edges on three sides, but leave a clean 1/2 inch strip along one long side. That bare edge is your seal. Press it firmly when you finish rolling.
Layer the meats first, then the cheese on top. Cheese directly against the dough can make it soggy.
PRO TIP: Use a serrated knife and a gentle sawing motion to slice the roll. Pressing straight down with a chef’s knife may flatten everything.
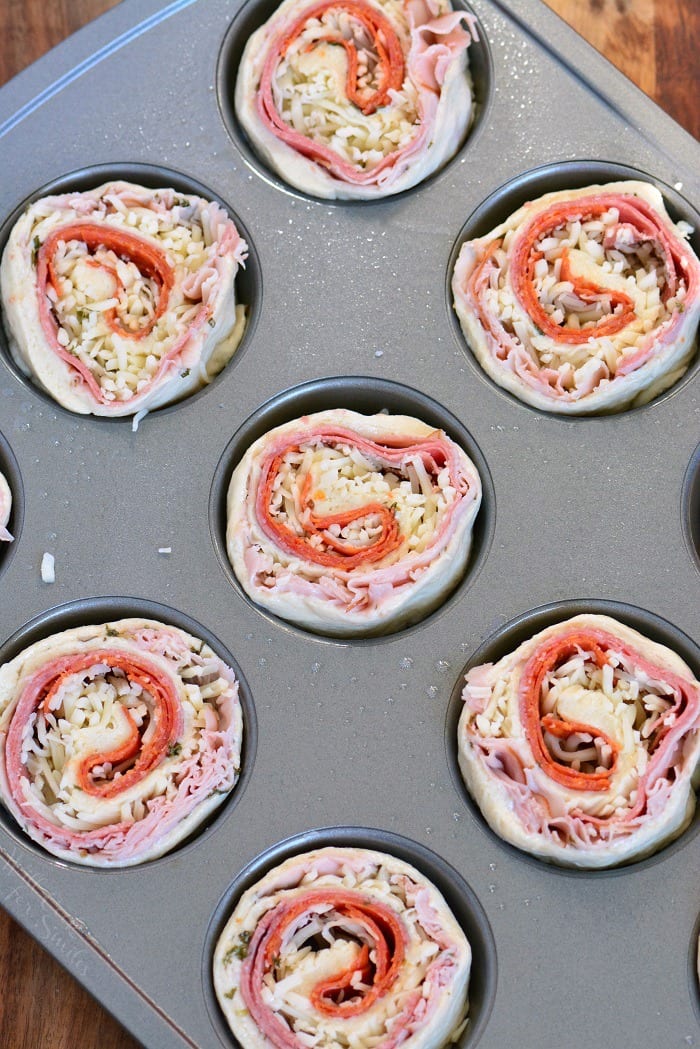
Place each pinwheel cut side up in the muffin cup. This is what gives them that beautiful swirl on top and keeps them from unrolling.
PRO TIP: Some cheese will ooze out during baking. That’s normal. It firms back up as they cool, and parchment liners make cleanup easy.
Make Ahead and Storage
- Make ahead: Assemble the roll, wrap it tightly in plastic wrap, and refrigerate for up to 24 hours. Slice and bake just before serving.
- Reheat: These reheat really well. Place them in a 350°F oven for 8 to 10 minutes, or use an air fryer at 350°F for 4 to 5 minutes. The microwave works in a pinch but the dough won’t stay as crisp.
- Storage: Store leftovers in an airtight container in the refrigerator for up to 3 days.
Ways to Serve
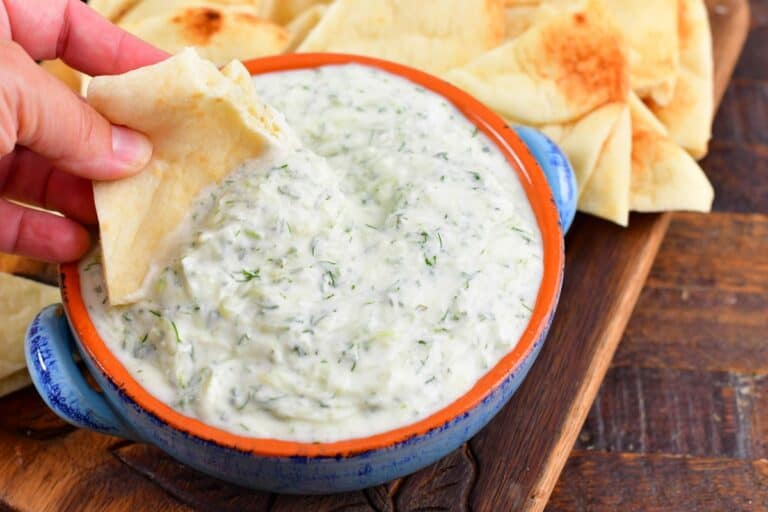
Italian sub pinwheels are a natural fit for game day spreads, tailgating food, holiday appetizer tables, and casual parties. Serve them warm with a side of homemade spaghetti sauce for dipping, or pair them alongside other hot bites like sausage stuffed mushrooms and spinach artichoke dip for a full spread. They also work well on a snack board with olives, sliced meats, and crackers.
Italian Pinwheels Recipe FAQ
Yes, BUT, the pinwheels won’t be quite as sturdy and hearty, but they’ll still taste great. Crescent roll dough will give you a flakier, softer result. Press the perforated seams together before rolling.
Absolutely. Provolone or a shredded Italian cheese blend are great swaps or additions. You can also add thin slices of roasted red peppers or a few fresh basil leaves for extra flavor.
You can, but they may spread and unroll a bit. The muffin pan is really the key to keeping them perfectly shaped. Space them at least 2 inches apart if you bake them flat.
Yes. Assemble and refrigerate the uncut roll up to 24 hours ahead. Slice and bake day-of for the best results. You can also bake them ahead and reheat in the oven or air fryer before serving.
DID YOU MAKE THIS RECIPE? PLEASE leave a 🌟 star rating! Let me know how you liked it by leaving the 📝 comment below or share and tag me on social media @willcookforsmiles. DON’T FORGET to subscribe to my newsletter!
Italian Sub Pinwheels Recipe
Ingredients
- 13.8 oz classic pizza crust dough
- 1 1/2 tbsp olive oil
- 1 tbsp balsamic vinegar
- 2 tsp dry oregano
- 2 tbsp dry parsley
- 1/2 tsp crushed red pepper flakes more if you wish
- pinch salt
- .25 lb ham thinly sliced
- .25 lb salami thinly sliced
- .25 lb pepperoni thinly sliced
- 1 1/4 cup shredded Mozzarella cheese
Instructions
- Preheat oven to 400°F and grease a 12-cup muffin pan.
- Take pizza dough out onto a lightly greased surface. (You can use silicone baking mat to easily prepare the pinwheels.)
- Gently stretch or roll out the dough into a rectangle that’s about 12×15 inches. (Canned dough already comes as a rectangle.)
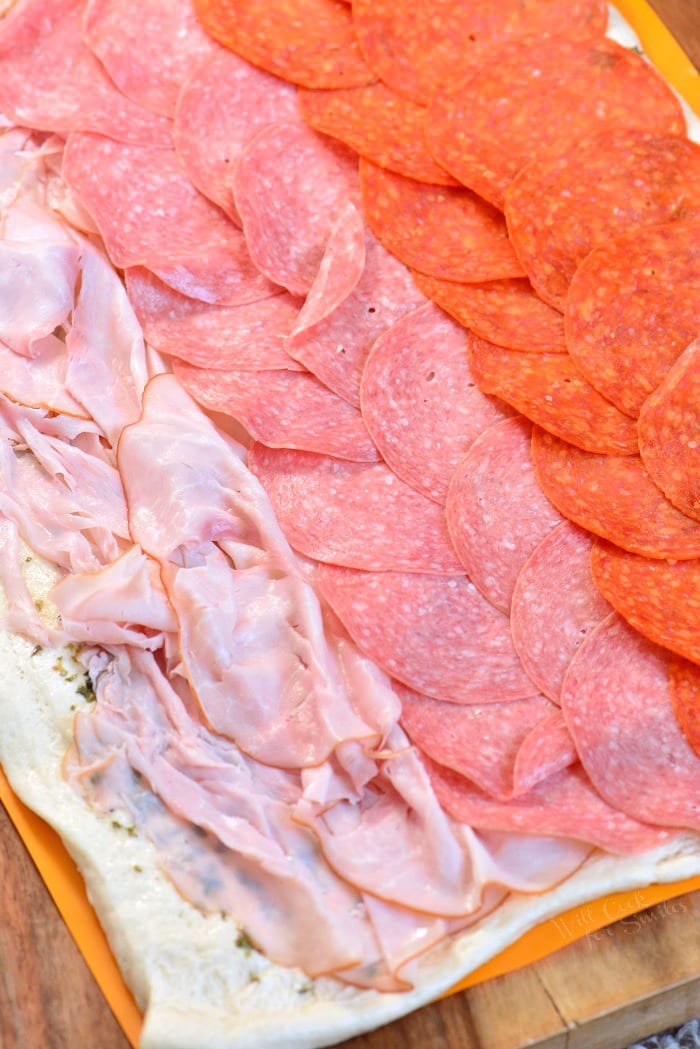
- Combine oil, vinegar, parsley, oregano, salt, and crushed red pepper flakes in a small bowl and whisk together. Brush pizza dough surface with the mixture leaving about 1/2 inch on one long edge un-brushes. That will be the seal edge.
- Layer ham, salami, and pepperoni in one even layer, covering the surface of the dough but still leaving that one 1/2 inch edge for sealing.
- Spread mozzarella over the top of meat, evenly.
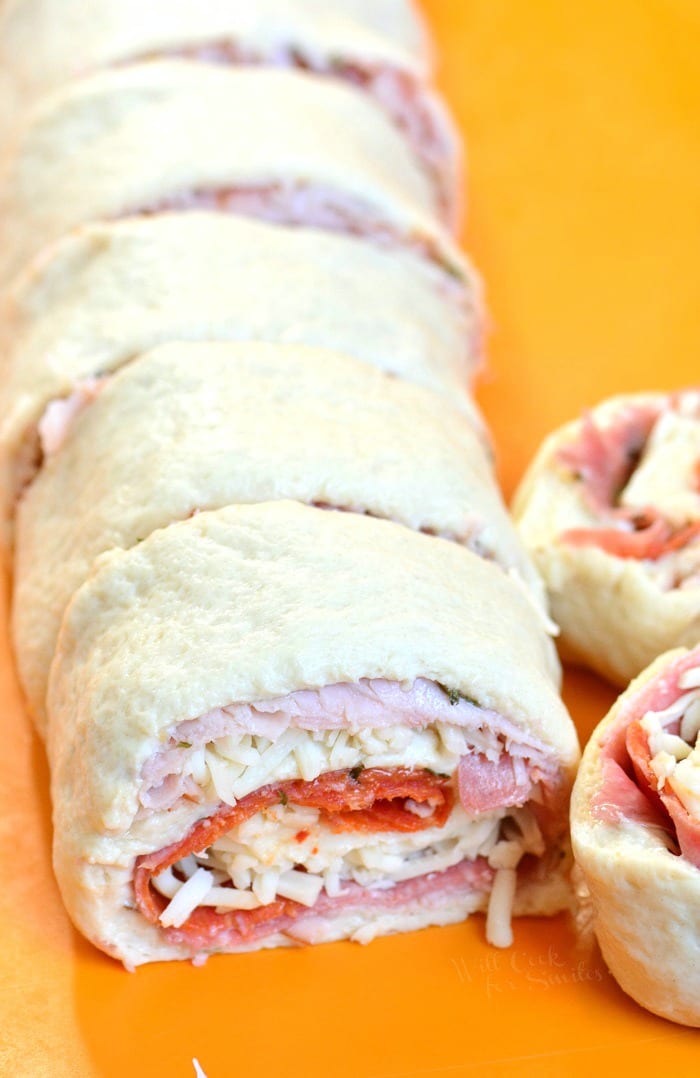
- Roll everything together on the long side starting with the covered edge and ending with the edge that was left uncovered. Gently press on the roll all over and make sure the edge is sealed well. Place the roll seam down.
- Cut across the roll with a serrated knife to create pinwheels that are about an inch thick.
- Place each pinwheel into a muffin cup, cut side up.
- Bake for 18-20 minutes, until golden brown.
Video
Nutrition
Would you like to save this recipe?
All images and text ©Lyubov Brooke for ©Will Cook For Smiles. Please do not use my images without prior permission. If using my posts in collections and features, please link back to this post for the recipe.
Disclaimer: Nutrition information shown is not guaranteed to be 100% accurate as most ingredients and brands have variations.


Can I make these ahead and warm up? I need something for an rv potluck and we have a microwave (it does bake, air fry etc) thank you
How did you keep the cheese from meting and oozing out?
Some of the cheese is just going to ooze out during baking since melted cheese becomes liquid-like at high temperatures. As it cools, it will solidify again, making it easier to enjoy. To minimize the mess, you can line the pan with parchment paper liners.
The people I served this to absolutely loved them!! They raved and raved. I did use deli fresh pizza dough rolled quite thin, and I did need to reduce the baking time to about 15-16 minutes. Absolutely delish!
I am so happy they liked it, Lisa!
These look easy and delicious, and would be great for a party! Thanks!
Thanks, Roland!
I’ve been searching for a recipe that would taste like a pizza parlor I lived next to. These are perfect. I made one half ham, pepperoni and mozzarella and the other half pepperoni and mozzarella because my daughter doesn’t like ham. They were delicious! Thank you.
Hi, Lisa! Thanks for your sweet comment! I am so glad you liked them 🙂
This definitely would be a crowd pleaser! Thanks for sharing!