
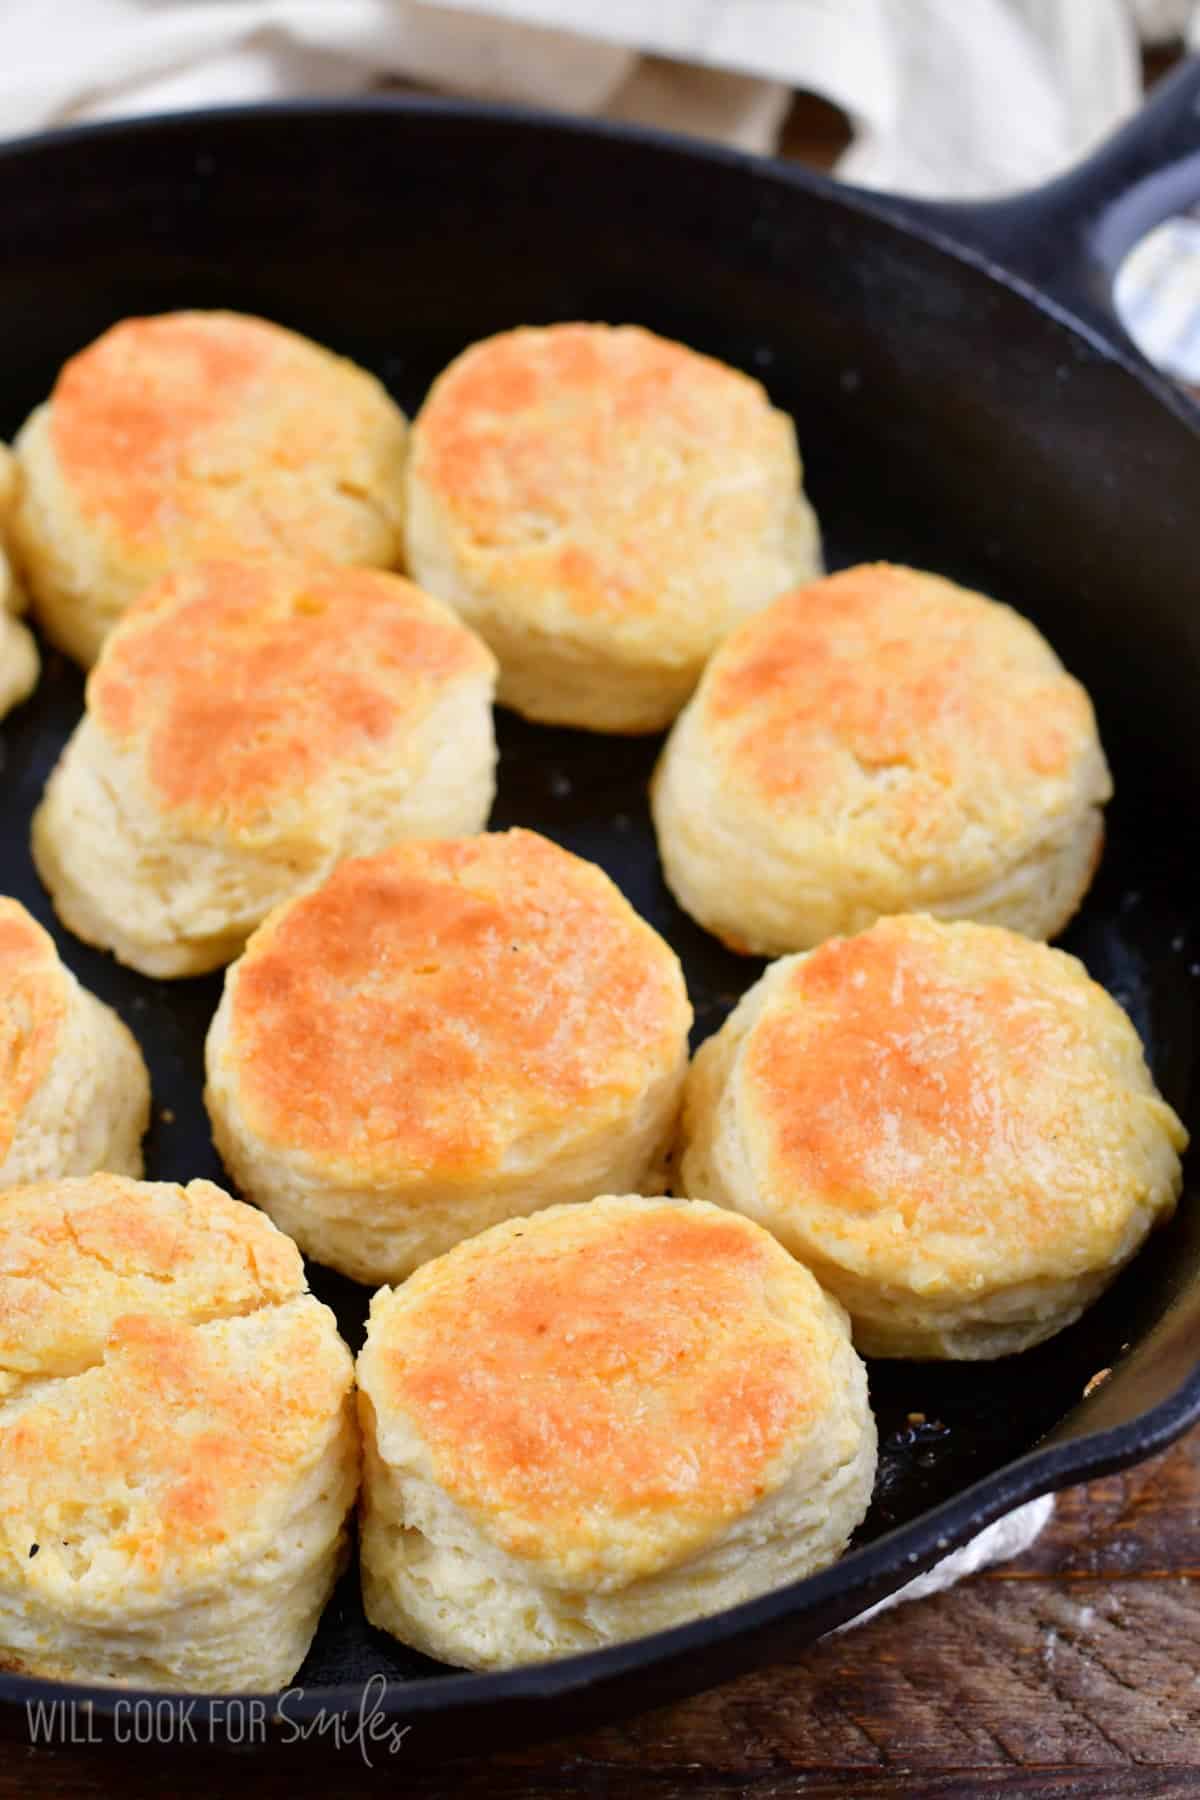
Easy Southern Buttermilk Biscuits
It’s the perfect side for any dinner and all you need is a few simple pantry staple ingredients that you most likely already have. I made sure to include as many tips as possible so you end up with amazing biscuits!

How can you possibly resist soft, warm, flaky biscuits sitting in front of you at the dinner table? The answer is simple – you don’t! And while the can of store-bought biscuit dough isn’t half bad, it’s nothing compared to homemade.
Buttermilk biscuits are my favorite to make for the family because they are so easy for me and everyone LOVES them! They’re perfect just as a bread side dish, or topped with butter and jam, or with sausage gravy for breakfast.
They’re also great with other flavors added like my honey biscuits, garlic parmesan biscuits, or jalapeno cheddar biscuits. All of the only need a few easy steps with a handful of ingredients.
Tips To Make The Best Buttermilk Biscuits
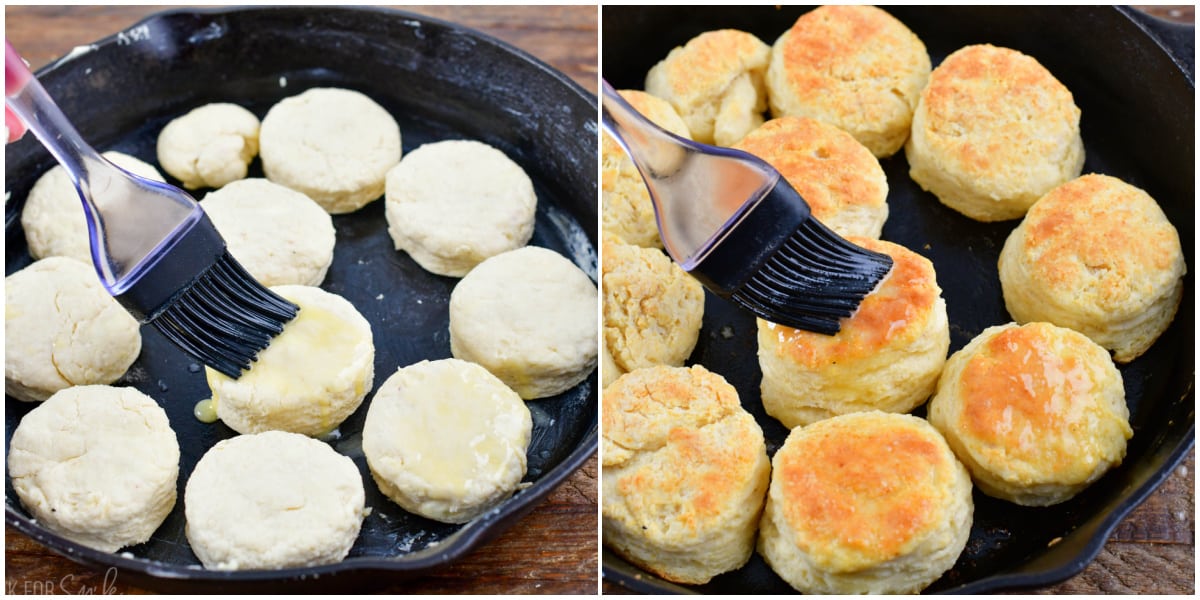
- Use a 10-inch cast iron skillet and grease is generously with butter. Note that you can use a 12 inch skillet if you cut smaller biscuits.
- Dry first: Combine all of the dry ingredients in a mixing bowl first.
- Use COLD butter and COLD buttermilk!
- Use a large side of the box grater to grate cold butter right into the flour mixture. Mix on low, until batter resembles coarse crumbs.
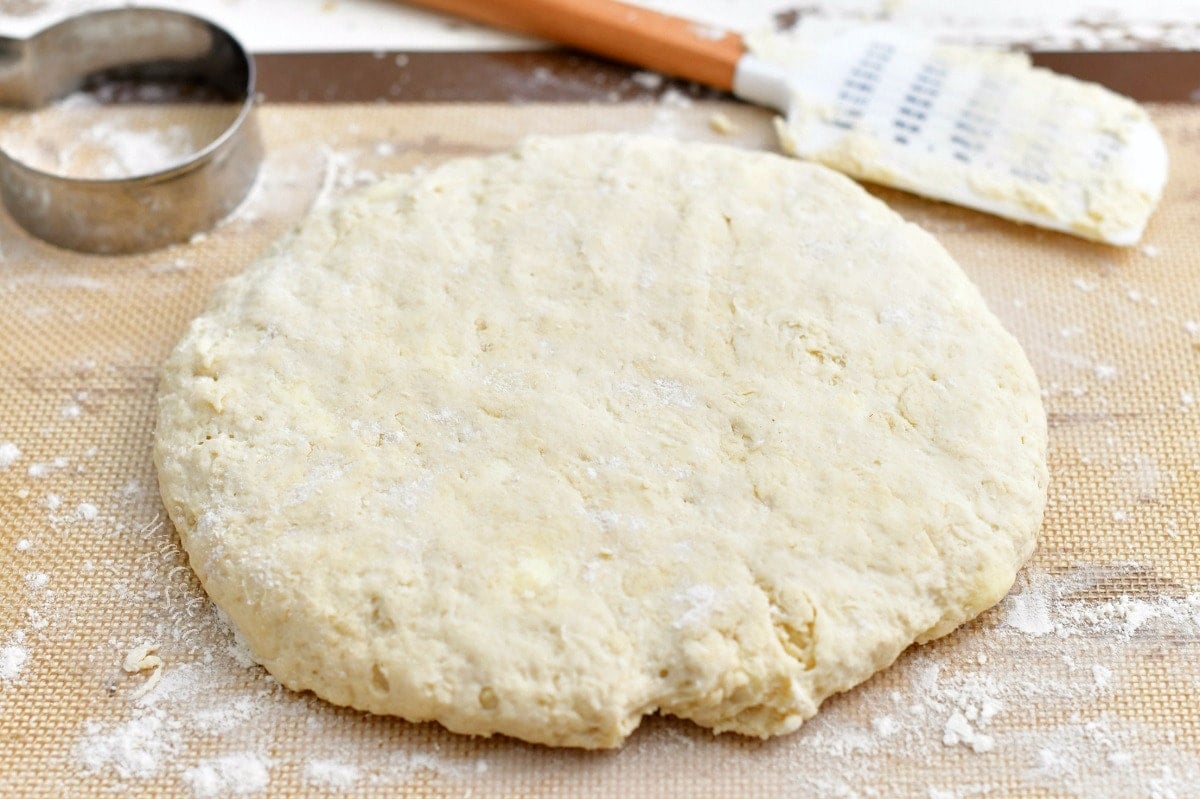
- Note that the dough will still be a little sticky when you turn it over onto floured surface, so make sure to flour your hands and sprinkle a little on top.
- Knead the dough just a little. Knead it about 5-6 times, folding the dough on top of itself, and pat it into a thick circle.
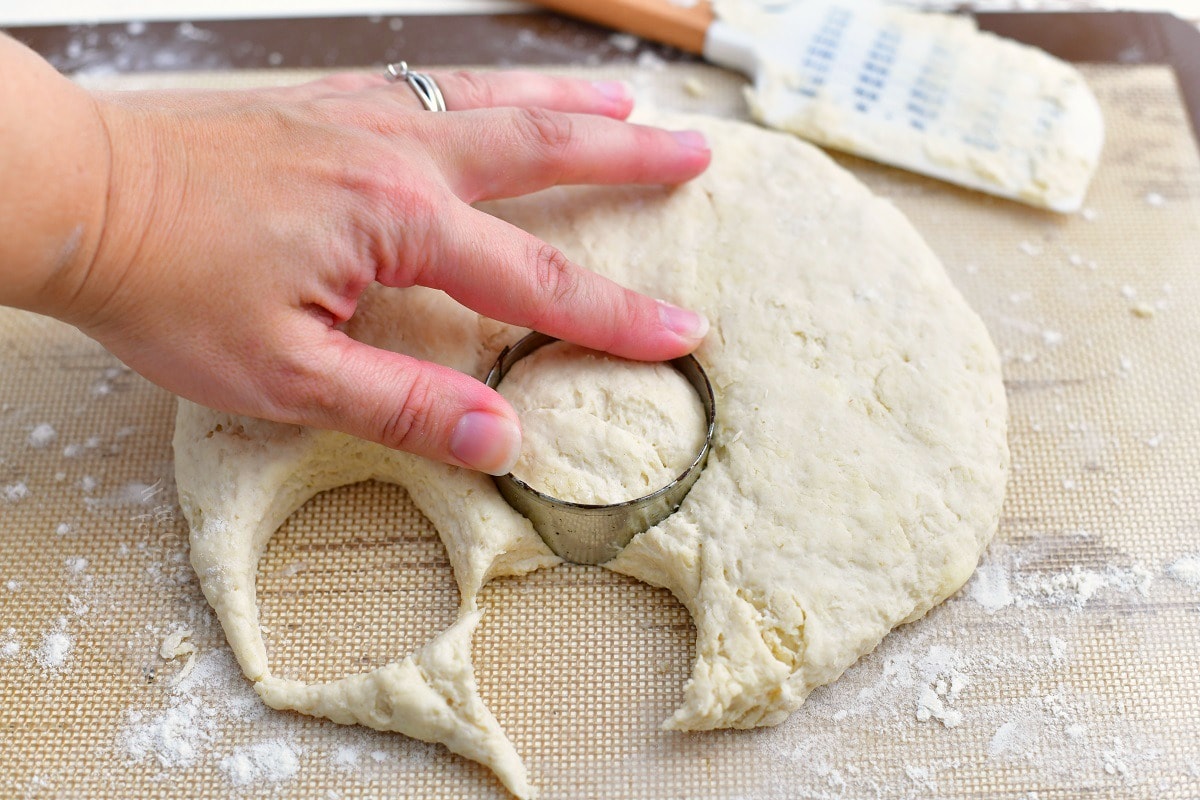
- Use a cookie cutter that’s about 2 to 2 1/2 inches in diameter to cut out the biscuits.
- Don’t have a cookie cutter? Grab a narrow glass from your cabinet.
- Don’t twist the cookie cutter when cutting out biscuits. Just gently press down to cut. If you plan to make biscuits frequently, you may just want to purchase a set of cutters.
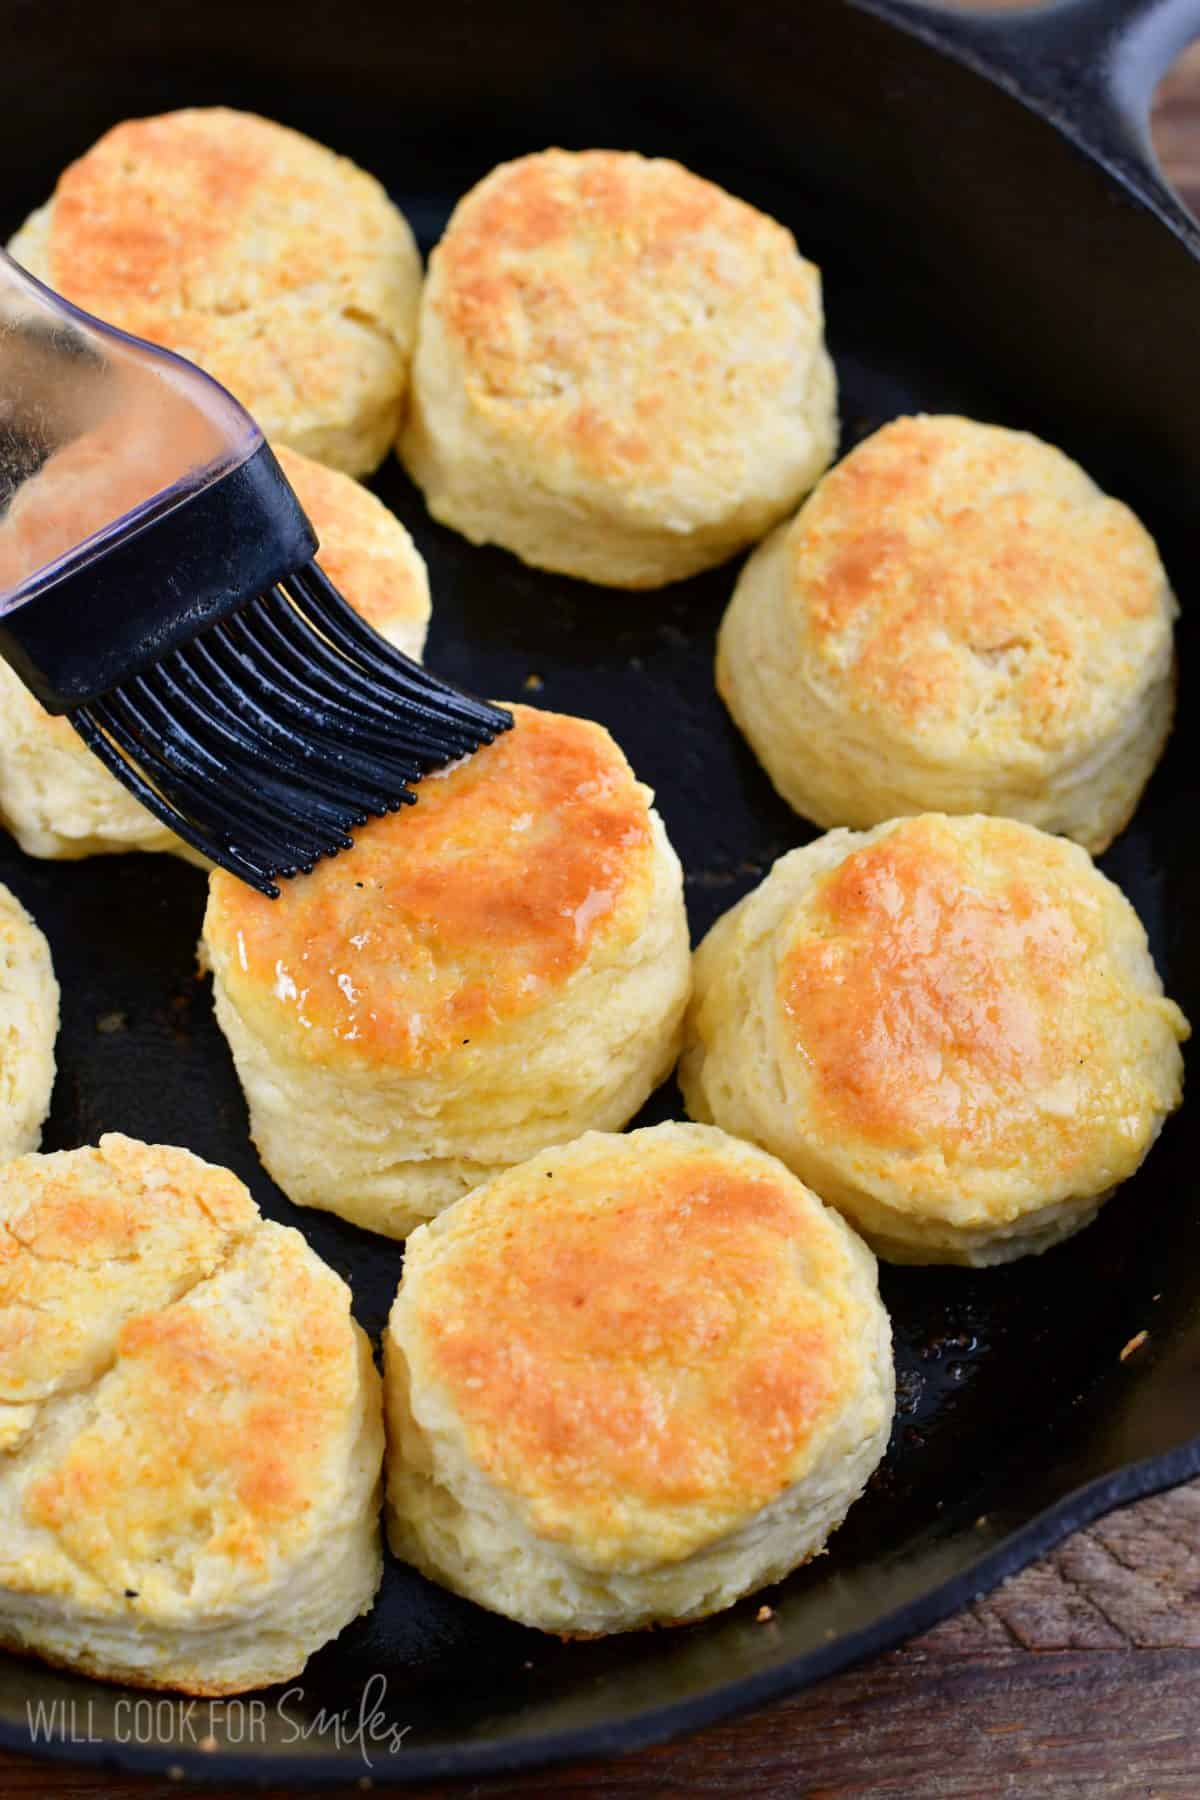
- Brush the dough with melted butter before and after baking.
Buttermilk Substitutes
While the texture will not be the same, using an acidic ingredient such as vinegar or lemon juice can work in a pinch.
This is a simple buttermilk substitute that you can make last minute:
- To a glass measuring cup, add 1 tablespoon of either fresh squeezed lemon juice or white vinegar.
- Fill it to the 1 cup line with cold whole or reduced fat milk.
- Allow the mixture to rest for 5 to 10 minutes, until the milk begins to curdle. At this point, it’s ready to use.
Sour cream and plain yogurt (not Greek) are other commonly used buttermilk substitutes, but they don’t work well for this type of recipe. This is because they have a higher amount of acid, and it changes the taste and texture of biscuits too much. So, it is best to use the milk substitute described above.
PRO TIP: note that these substitutes will NOT work as well as buttermilk. If you plan to make biscuits, do get buttermilk at the store. Substitutes will work but the results will not be the same.
Can I Make These Biscuits Gluten Free?
- If you have a favorite 1:1 gluten free flour blend, you can use it as an equal substitute for the all-purpose flour in this recipe.
- Avoid substituting almond flour or coconut flour, as those require different liquid ratios than what our recipe calls for.
- Be prepared that texture will be quite different with gluten free flour.
Storing and Freezing Recommendation
- Storing on the counter: You can store baked biscuits at room temperature for up to 2 days. Make sure your container or storage bag is airtight to prevent them from going stale.
- Storing in the refrigerator: To keep them fresh a few days longer, store them in the refrigerator for up to a week. Again, be sure to store them in an airtight container or storage bag.
- Reheating: You can easily reheat cold biscuits in a microwave for a few seconds.
- Freezing biscuits raw:
- Cut circles of raw dough and place them on a well-floured baking sheet. Sprinkle them with a little extra flour to prevent them from sticking together.
- Freeze the circles of dough for about 2 hours, or until solid. (Set the timer so you won’t forget.)
- Transfer frozen, raw biscuits into freezer zip-top bags, get the air out, and seal. Return the bags to the freezer and keep for up to 3 months.
- Transfer frozen, raw biscuits into freezer zip-top bags, get the air out, and seal. Return the bags to the freezer and keep for up to 3 months.
- To freeze baked biscuits: After baking, allow them to cool completely and place them into a freezer zip-top bag. Get as much air out as you can without squeezing biscuits and seal. Freeze for up to 3 months. Thaw on the counter for about 30 minutes.
DID YOU MAKE THIS RECIPE? PLEASE leave a 🌟 star rating! Let me know how you liked it by leaving the 📝 comment below or share and tag me on social media @willcookforsmiles. DON’T FORGET to subscribe to my newsletter!
Buttermilk Biscuits Recipe
Ingredients
- 2 cups all purpose flour
- 1 1/2 tbsp baking powder
- 1 1/2 tsp salt more or less to taste
- 6 tbsp cold butter
- 1 cup cold low fat buttermilk
- 2 tbsp butter melted for brushing
- 2 tsp white granulated sugar
Instructions
- Preheat the oven to 425°F and grease a 10-inch cast iron skillet with butter. (You can use a 12 inch skillet if you have more, smaller biscuits.)
- Combine dry ingredients in a mixing bowl and give it a quick stir to combine.
- Chop cold butter into small pieces and add it into the flour mixture. Mix on low speed until the mixture resembles coarse crumbs.
- Pour cold buttermilk into the center of the mixture and mix, still on low, until just combined and dough is sticky.
- Take the dough out onto a lightly floured surface and sprinkle with a little more flour on top. Knead dough 5-6 times, folding it on top of itself, and pat into a ½ inch-think circle. (Try to handle it as little or as quick as you can.)
- Use a cookie cutter (about 2 to 2 1/2 inches in diameter) to cut out the biscuits.
- Rework dough scraps into a ball (kneading it as little as possible) and shape it into a circle again. Cut out more biscuits.
- Place biscuits on a prepared cast iron skillet. Brush each biscuits with melted butter. Bake for 12-14 minutes.
- As soon as biscuits are out of the oven, brush them with melted butter.
Video
Notes
- Storing: You can store baked biscuits at room temperature for up to 2 days. Make sure your container or storage bag is airtight to prevent them from going stale. To keep them fresh a few days longer, store them in the refrigerator for up to a week. Again, be sure to store them in an airtight container or storage bag. You can easily reheat cold biscuits in a microwave for a few seconds.
- To freeze baked biscuits: After baking, allow them to cool completely and place them into a freezer zip-top bag. Get as much air out as you can without squeezing biscuits and seal. Freeze for up to 3 months.
- Thaw on the counter for about 30 minutes.
Nutrition
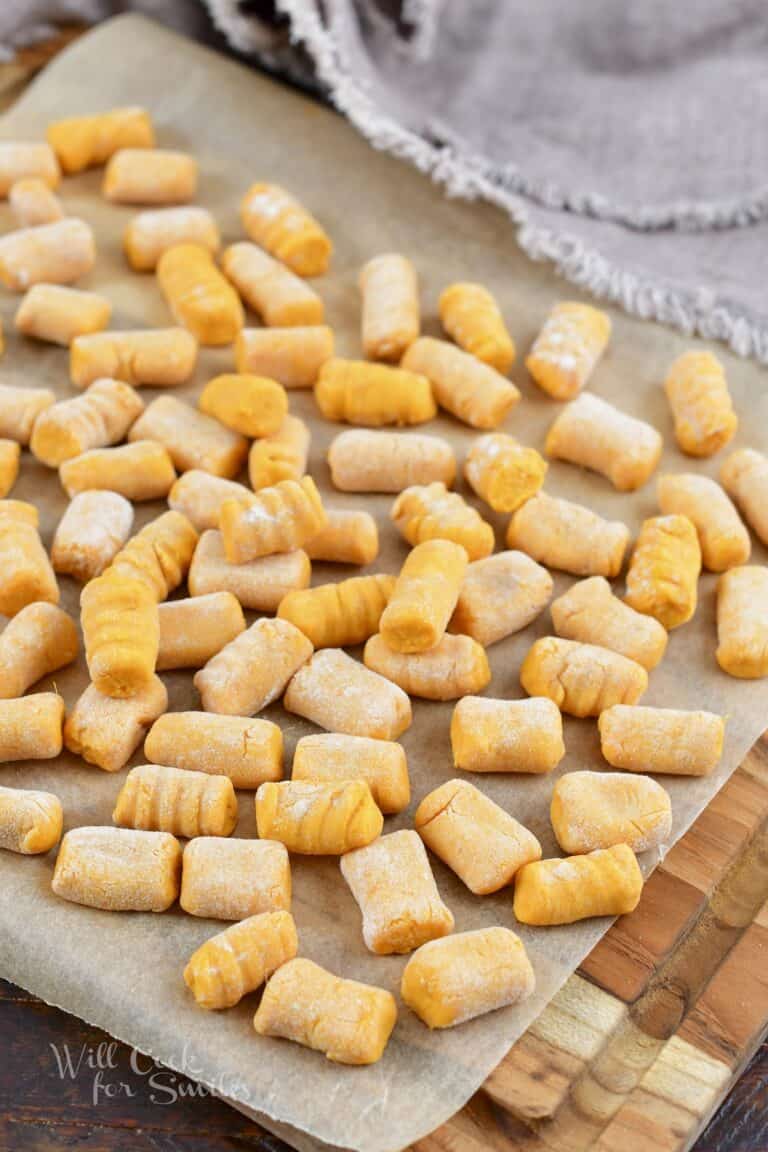
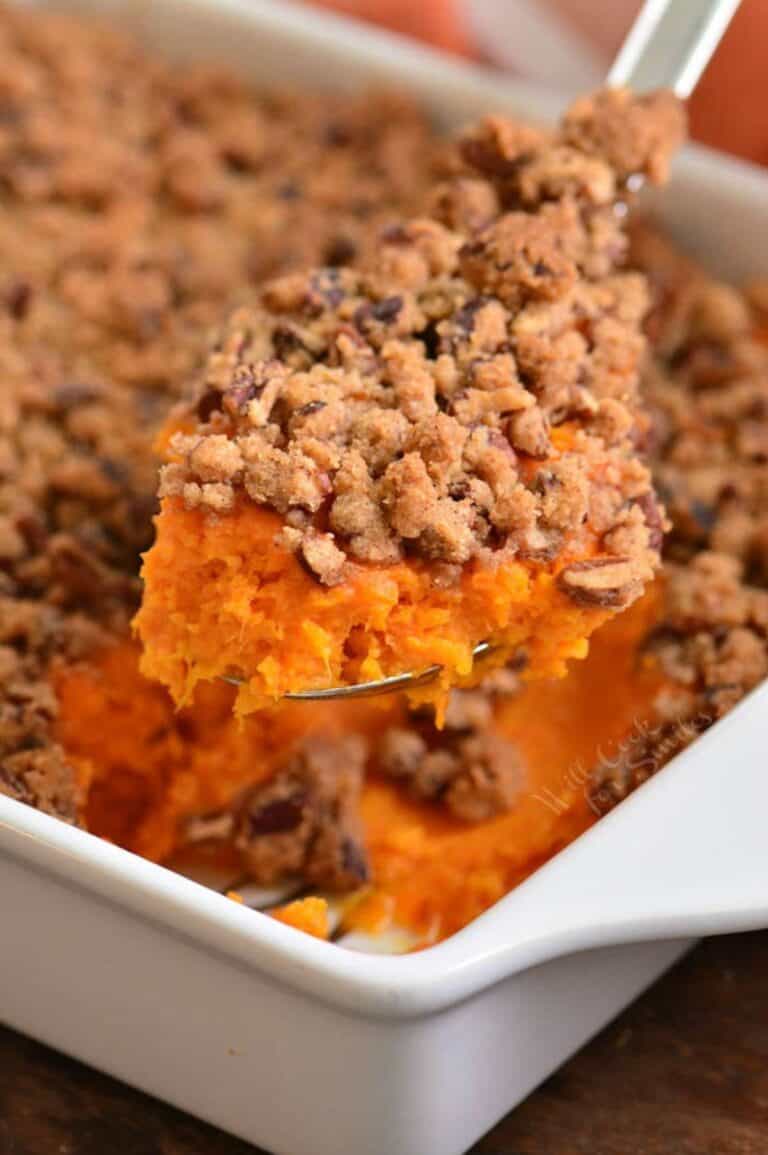
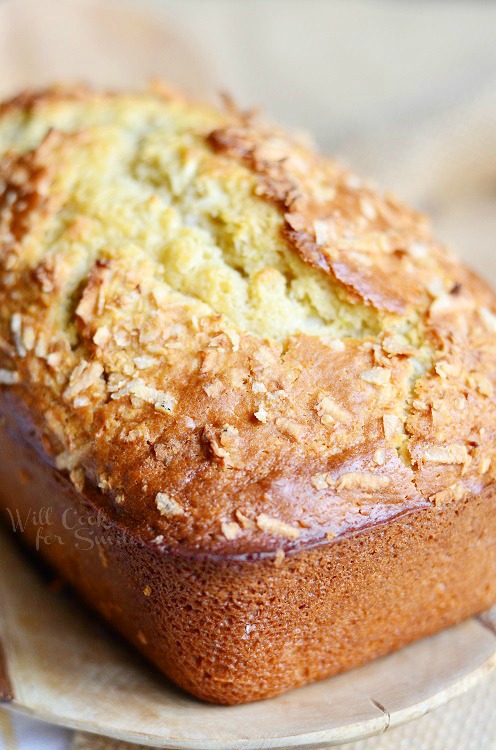
More Bread Side Dish Recipes To Try
Originally published on Will Cook For Smiles in October, 2020.
Would you like to save this recipe?
All images and text ©Lyubov Brooke for ©Will Cook For Smiles. Please do not use my images without prior permission. If using my posts in collections and features, please link back to this post for the recipe.
Disclaimer: Nutrition information shown is not guaranteed to be 100% accurate as most ingredients and brands have variations.


My family loves these biscuits! Thanks for posting!