Panko Crusted Baked Cod

This post may contain affiliate links.
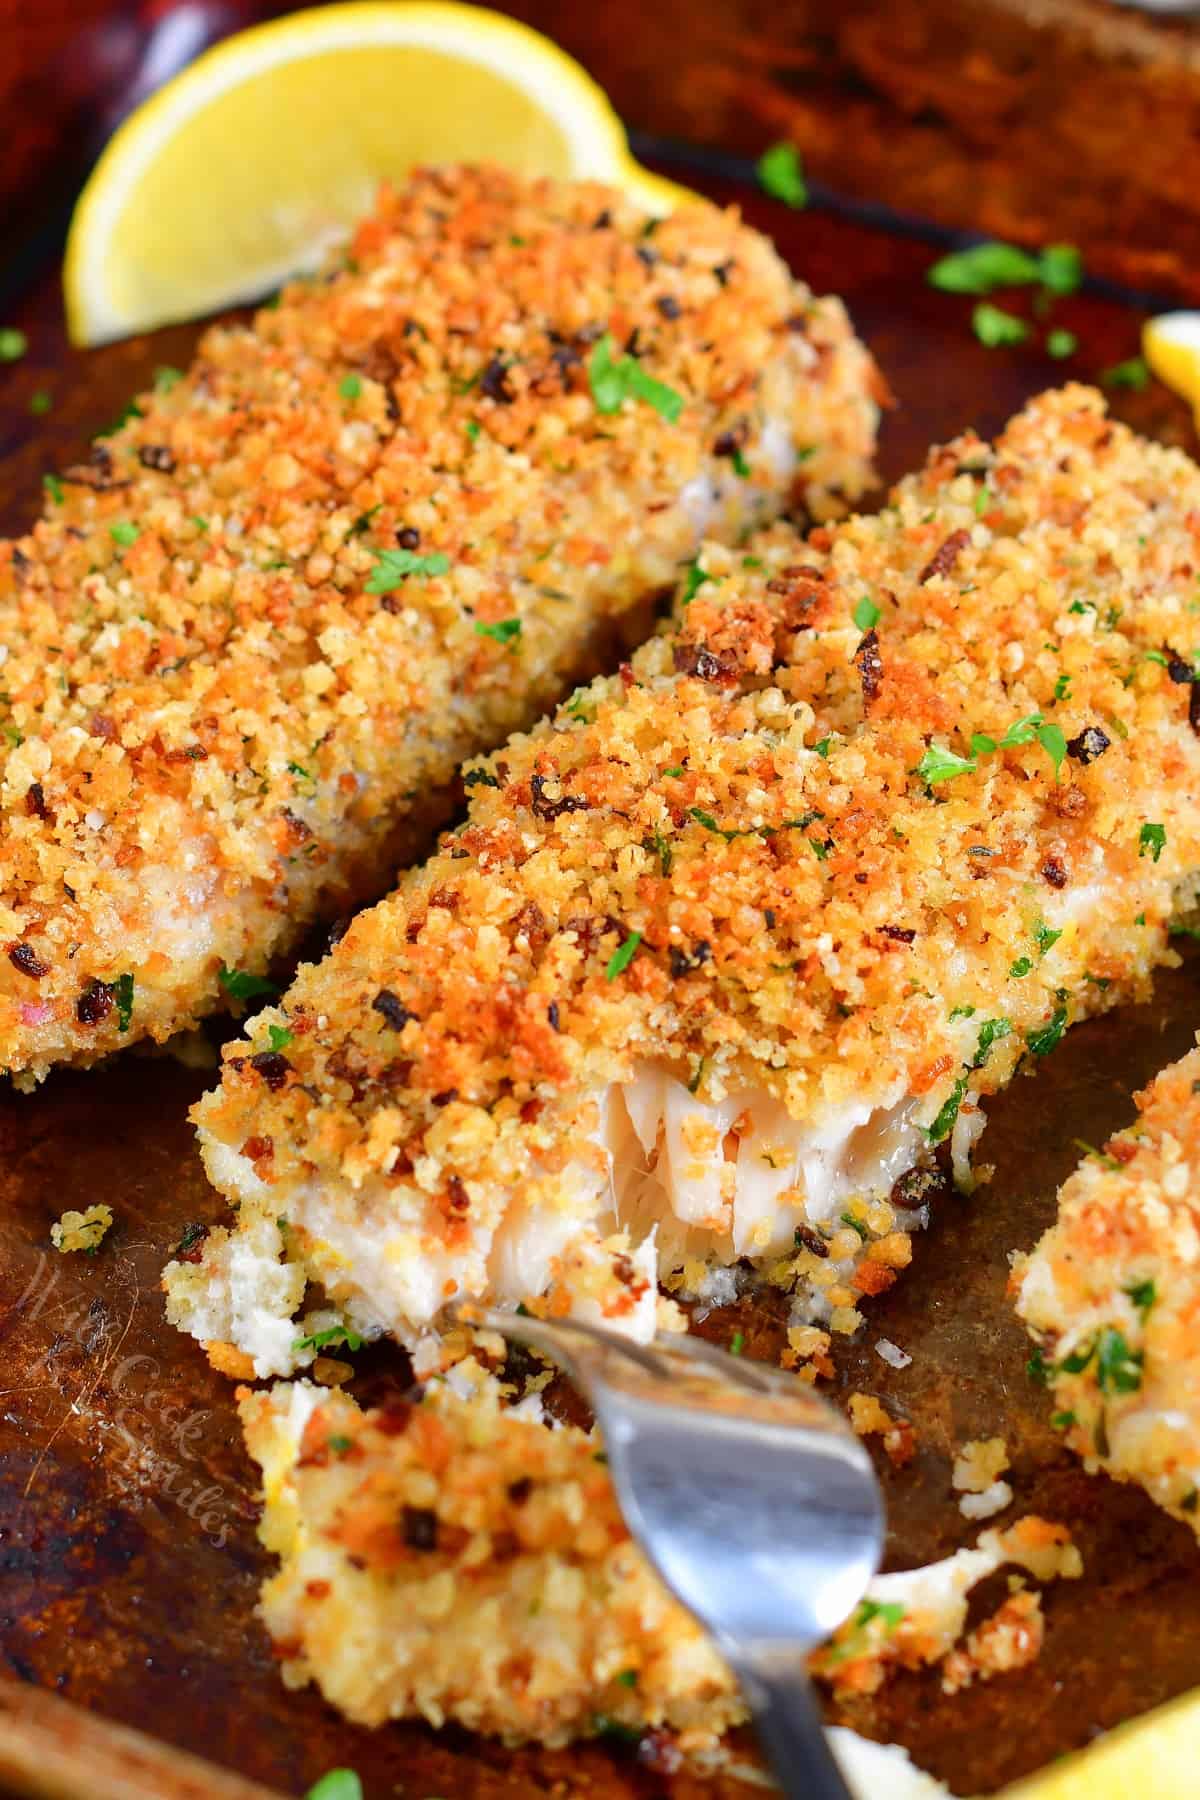
My mom and I have been making panko crusted fish using this method since I was little. I’ve even converted many friends who say they don’t like fish to like fish using this coating. We use this mayo as a binder and toasted panko coating method for more than just cod, but cod has a special place on my menu rotation.
Cod is one of my favorite fish to cook because it’s so easy to work with. It has a mild, clean flavor that isn’t fishy, which makes it a great pick for anyone who’s still warming up to seafood, and the firm, large flakes hold together whether you bake, sear, or broil it. You can also find it almost anywhere, fresh or frozen, so it’s easy to keep on hand for a quick dinner.
When I want cod without a crust, I sear it and finish it in the oven like in my baked cod recipe.
Table of Contents
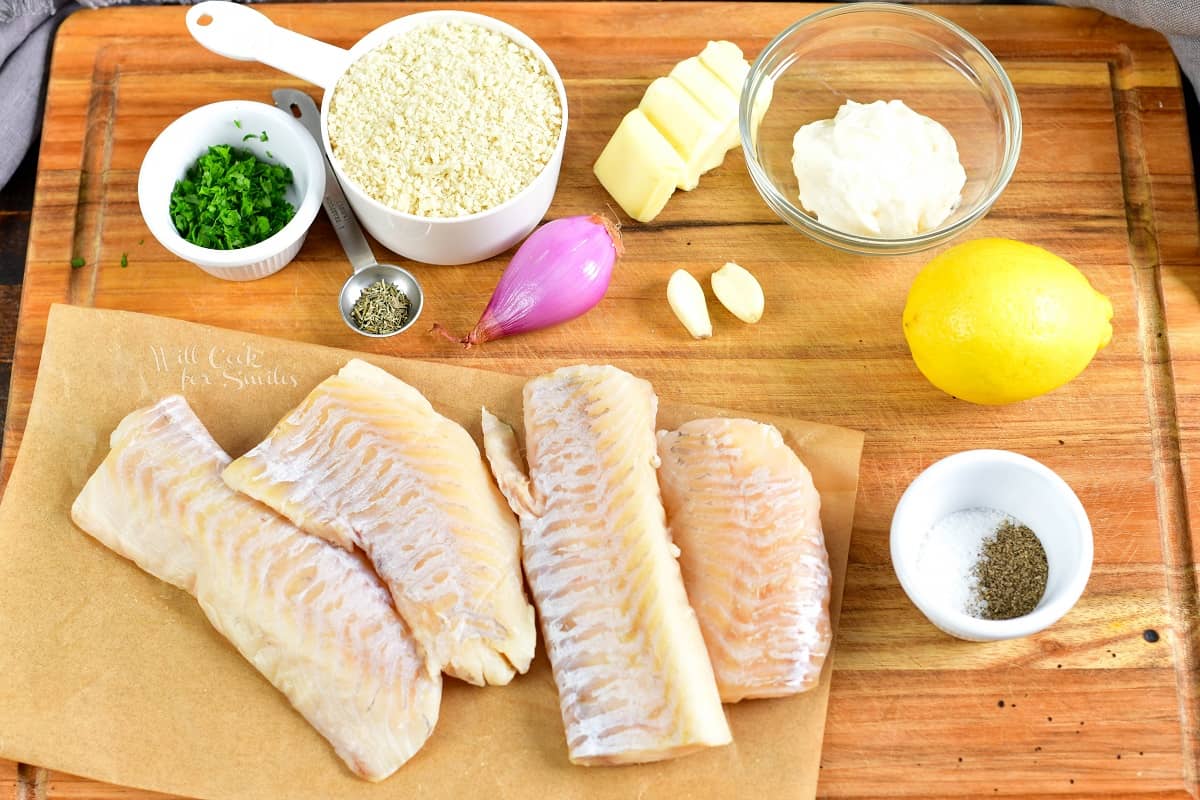
Ingredients You’ll Need for Panko Crusted Cod
- Cod fillets: look for thick, center-cut fillets, about 7 to 8 ounces each and similar in thickness, so they all finish baking at the same time. Haddock and halibut work too, since they’re similar in texture and thickness. Fresh cod gives you the best texture. If you use frozen, thaw it slowly in the refrigerator overnight, then pat it very dry, since thawed fish holds extra water that softens the breading.
- Mayonnaise: this is the glue that holds the panko on, no eggs needed. With lemon zest and juice stirred in, you also get a bright, tangy layer of flavor between the fish and the crust.
- Panko bread crumbs: Japanese-style bread crumbs with larger, airier flakes than regular bread crumbs, and that’s where the light crunch comes from. Use gluten-free panko if you need to.
- Shallot: it’s milder and sweeter than a yellow onion, and browning it in the butter builds a savory base for the breading.
- Unsalted butter: I prefer to use unsalted so I can control the salt in the dish.
How to Make Panko Crusted Baked Cod
Step 1: Toast the Panko Breading
- Prep the oven and pan: preheat the oven to 375°F, set a wire rack inside a rimmed baking sheet, and grease the rack.
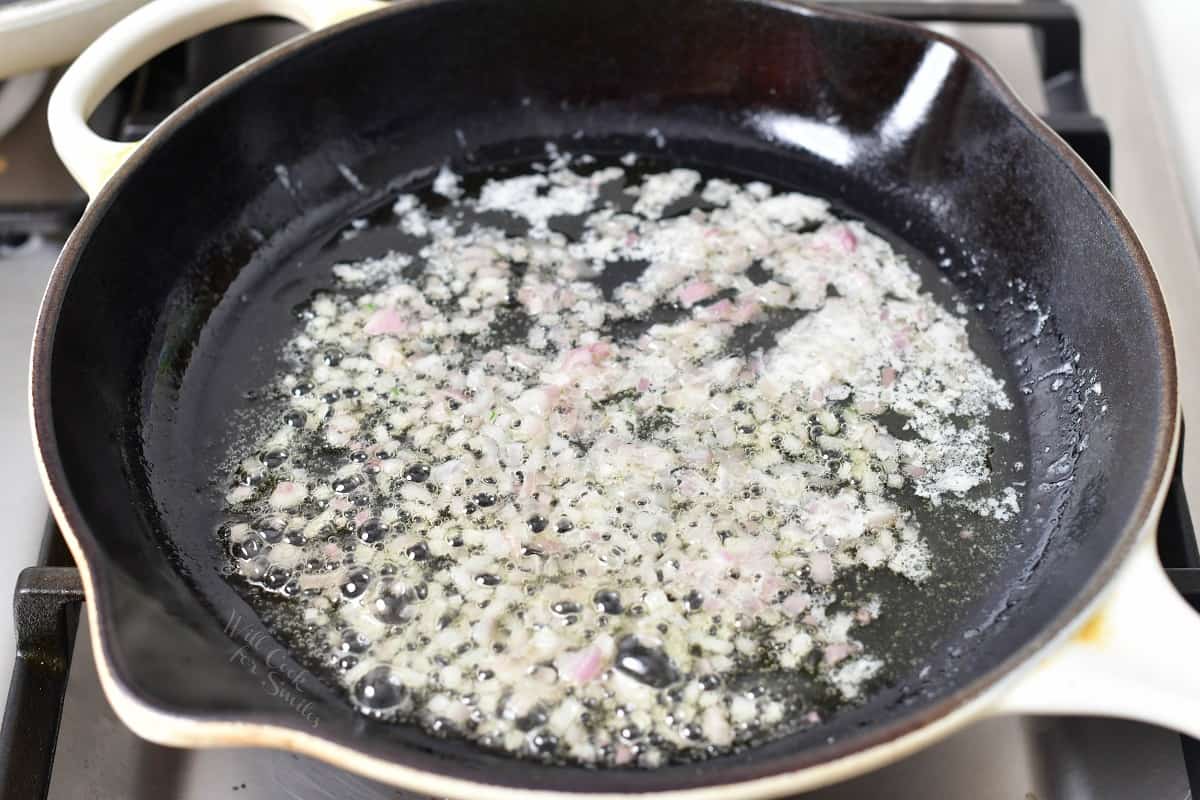
- Brown the shallot: preheat a pan over medium heat first, then melt the butter and sauté the diced shallot until it starts to brown.
- Add the garlic and thyme: sauté just until fragrant, no more than 30 seconds, so the garlic doesn’t burn.
- Toast the panko: mix in the panko and season with salt and pepper, stirring until the butter, shallot, and garlic are worked evenly through the crumbs. Keep cooking for another minute or two, stirring slowly so the crumbs don’t burn.
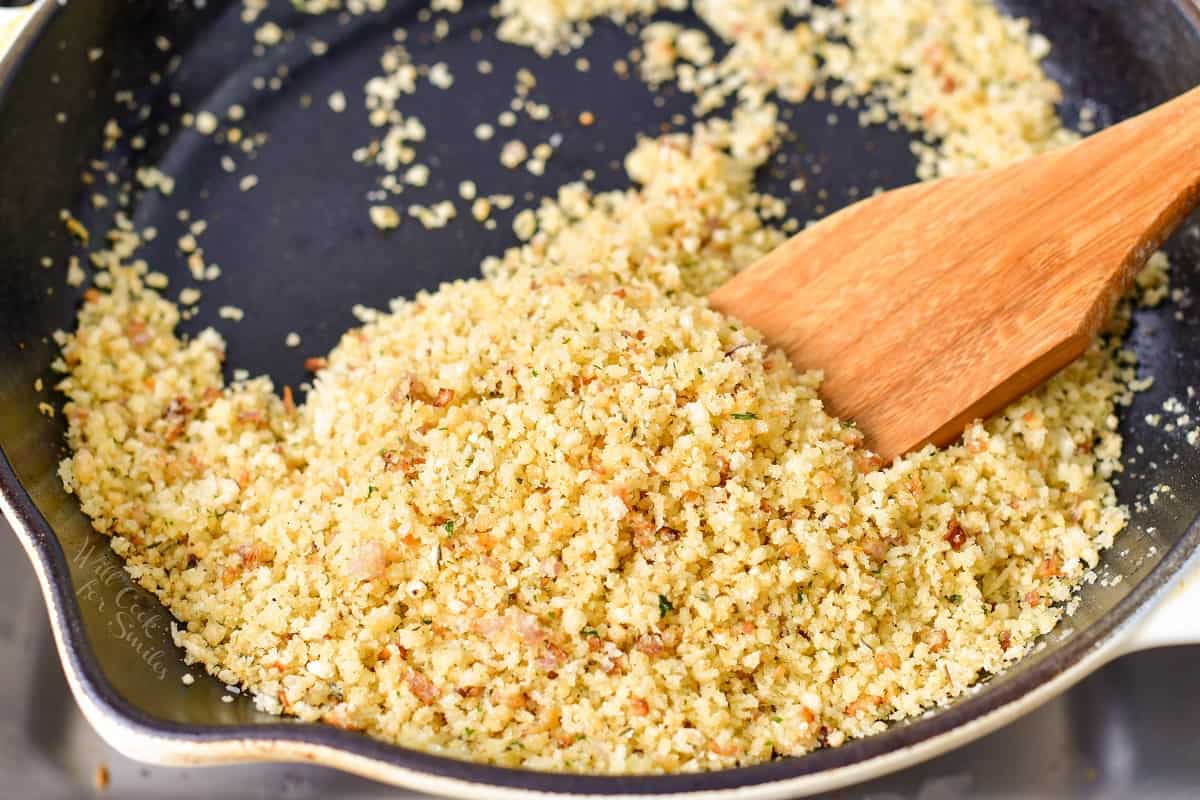
- Add the parsley: take the pan off the heat, transfer the breading to a wide, shallow bowl, and stir in the minced parsley.
Step 2: Coat and Bake the Cod
- Make the lemon mayo: in a small bowl, mix the mayonnaise, lemon zest, lemon juice, and pepper.
- Season the fish: pat the fillets dry with paper towels so the mayo sticks, then season them with salt and pepper on all sides.
- Brush with the mayo: generously brush each fillet with the lemon mayo on all sides.
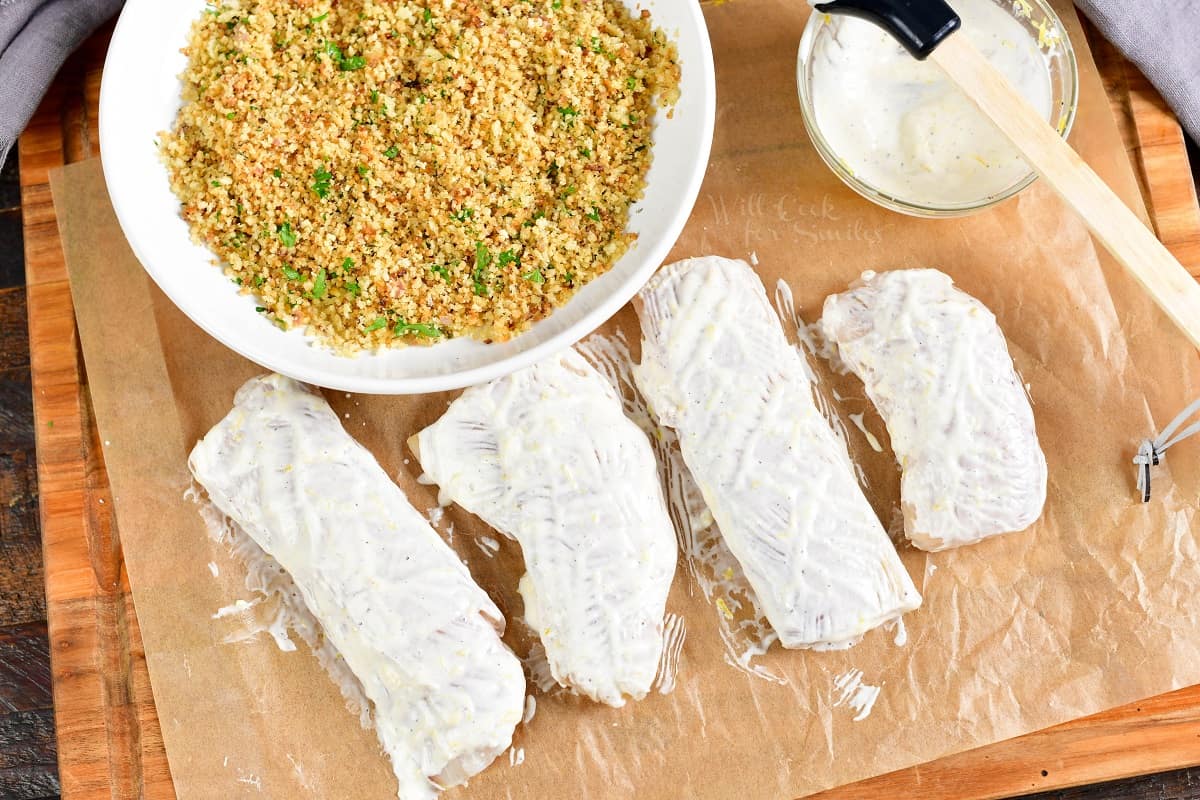
- Coat with the panko: dip each fillet into the breading and gently pat the crumbs on, then set it on the prepared rack.
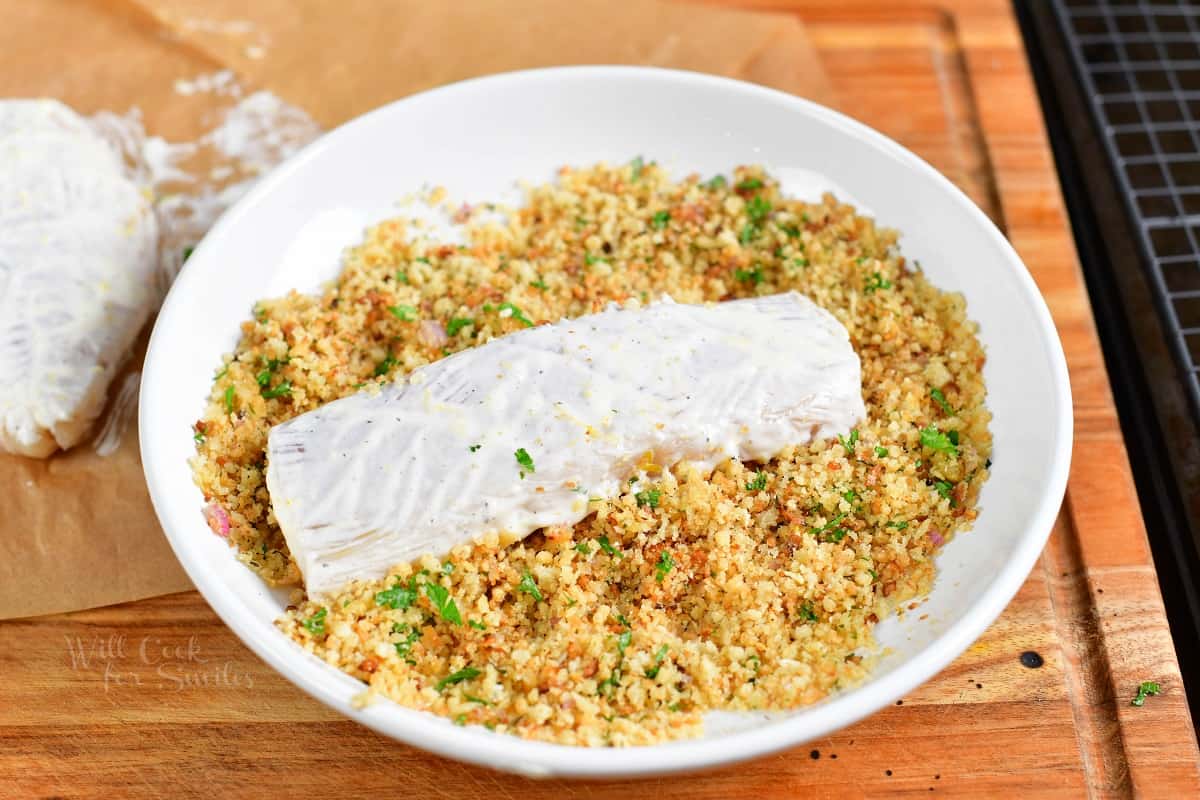
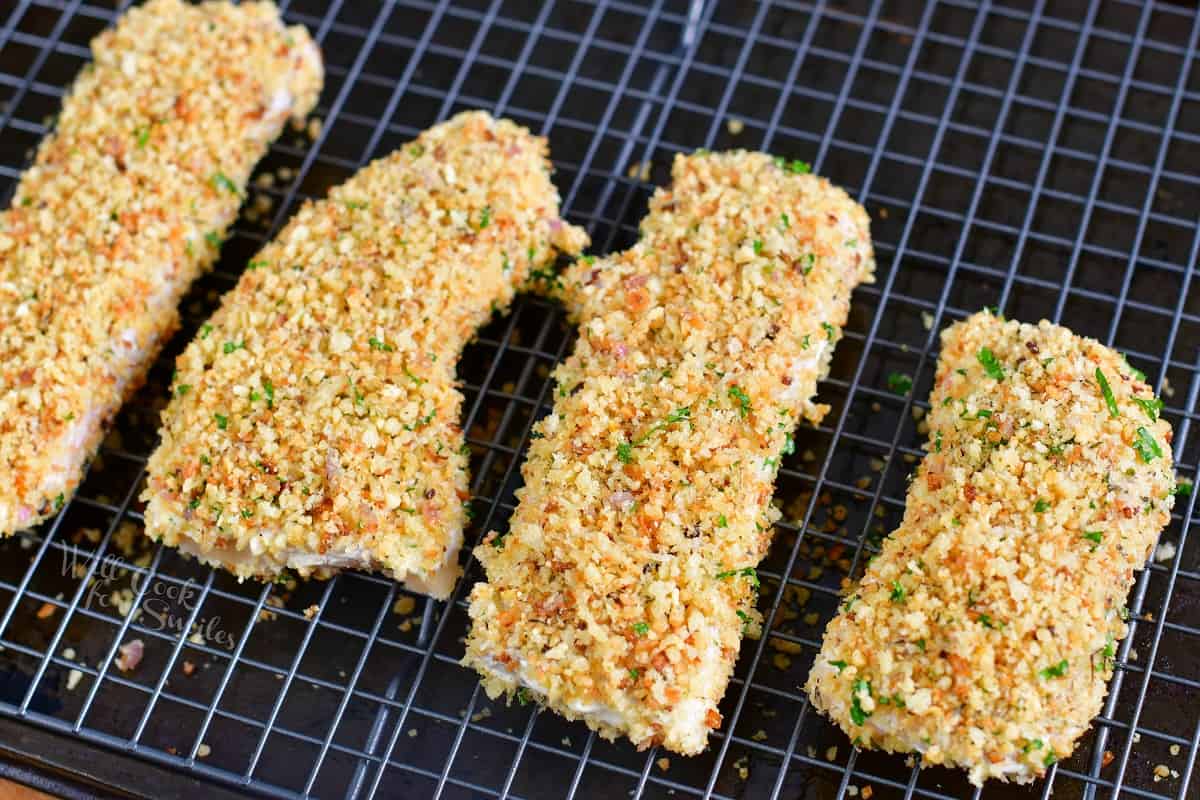
- Bake: bake for about 20 minutes, until the fish is opaque and flakes easily at the thickest part.
- Rest and serve: let the fish rest for about 5 minutes after you take it out of the oven, then serve.
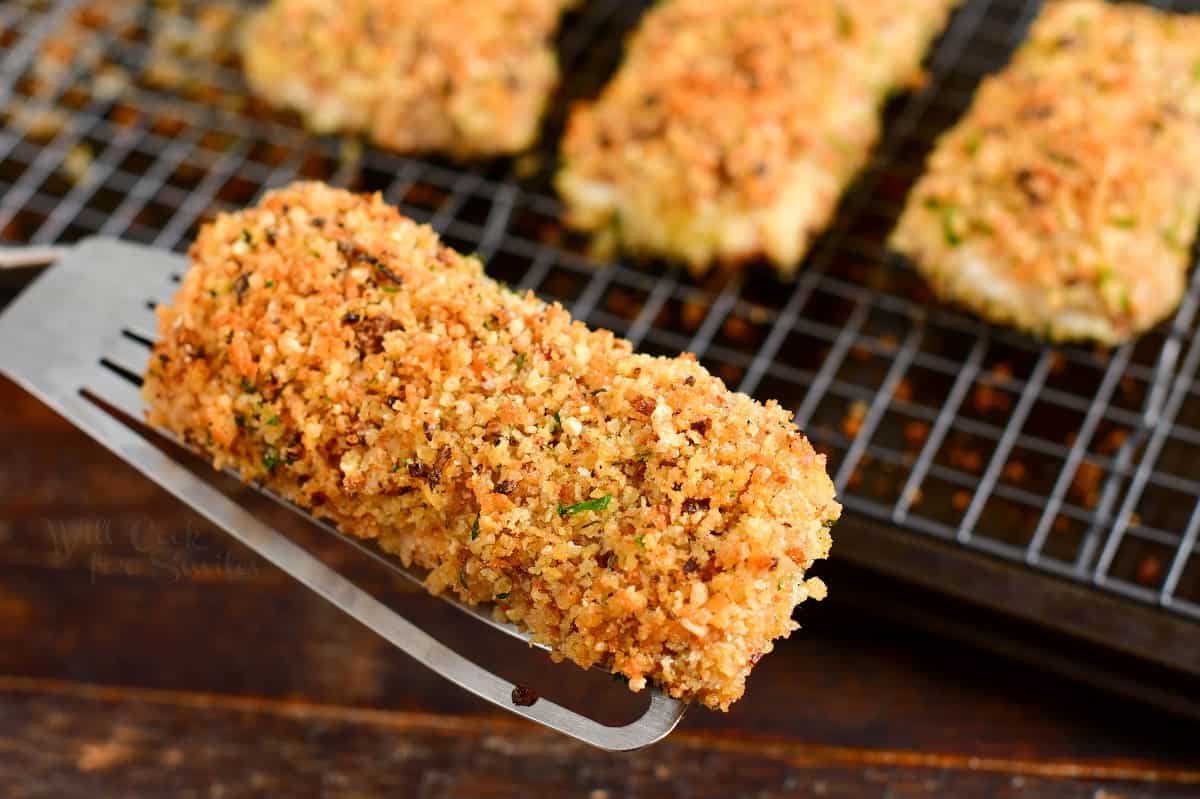
How to Tell When Panko Crusted Cod Is Done
- Bake time: at 375°F, 7 to 8 ounce fillets take about 20 minutes. Since the panko is toasted before it goes on the fish, you don’t need a very hot oven to brown the crust, and the moderate heat cooks thick fillets through evenly.
- Use a thermometer: Insert an instant-read thermometer into the center of the thickest fillet, safe temperature for fish is 145°F.
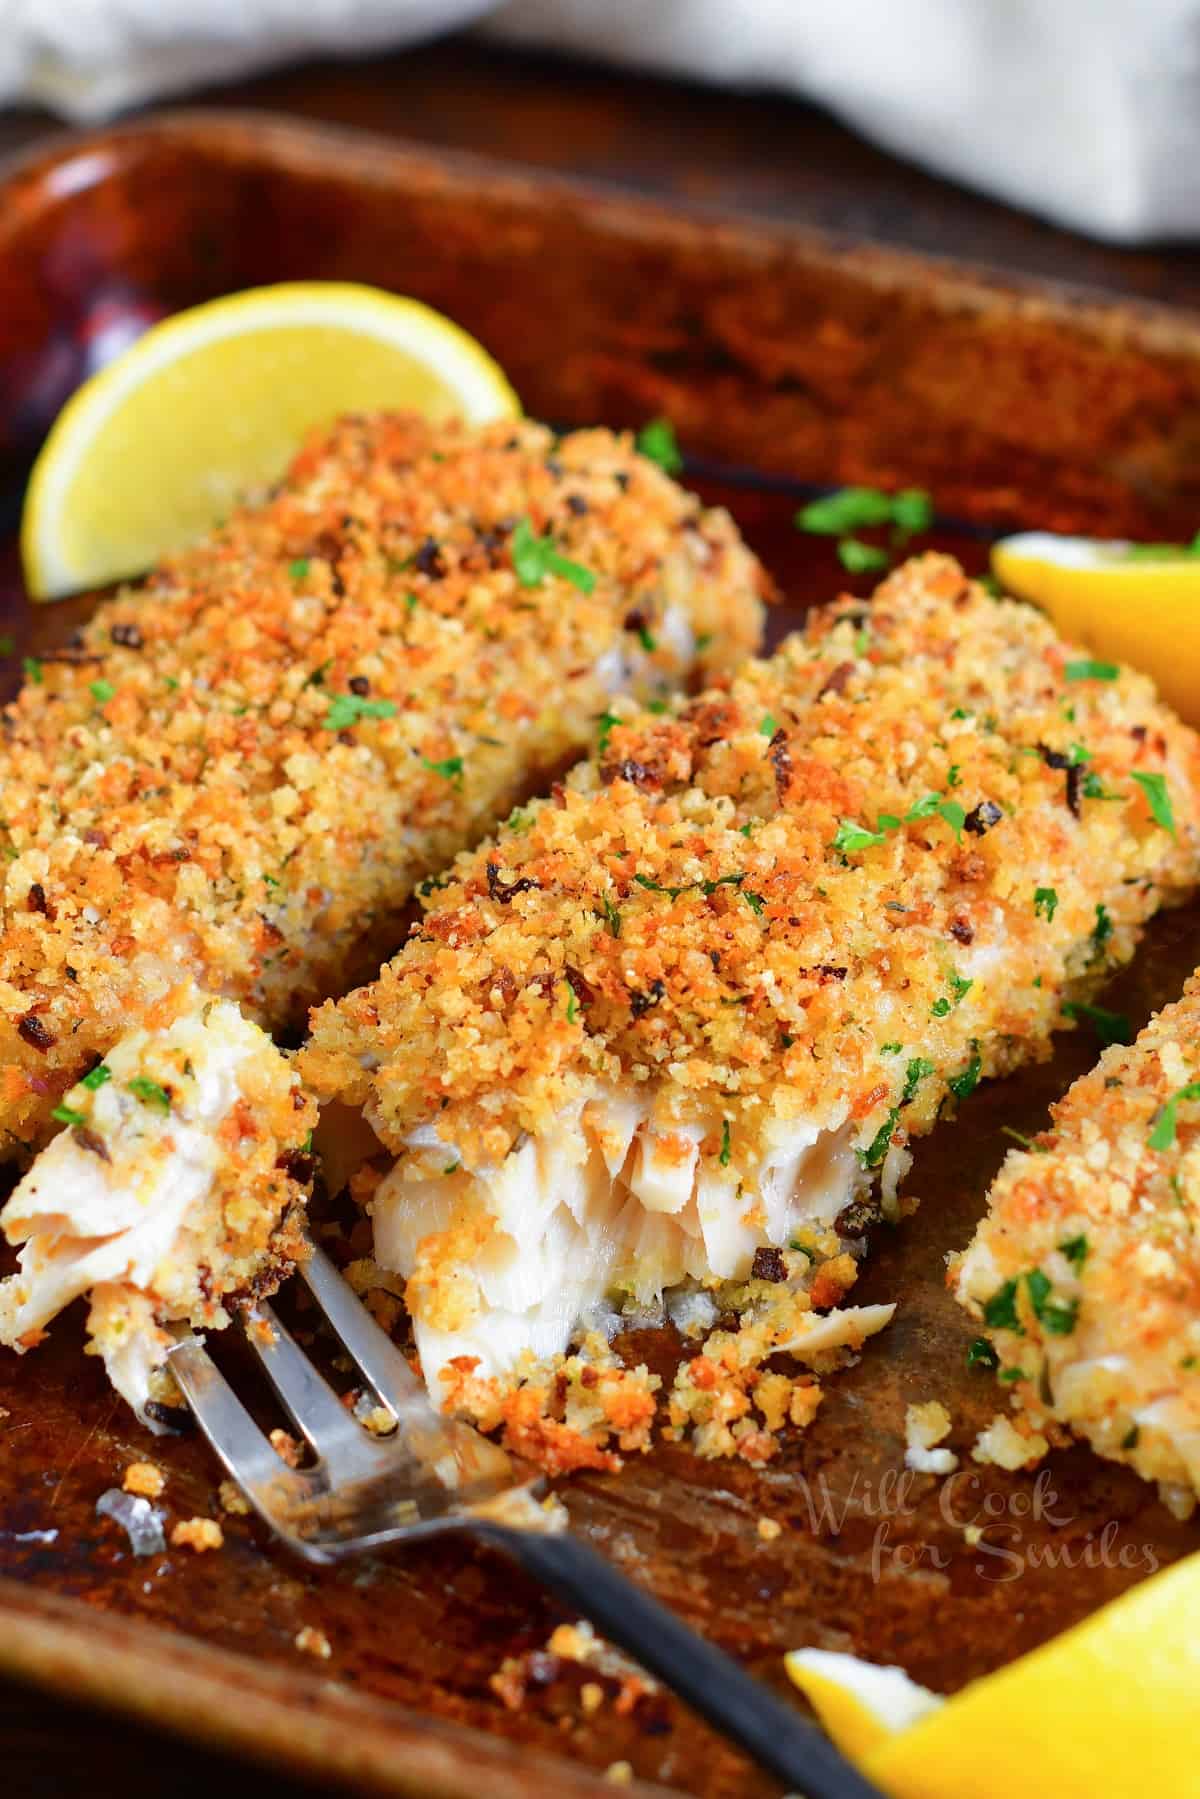
- Check the flakes: no thermometer handy? Flake off a piece at the thicker end and peek inside. Cooked cod is opaque all the way through the center, flakes easily, and still looks juicy.
Tips for the Crispiest Panko Crust
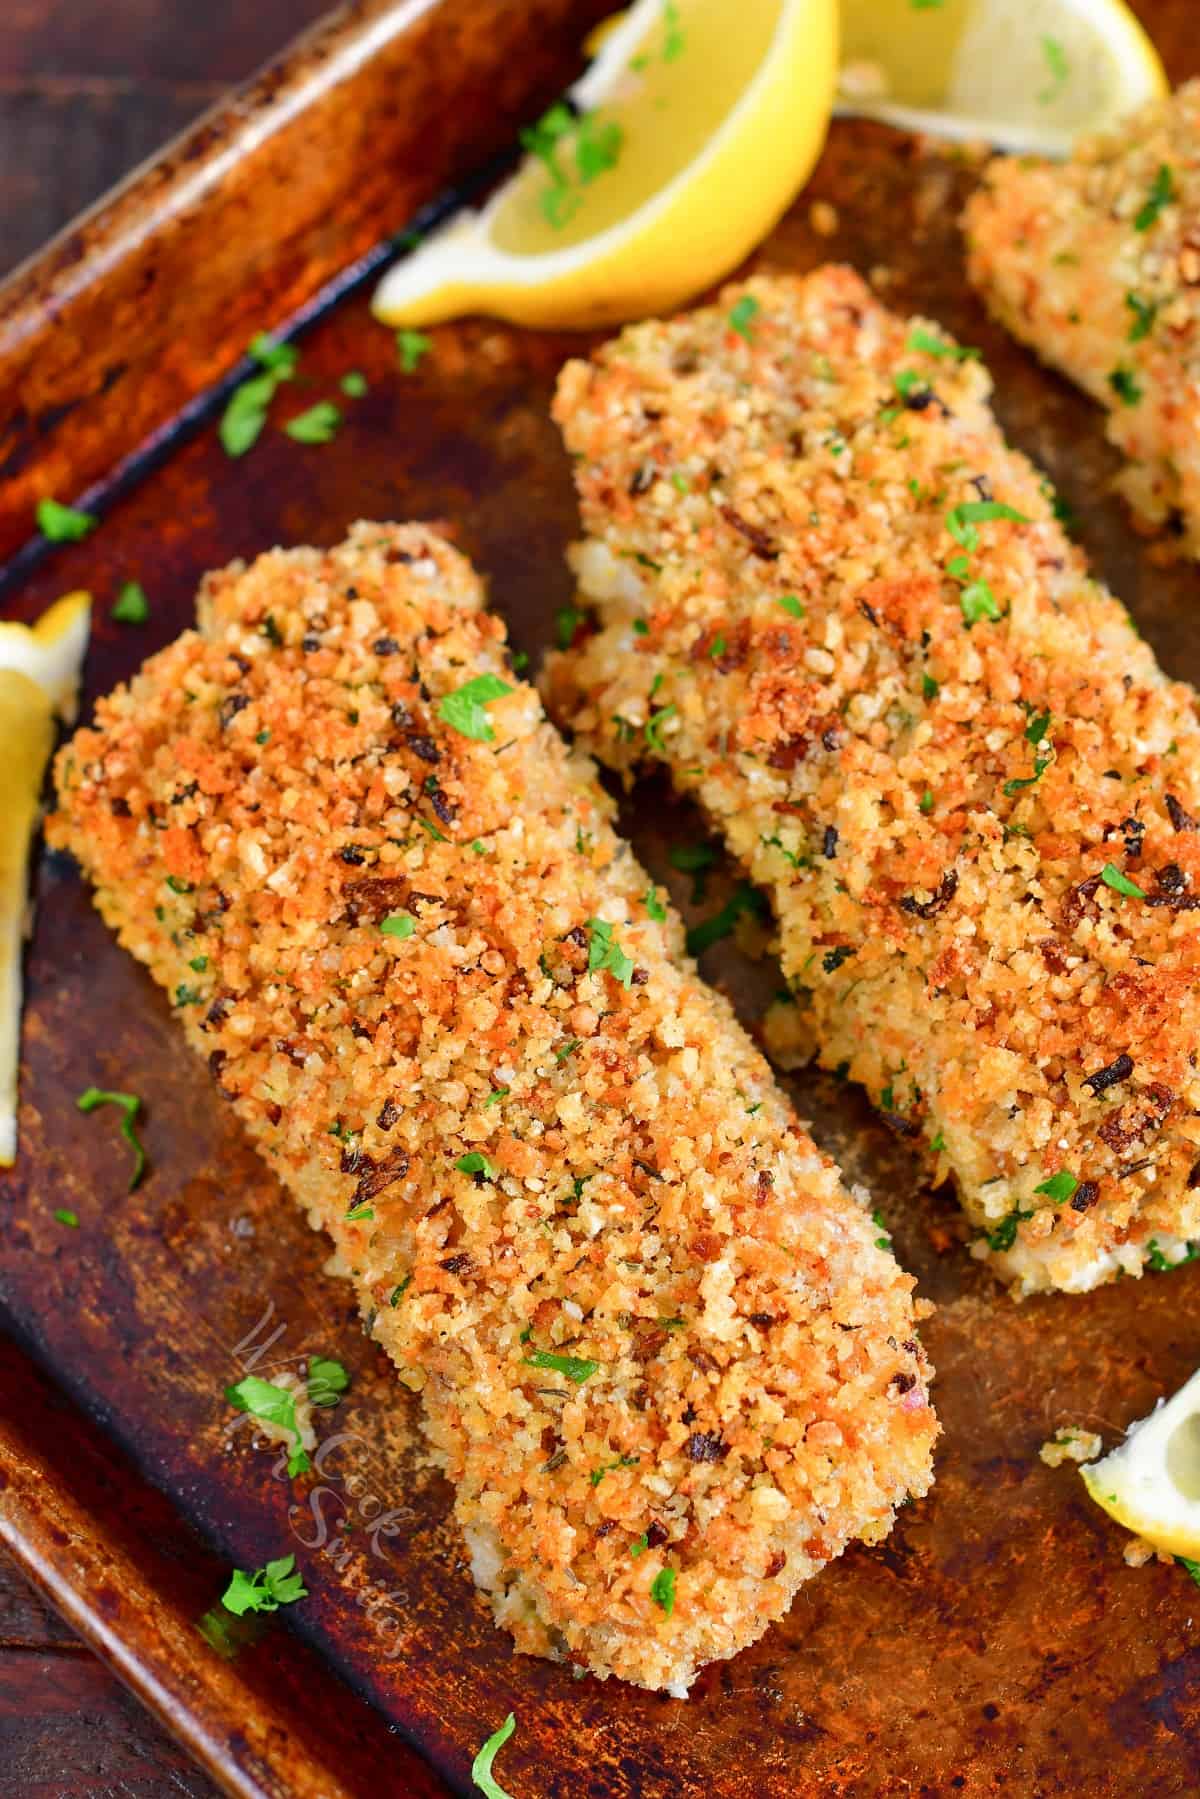
- Bake on a wire rack: raising the fillets lets hot air circulate all the way around them, so they aren’t sitting in their own juices on the pan.
- Breading the bottom is optional: the bottom crust softens a little from the moisture dripping down from the fish as it bakes. Since I love this breading so much, I coat the fillets all over anyway, but you can skip the bottom if you prefer.
- Thinner fillets bake faster: if your fillets are thinner than 1 inch, start checking them at 375°F a few minutes before the 20-minute mark.
What to Serve with Panko Crusted Cod
Lemon wedges and tartar sauce always go on the table with this cod. My go-to is the homemade tartar sauce from my fried fish tacos. Then add one or two of these sides:
- Oven Roasted Potatoes: serve them with the crunchy cod for a homemade take on fish and chips.
- Blue Cheese Coleslaw: a cool, creamy slaw is a classic next to breaded fish, and the tangy blue cheese balances the buttery crust.
- Italian Roasted Asparagus: a bright green vegetable keeps the plate from feeling heavy.
How to Store and Reheat Panko Crusted Cod
- Store: in an airtight container in the refrigerator for up to 3 days. The crust softens in the fridge, but you can bring some of the crunch back when you reheat it.
- Reheat: in an air fryer at 350°F for about 3 to 5 minutes, or in a nonstick pan over slightly below medium heat for a few minutes per side, turning gently, just until warmed through. Either way, the dry heat toasts the panko again. Skip the microwave, since the crust turns soggy in it.
- Freeze: I don’t recommend freezing cooked panko crusted cod. Once thawed, the crust turns soggy and the fish loses its flaky texture.
More Fish Recipes From Me
DID YOU MAKE THIS RECIPE? PLEASE leave a 🌟 star rating! Let me know how you liked it by leaving the 📝 comment below or share and tag me on social media @willcookforsmiles. DON’T FORGET to subscribe to my newsletter!
Panko Crusted Baked Cod Recipe
Ingredients
- 28-32 oz cod filets 7-8 oz. each
- 2 tsp kosher coarse salt more or less to taste
- 1/2 tsp black pepper more or less to taste
Mayo Mixture:
- 1/4 cup mayonnaise
- 1 lemon – zest
- 1/2 tbsp lemon juice
- 1/8 tsp black pepper
Breading:
- 3 tbsp unsalted butter
- 1 large shallot diced
- 2 garlic cloves pressed
- 1 cup Panko bread crumbs
- 1 tsp fresh thyme
- 1 tbsp minced fresh parsley
- 1/2 tsp kosher coarse salt more or less to taste
- 1/8 tsp black pepper more or less to taste
Instructions
- Preheat the oven to 375°F, place a wire rack inside a rimmed baking sheet, and grease the wire rack.
Breading:
- Preheat a cooking pan first over medium heat. Melt butter and add diced shallot. Let it sauté until starts to brown.
- Add pressed garlic and thyme and sauté just until fragrant.
- Mix in Panko bread crumbs and season with salt and pepper. Make sure to mix until bread crumbs, onions, and butter is well incorporated throughout.
- Let it cook for just another minute or two, as you slowly stir to prevent bread crumbs from burning.
- take off heat and transfer the breading mixture into a wide and shallow bowl. Stir in minced parsley.
Baking the fish:
- Mix mayonnaise, lemon zest, lemon juice, and pepper in a small mixing bowl.
- Pat the fish filets dry with a paper towel. Season each filet with some salt and pepper on all sides.
- Generously brush each filet with mayonnaise mixture on all sides.
- Dip and gently pat coated filets into the breading mixture and place them into the prepared baking sheet.
- Bake for about 20 minutes. You can check is the fish is done by using a meat thermometer as well, internal temperature should be between 135°F-145°f at the thickest part.
- Let the fish rest for about 5 minutes after taking it out of the oven and serve.
Notes
- Store: in an airtight container in the refrigerator for up to 3 days.
- Reheat: in an air fryer at 350°F for about 3 to 5 minutes, or in a nonstick pan over slightly below medium heat for a few minutes per side, turning gently, just until warmed through. Skip the microwave, since the crust turns soggy in it.
Nutrition
Would you like to save this recipe?
All images and text ©Lyubov Brooke for ©Will Cook For Smiles. Please do not use my images without prior permission. If using my posts in collections and features, please link back to this post for the recipe.
Disclaimer: Nutrition information shown is not guaranteed to be 100% accurate as most ingredients and brands have variations.