Banana Pancakes Recipe

Awesome recipe. Now my go to for pancakes. Made about 6 times in the space of a few weeks. ~Lib
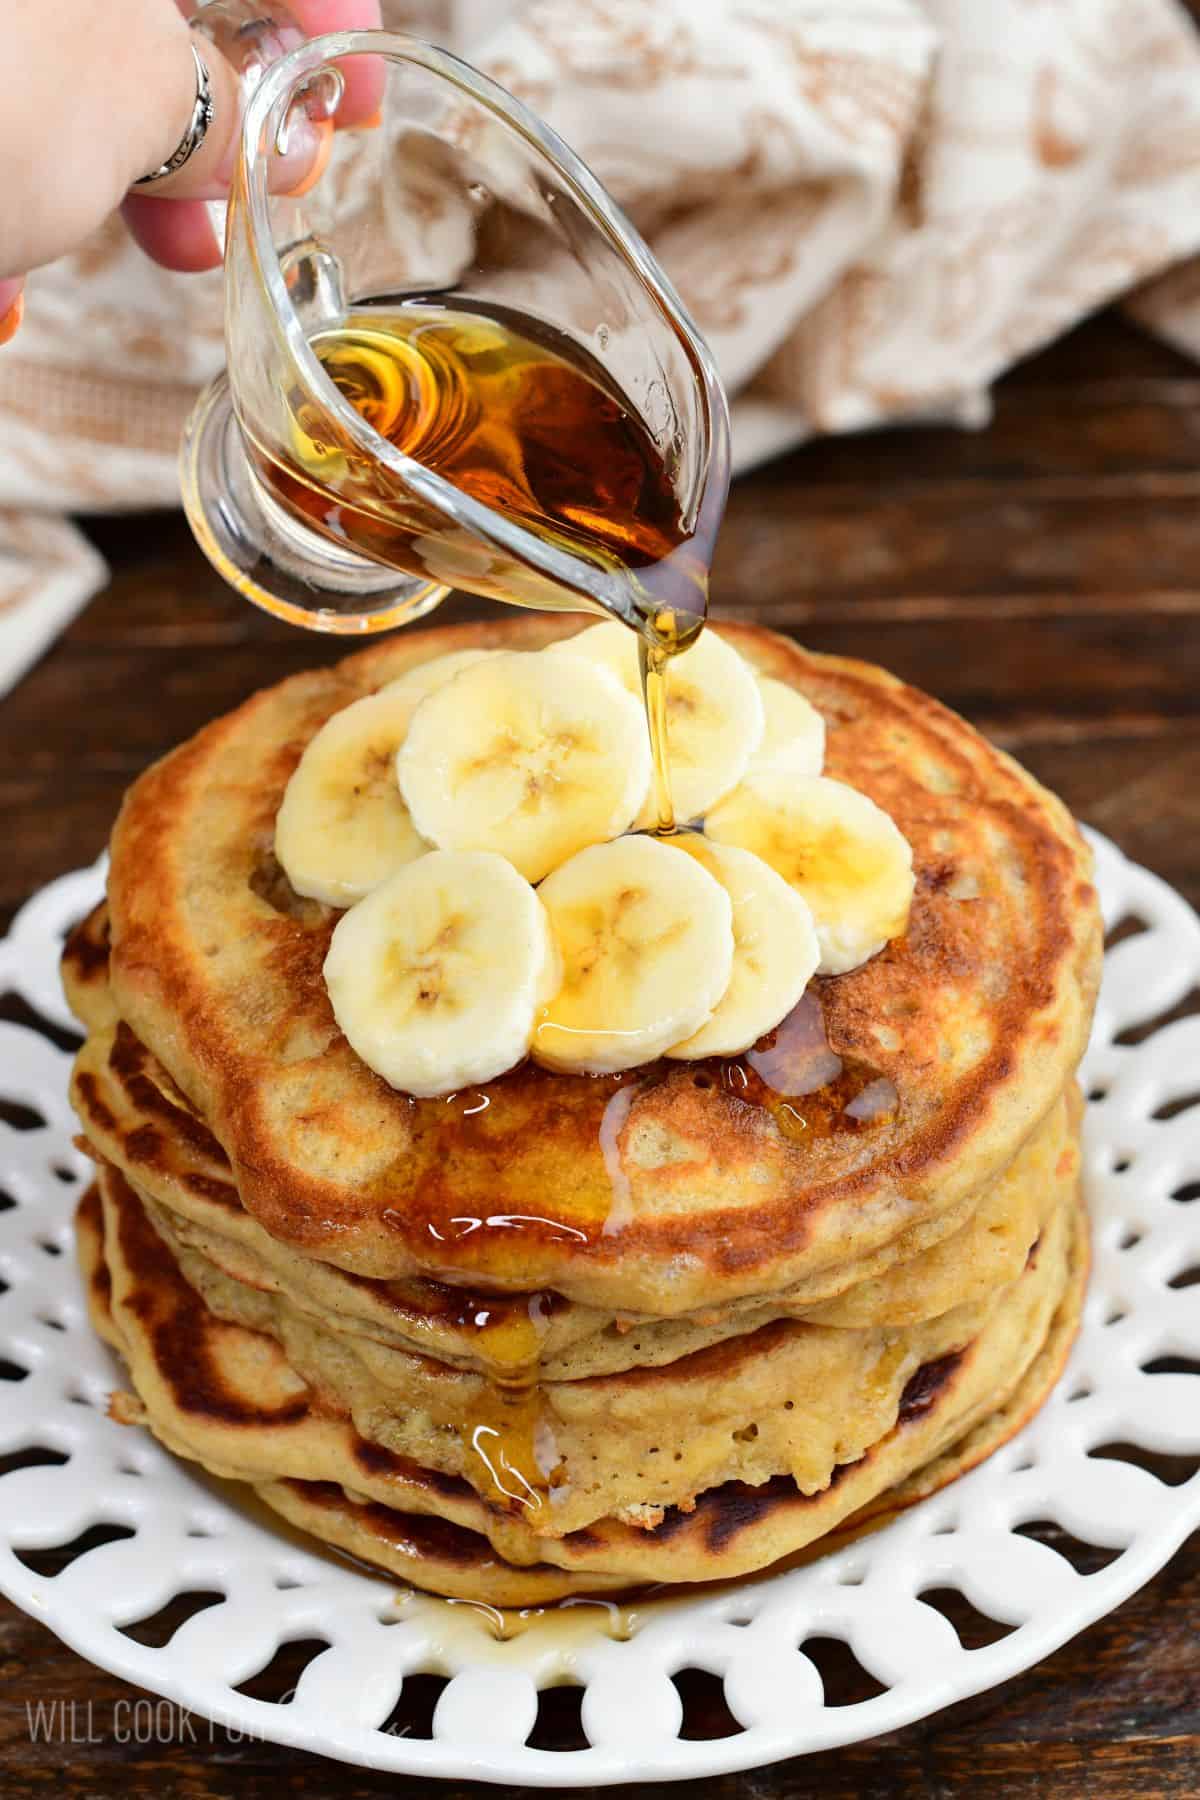
Why My Banana Pancakes are So Good (and Fluffy)
- Two leaveners plus buttermilk. Baking soda reacts with the buttermilk’s acidity for lift, while baking powder adds extra rise on its own, so the batter puffs up instead of staying flat. It’s the same combo that makes my buttermilk pancakes so fluffy.
- Mashed banana adds moisture, not just flavor. Overripe bananas mean less added sugar and a batter that stays moist. Pancakes is a great use for overripe bananas if you don’t feel like making banana bread.
- My resting batter method matters. I’ve worked out this additional method in my pancakes almost 20 years ago, and it’s the only way I make pancakes now. A 10-15 minute rest gives the leaveners time to activate, which makes a difference between flat and fluffy pancakes.
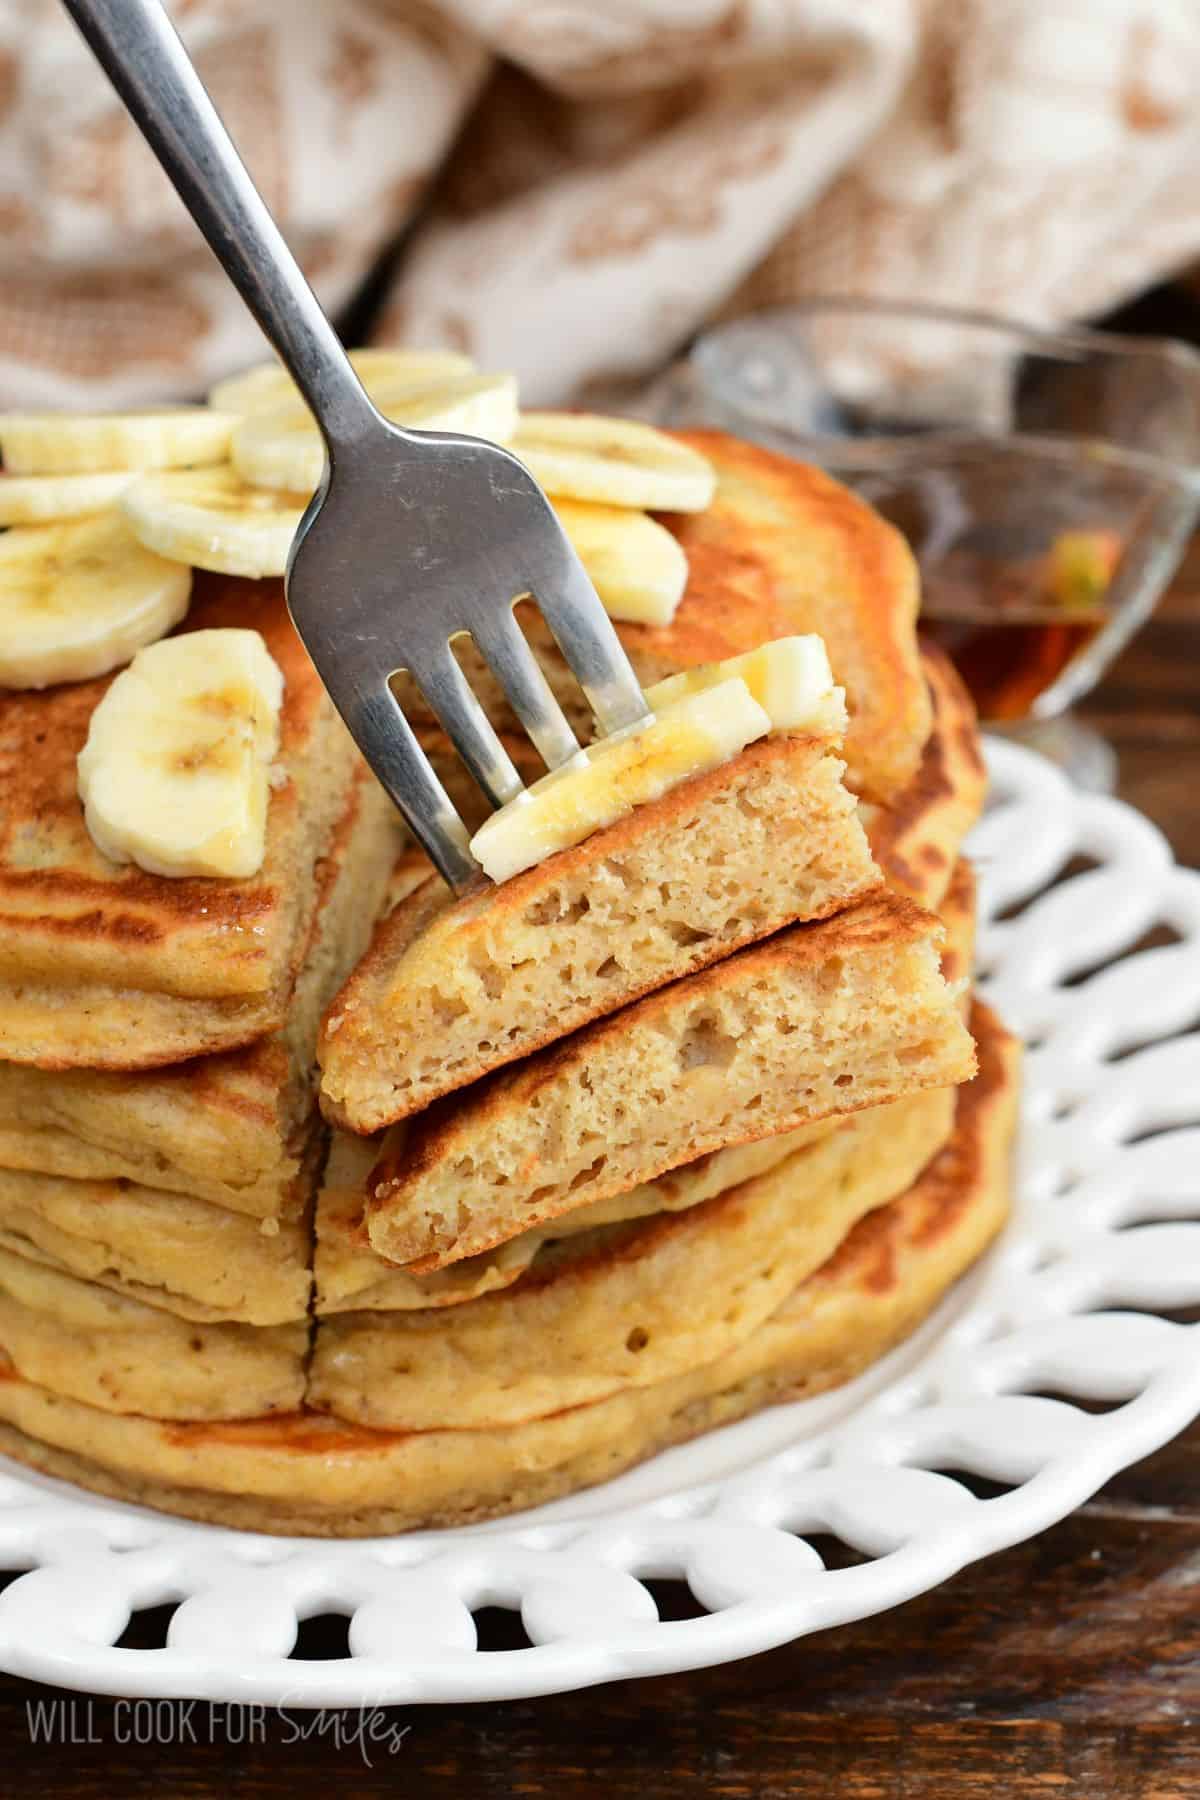
- The payoff: soft, fluffy centers with lightly crisp edges, and just banana, walnuts, and pantry staples, no mixer or specialty ingredients required.
- Freezer-friendly for busy mornings. You can freeze leftovers or double the batch and freeze the extras. You’ve got homemade banana pancakes ready to reheat for week days.
Table of Contents
Key Ingredients and Notes
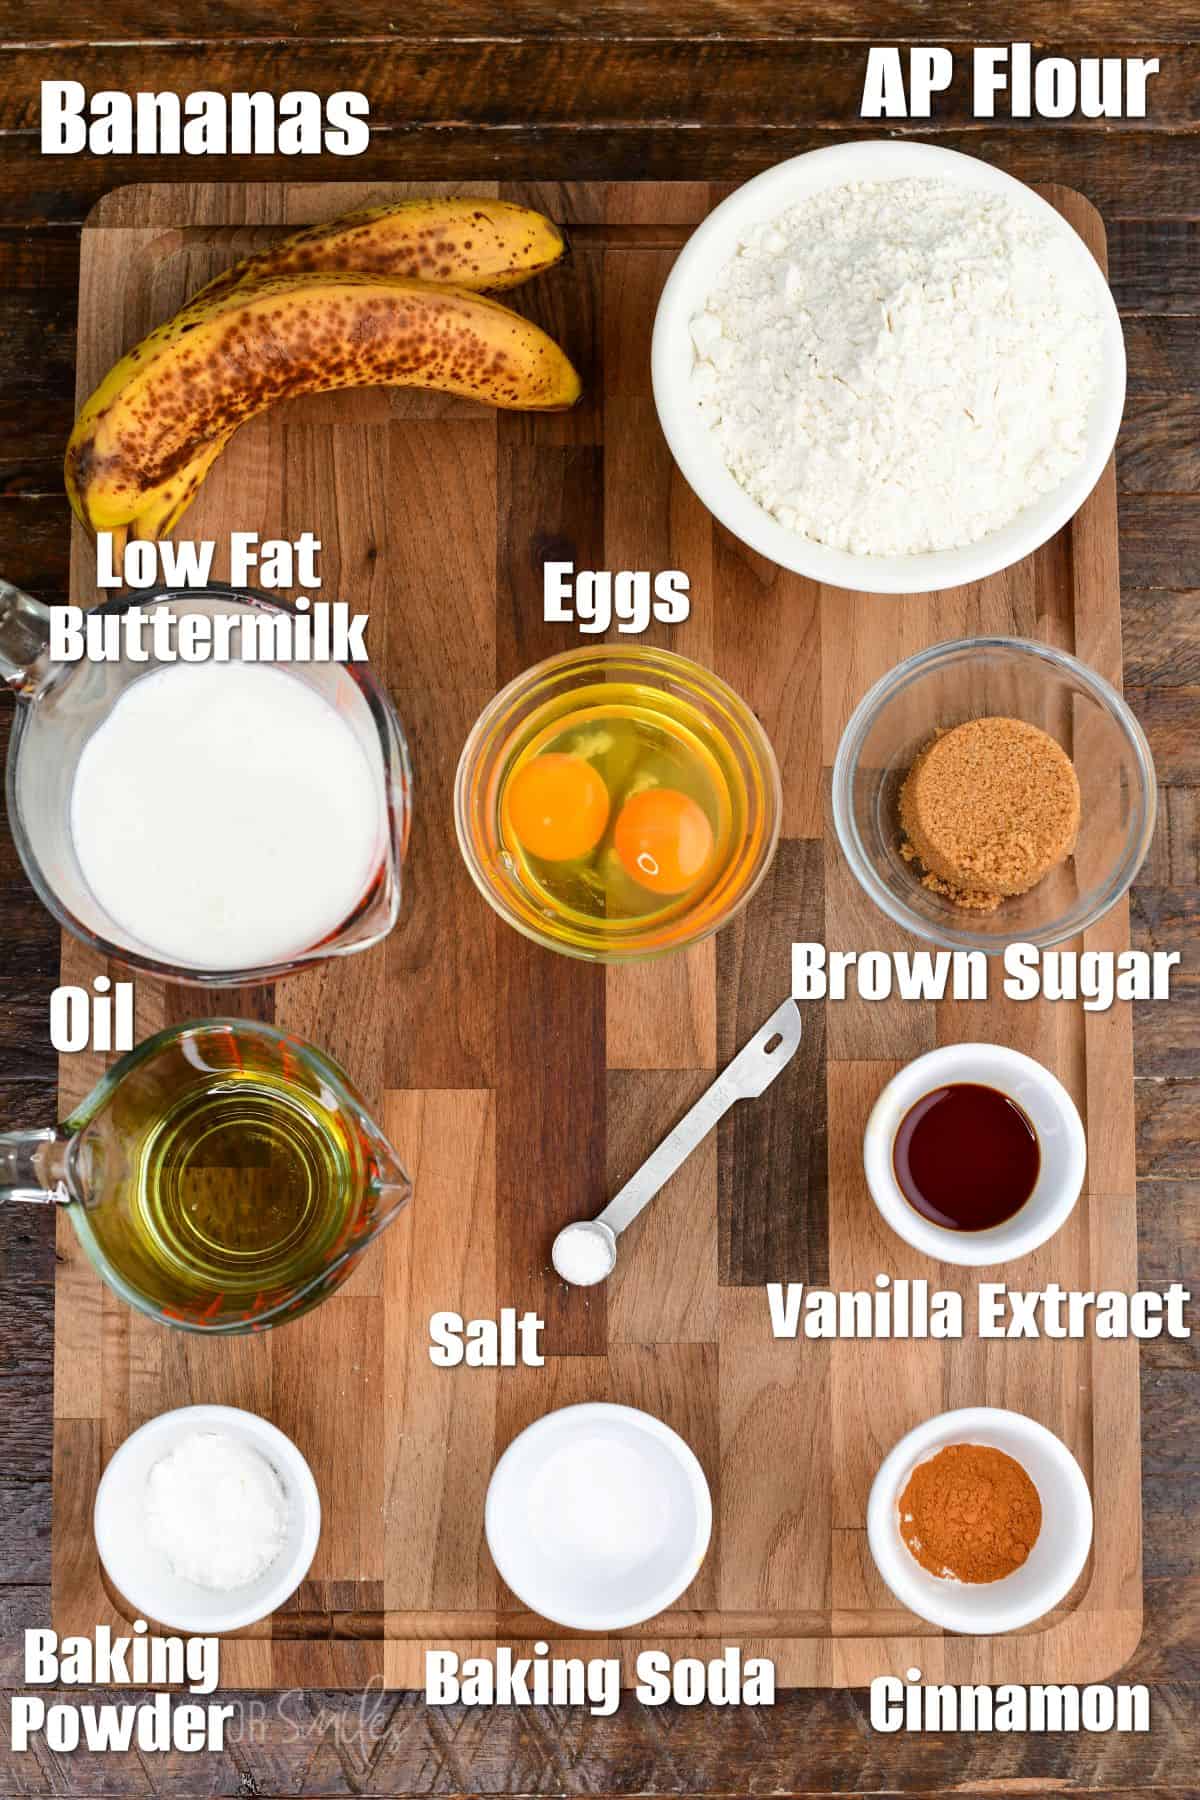
- Bananas: use ripe or overripe bananas that mash easily with a fork. The more speckled and soft, the sweeter and more flavorful the pancakes.
- Buttermilk: low-fat buttermilk is what I use for the best texture. If you’re out, add 1 tablespoon of lemon juice or white vinegar to just under 1 1/4 cups of milk and let it sit for 5-10 minutes.
- Brown sugar: adds a little caramel note that pairs well with banana. Light or dark both work.
- Cinnamon: just 1 teaspoon warms up the batter without overpowering the banana.
- Walnuts: optional, but they add crunch against the soft pancake. Pecans work well as a swap. Omit of you have allergies.
- Flour: all-purpose flour is the base. If your bananas are on the larger side, add the extra 2 tablespoons of flour called for in the recipe so the batter doesn’t turn out too wet.
How To Make Banana Pancakes
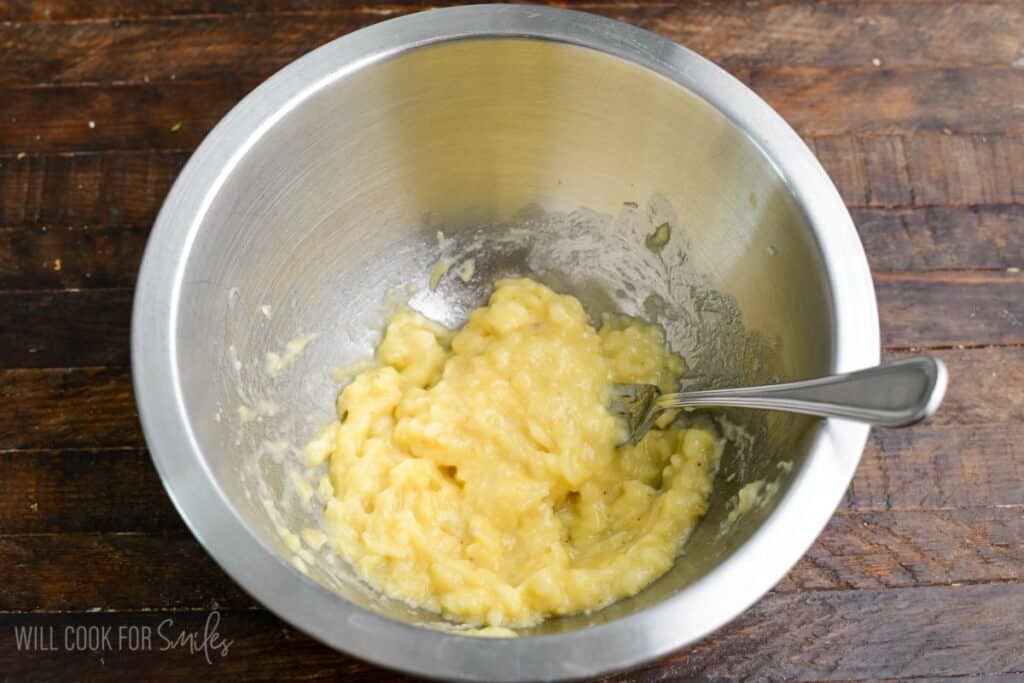
1. Mash the bananas in a mixing bowl with a fork, then whisk in the eggs, oil, brown sugar, and buttermilk until smooth.
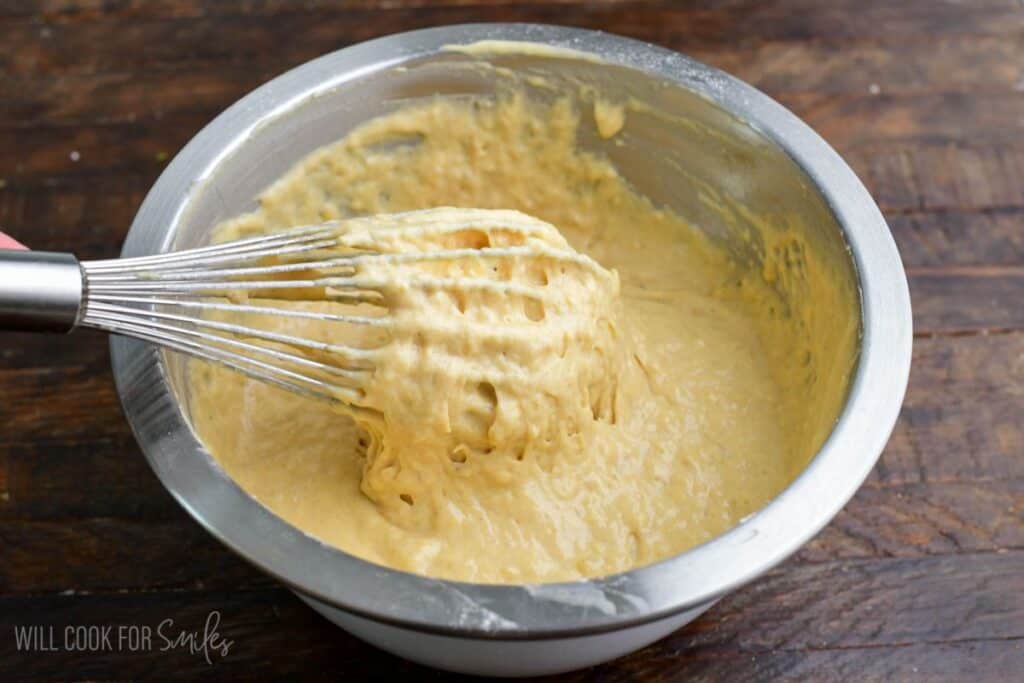
2. Add the flour, baking powder, baking soda, cinnamon, and salt. Stir in the walnuts if using. Mix just until combined, don’t overmix, or the pancakes may turn out tough and dense instead of fluffy.
PRO TIP: Let the batter rest on the counter for 10-15 minutes. This gives the baking powder and baking soda time to activate.
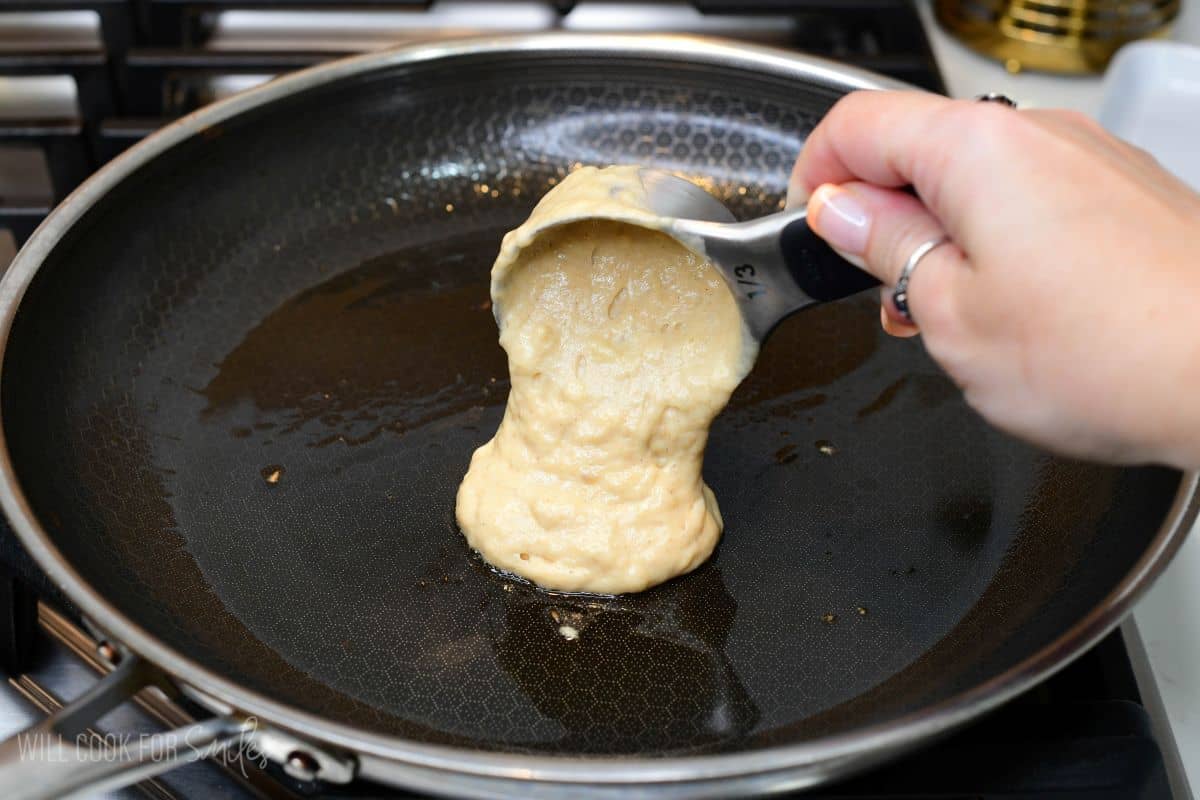
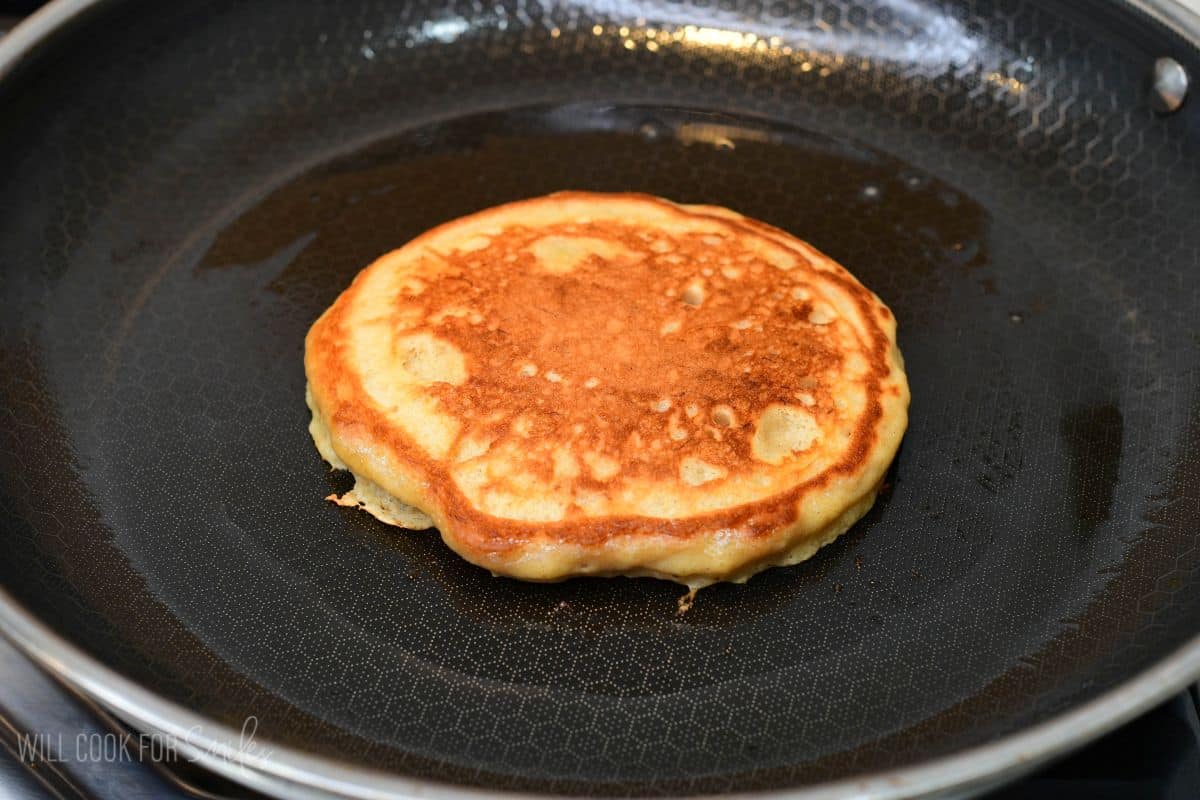
3. Preheat a pan or griddle over medium to medium-low heat and add a little oil. Keep the heat below medium: if the pan is too hot, the outside of the pancake will turn golden and crispy before the center has a chance to cook through, leaving you with an underdone middle.
4. Scoop the batter onto the hot pan with a 1/3-cup measuring cup or ice cream scoop for evenly sized pancakes.
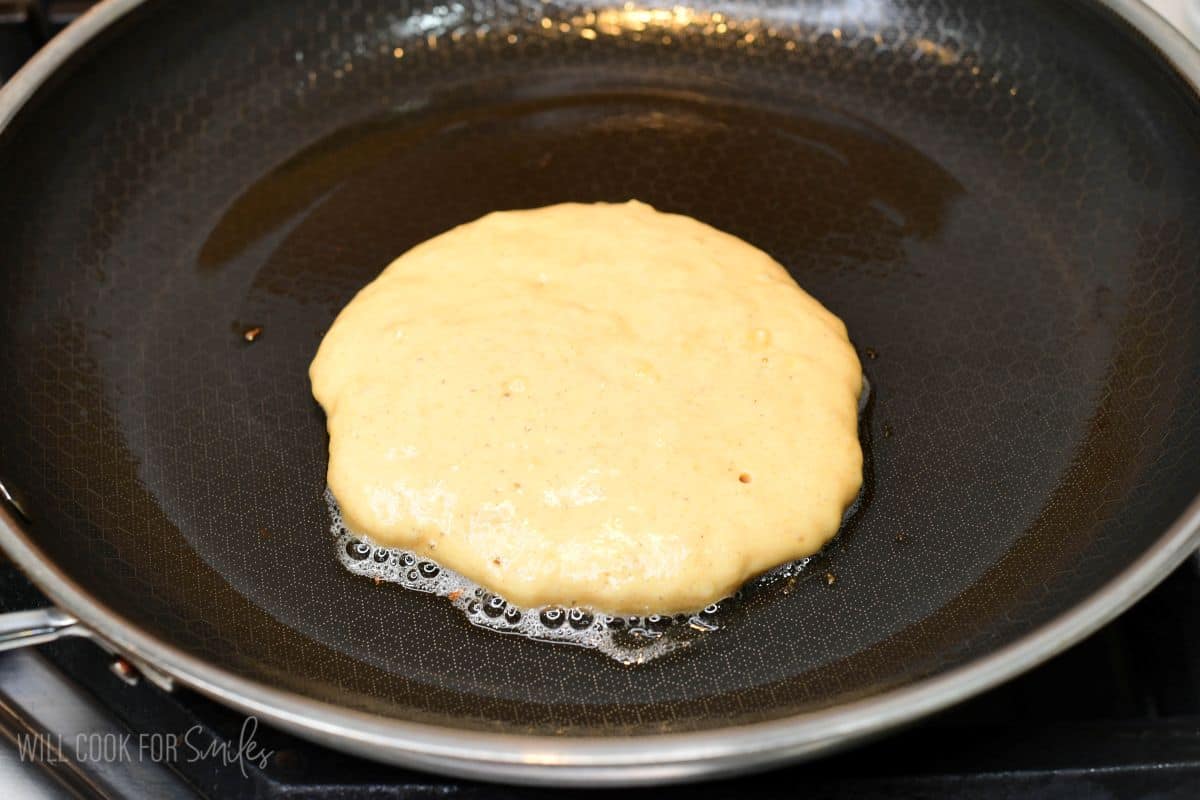
5. Let each pancake cook undisturbed until bubbles appear across the top and the edges look set, then flip and cook until the center is firm to the touch and golden on both sides.
Variations To Try
- Chocolate chip banana pancakes: stir in 1/2 cup mini chocolate chips or regular chocolate chips (milk or dark) with the dry ingredients.
- Different nuts: use pecans instead of walnuts, or skip nuts entirely for a nut-free version.
- Gluten-free banana pancakes: substitute a 1:1 gluten-free all-purpose flour for the regular flour.
- More banana flavor: add extra half slices on top of batter after you pour it in the pan. Add more on top of cooked pancakes, or make a bananas foster topping for pancakes!
- Try another pancake base: if you love the buttermilk pancakes, my strawberry pancakes and apple pie pancakes use the same buttermilk pancake technique with a different fruit.
Ways to Serve Banana Pancakes
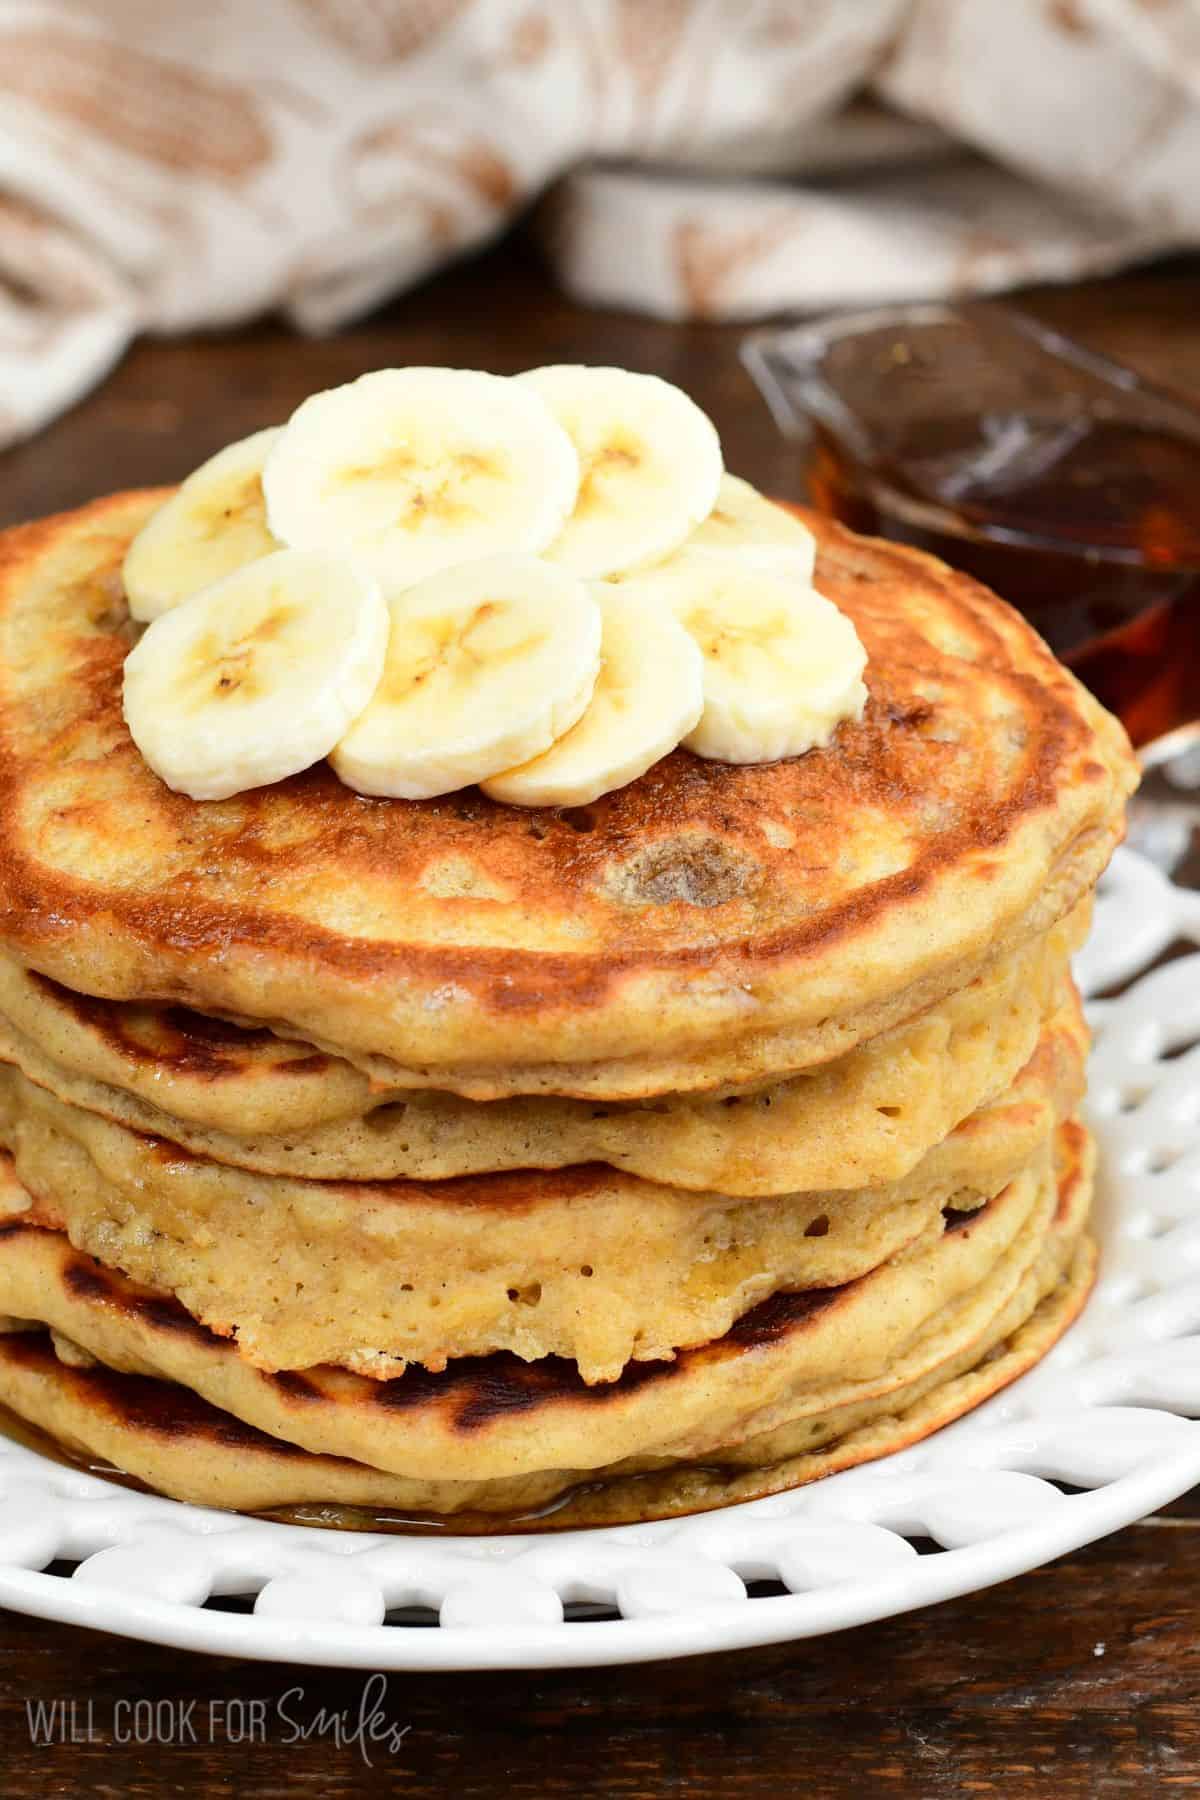
- Classic: warm maple syrup, sliced banana, and a pat of butter.
- Extra crunch and peanut: chopped walnuts, pecans, or peanuts and a drizzle of peanut butter.
- Brunch spread: alongside crispy bacon or breakfast sausage.
- For a crowd: keep pancakes warm in a 200°F oven on a baking sheet while you finish the batch.
Storing, Freezing, and Reheating Instructions
- Storing: you can store leftovers in an air-tight food storage container, in the refrigerator, for 2-3 days.
- Freezing: After the pancakes have been cooked, let them cool to room temperate on a wire rack in one even layer. The wire rack is important because it will keep the pancakes cooled evenly and keep the bottom of the pancakes from accumulating moisture.
- Place cooled pancakes into the freezer and let them freeze for about 2 hours. Once pancakes have been frozen, transfer them into a large zip-lock freezer bag. Seal, label, and place back into the freezer.
- Reheating: You can reheat pancakes either in the microwave or in a toaster. In the microwave, simply place a pancake on a plate, cover it with a microwave lid, and reheat for about 40-60 seconds.
- To reheat in the toaster, first make sure that pancakes are small enough to fit well. Reheat them in a toasted on a slower/lower setting to it gets a chance to reheat thoroughly.
Banana Pancakes Recipe FAQs
The mashed banana adds extra moisture to the batter, so these pancakes need a little more time over lower heat to cook through. Keep the heat below medium and let each side finish before flipping so the centers aren’t underdone.
Yes. If you’re short a bit of buttermilk, topping off the amount with regular milk works fine but it will affect the texture slightly. You can add a squeeze of lemon (like a teaspoon) juice to the milk.
You can make a substitute with 1 tablespoon of lemon juice or vinegar and enough milk to fill to 1 1/4 cups, then let it sit for 5-10 minutes. Keep in mind this is a last-resort swap. The texture and rise won’t be quite the same as with real buttermilk, so it’s best to use it only when you don’t have the real thing on hand.
More Pancake Recipes To Try
If you’ve made my banana pancake recipe and found a lot of good information here, PLEASE leave a 🌟 star rating! Let me know how you liked it by leaving the 📝 comment below as well. Don’t forget to subscribe to my newsletter!
Banana Pancakes Recipe
Ingredients
- 2 medium ripe bananas
- 2 eggs
- 1/4 cups brown sugar
- 1 1/4 cups low fat buttermilk
- 1/4 cup vegetable or canola oil
- 1 3/4 cups all purpose flour +2 tbsp of flour if using larger bananas
- 1 tbsp baking powder
- 1 tsp baking soda
- 1/8 tsp salt
- 1 tsp ground cinnamon
- 2 tsp vanilla extract
- 1 cup chopped walnuts optional
Instructions
- Break apart bananas in a mixing bowl and mash them with a fork. Whisk in eggs, oil, vanilla extract, brown sugar, and buttermilk until smooth.
- Next, add the dry ingredients: flour, baking powder, baking soda, cinnamon, and salt. Adding nuts is optional but if you would like to, mix in some chopped walnuts.(Note: you may need to add a couple of tablespoons of flour if using larger bananas.)
- Tip: let the batter sit on the counter for about 10-15 minutes. This will give baking powder and baking soda activate and interact with other ingredients to result in those perfect fluffy pancakes.
- Preheat the pan (or the griddle) first. Cook the pancakes on medium to medium-low heat, depending on the stove. Add a little bit of oil to the pan if needed.Tip: keep the heat below medium to the outside doesn't cook faster than then inside.
- When cooking the pancakes, add a dollop of pancake batter to the preheated pan and let it cook, undisturbed, on that side until you start to see little bubbles appear over the top. Those little bubbles are your clue that pancakes are ready to flip.
- Flip and finish cooking on the other side until the pancakes feel firm when touching the center.
Video
Notes
- Gluten free option: you can easily make these banana pancakes gluten free by simply substituting the all purpose flour for a 1:1 gluten free all purpose flour. Remaining ingredients should be already gluten free but double check the packaging.
- Storing: store leftovers in an air-tight container, in the refrigerator for 2-3 days.
- Reheating: you can reheat individual pancakes either in a microwave, on stove-top, or in a toaster oven. Just make sure not to overheat, heat up just until warmed throughout.
Nutrition
Originally published on Will Cook For Smiles in March 2019.
Would you like to save this recipe?
Categories:
Breakfast Recipes, Brunch Recipes, Father's Day Recipe Ideas, Most Popular Recipes, Mother's Day Recipe Ideas, Pancake Recipes,All images and text ©Lyubov Brooke for ©Will Cook For Smiles. Please do not use my images without prior permission. If using my posts in collections and features, please link back to this post for the recipe.
Disclaimer: Nutrition information shown is not guaranteed to be 100% accurate as most ingredients and brands have variations.