
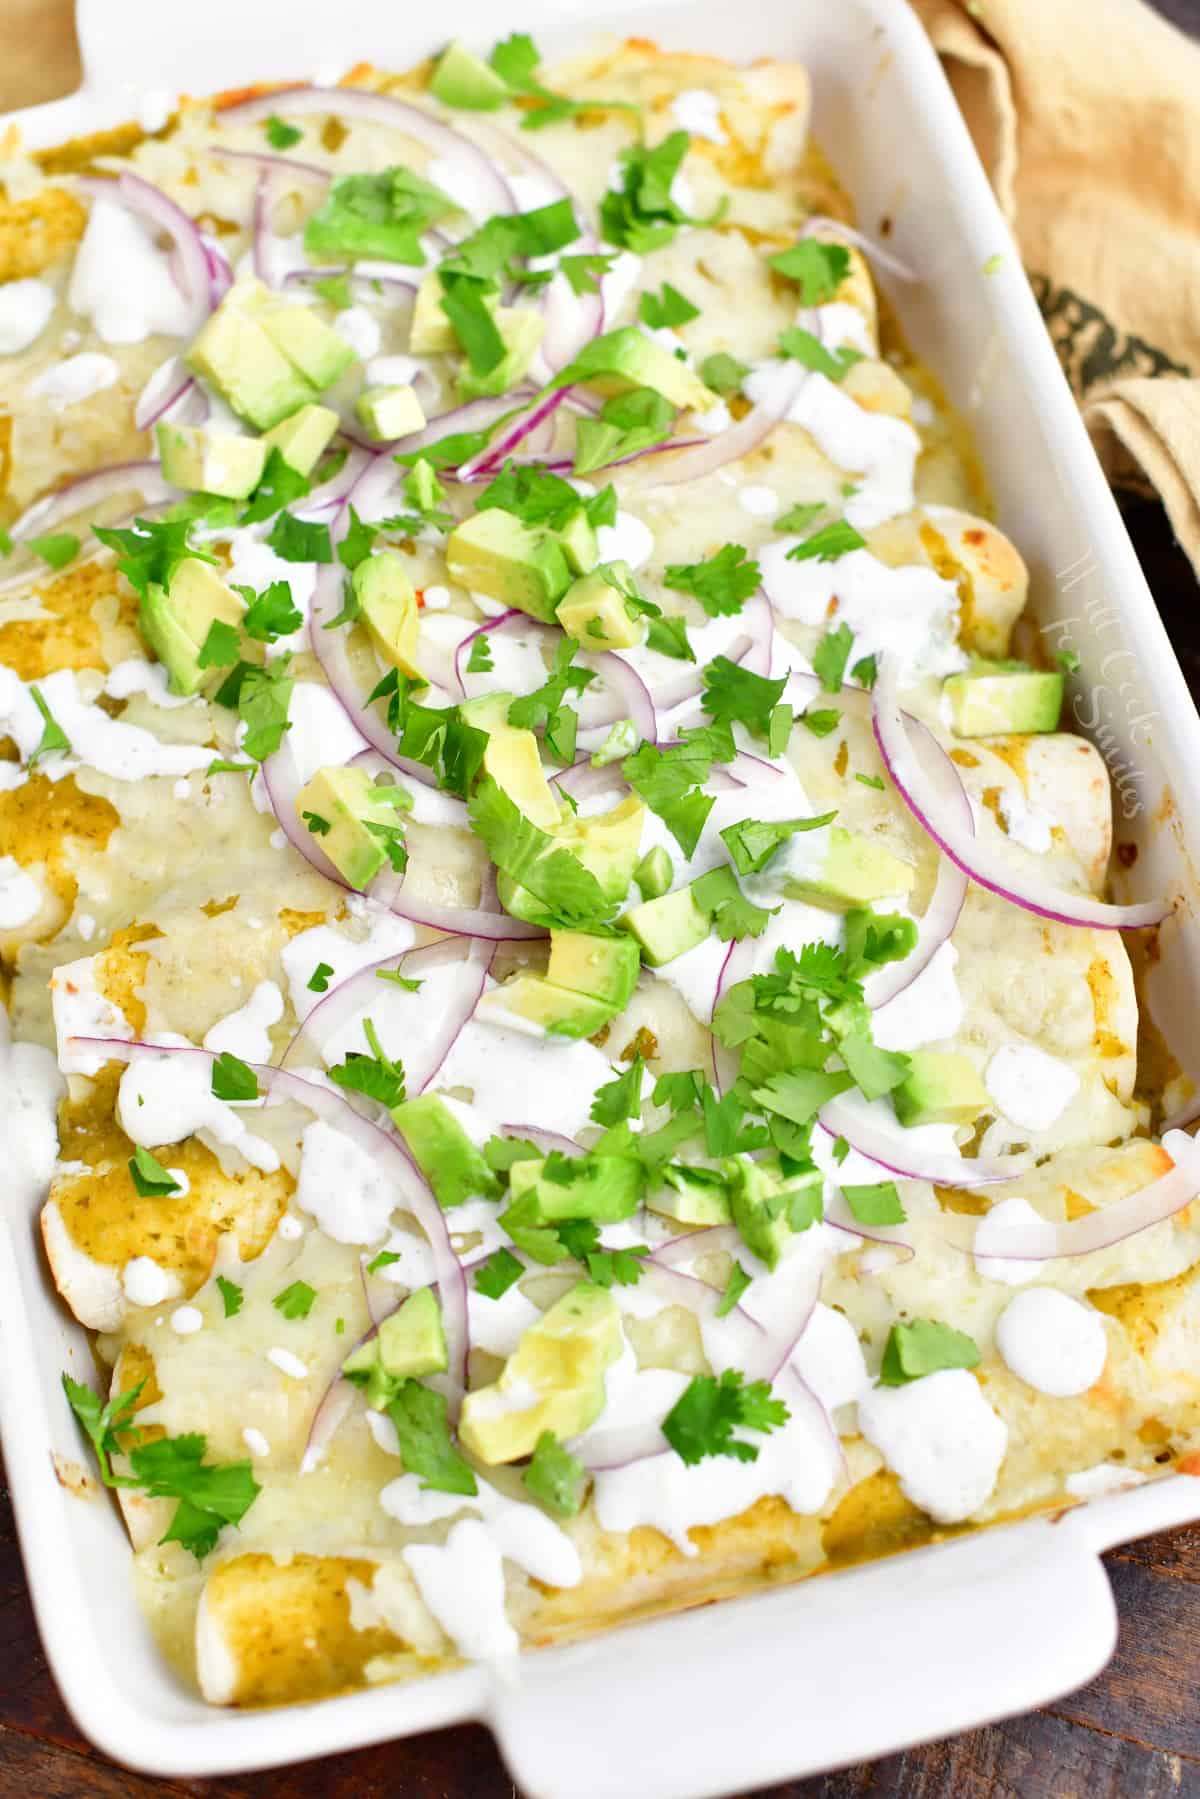
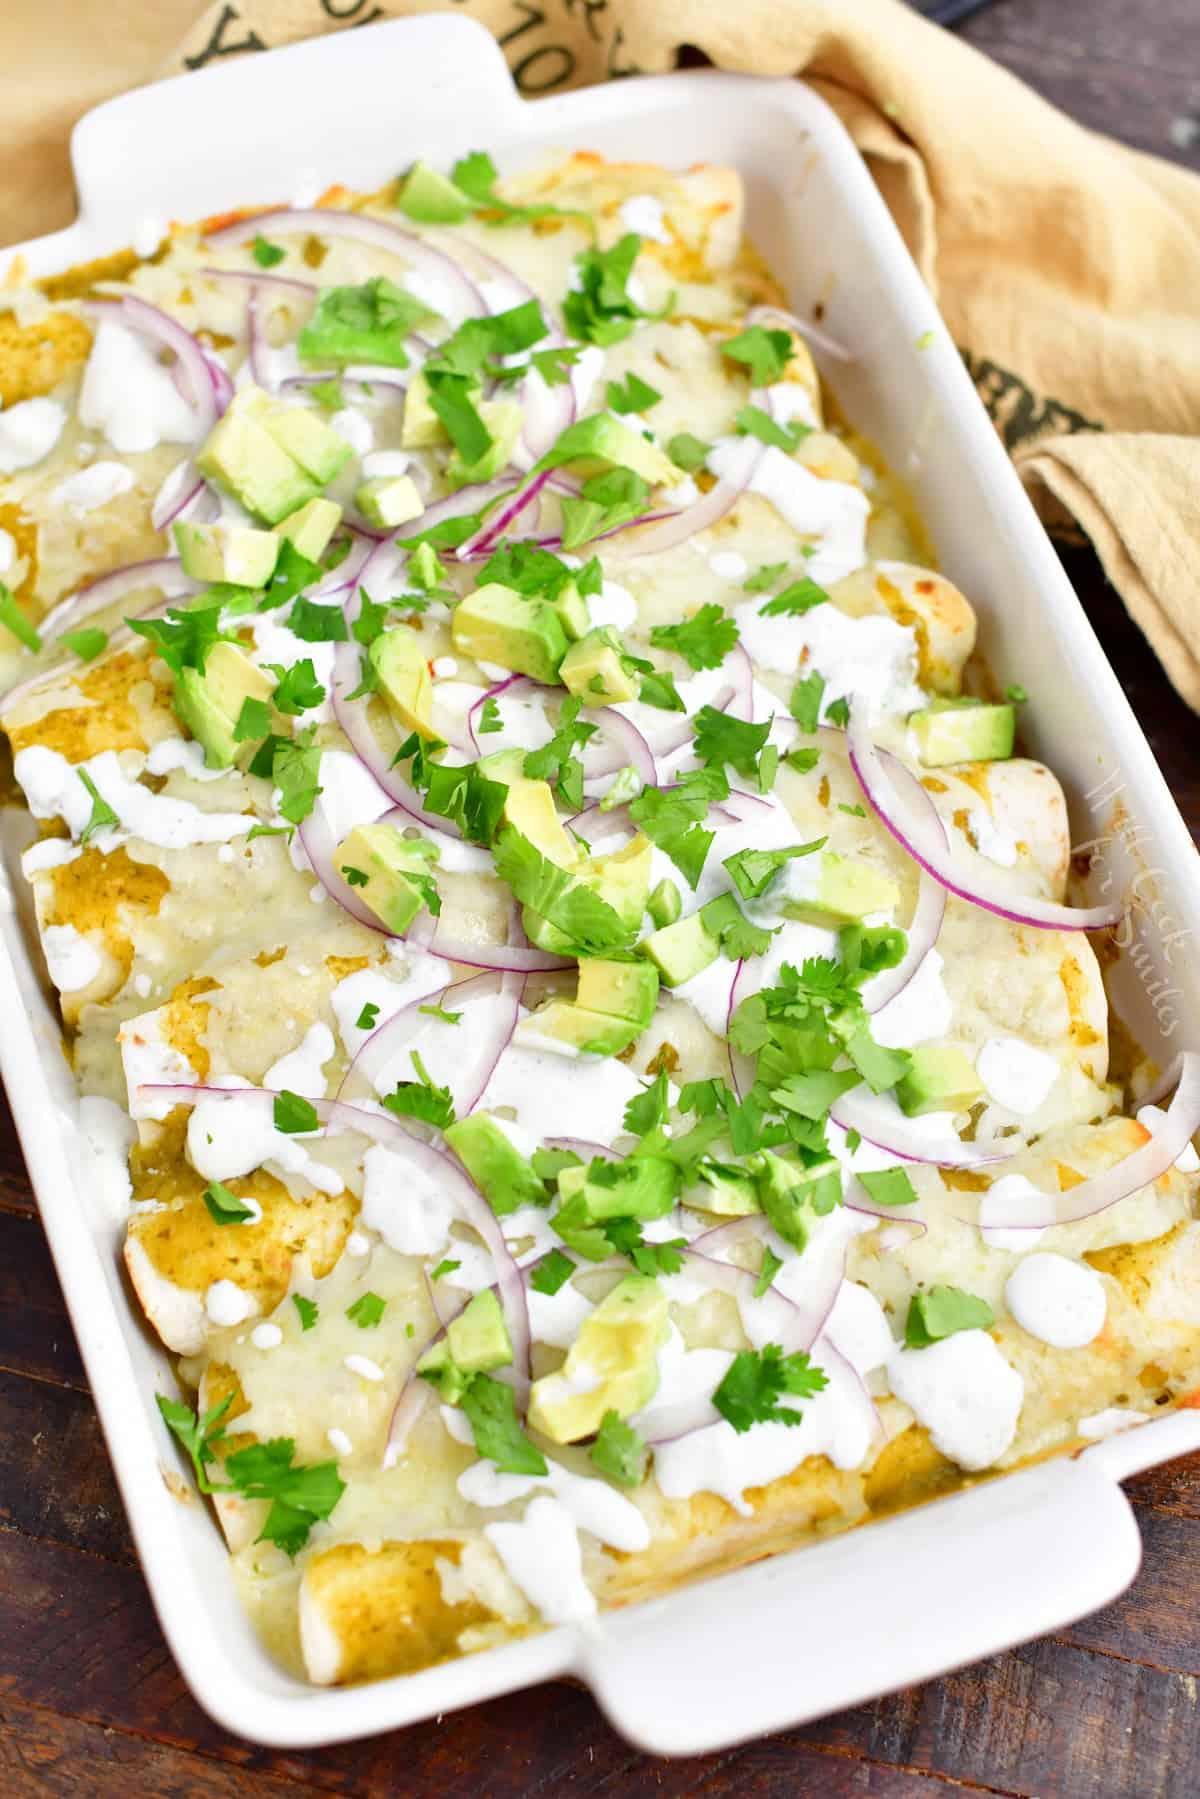
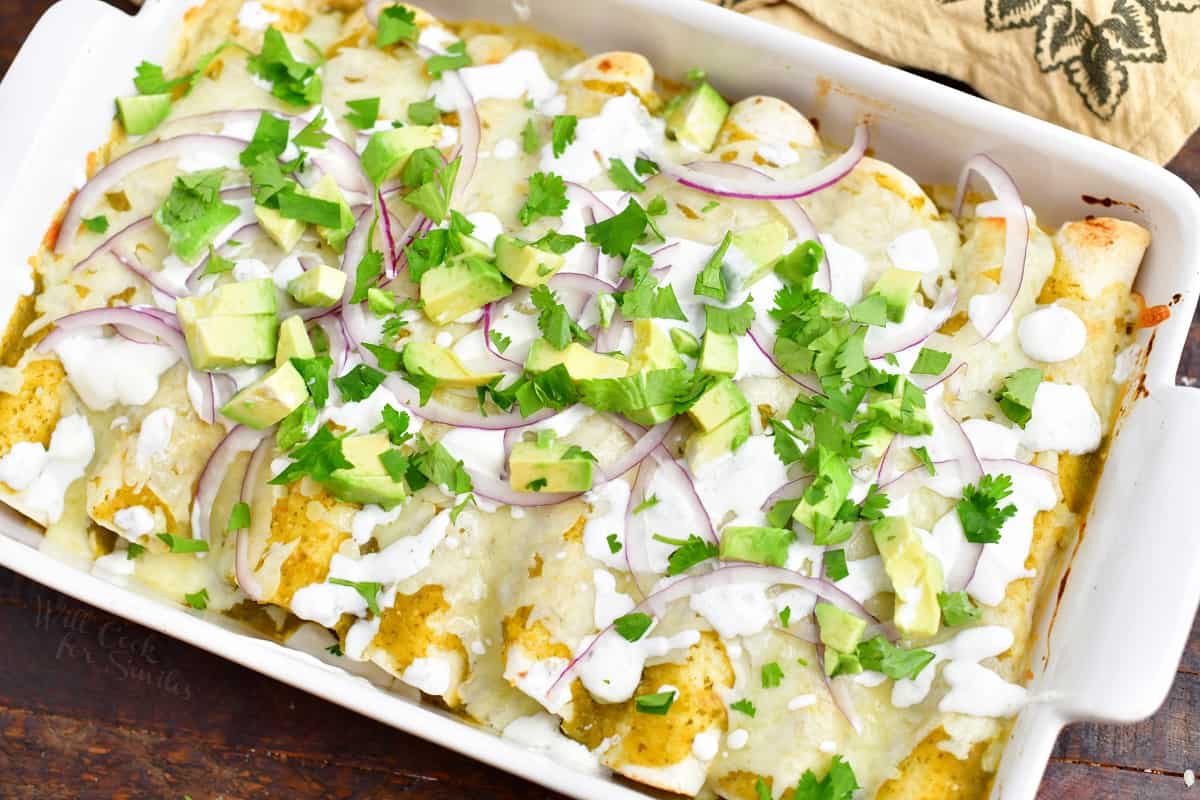
Chicken Enchiladas Verdes
Allow about an hour to make the tomatillo sauce and shredded chicken, or make both a day or two in advance and refrigerate until you are ready to assemble.
Just like with the classic chicken enchiladas, chicken enchiladas verdes are easy to prep ahead of time. You can always make the salsa verde a day or two before and keep in in the refrigerator, in a glass jar with a lid. Take the prep a step further and make the chicken filling and the sauce ahead of time. You can still store the sauce in the glass jar and store the cooked chicken separately, in the refrigerator, in another food storage container.
Ingredient Tips and Notes Before You Start
- There are four simple aspects to this recipe: homemade salsa verde sauce, chicken, cheese, and tortillas!
- Chicken – Personally, I prefer dark, thigh chicken meat because it’s juicier and much more flavorful than white breast meat. Feel free to use chicken breast if you prefer. PRO TIP: Keep in mind that it typically takes a little longer to cook breast meat, especially if the pieces are extra thick. You can fillet the meat to reduce the cooking time or slice it into tenders. (If you’d like to try another meat, like beef, try my beef enchiladas verdes.)
- Choice of Tortillas – Use corn or flour, whichever you prefer. While corn tortillas are traditional, flour tortillas are softer and hold together better. For enchiladas, you are looking for about 8-inch tortillas. Note that flour tortillas will often be larger than corn tortillas but you can always just use more of the smaller corn ones. 8-inch flour tortillas are usually labeled “soft taco.”
- Cheese Options and Tip – Not only do blocks of cheese have a bolder flavor, but they melt smoother as well! Since pre-bagged shreds contain a preservatives and separators to prevent clumping. For best flavor, use both, Pepper Jack cheese and Monterrey Jack cheese.
Recipe Tips and Tricks
- Wear gloves when working with chili peppers! Peppers contain oils that irritate the skin and even if you wash your hands thoroughly after, it can still have irritants on it. So protect your hands when cutting the jalapenos.
- Try grilling the veggies for tomatillo sauce. This will save you some time and add a nice smoky flavor to the dish as well.
- Want to make it creamy enchiladas verdes? Mix about ½ cup of sour cream into the tomatillo sauce.
- Use the stems. Since the cilantro is being blended into a sauce, there’s no need to remove the leaves first. Just toss the whole stems in the food processor to save time and add more flavor.
- Need a faster way to shred chicken? Instead of using two forks, toss the cooked chicken into a stand mixer fitted with the paddle attachment. Run it for about 30 seconds or until all of the meat has been evenly shredded.
- Make it more filling. Try adding some sautéed vegetables to the chicken, like onions, bell peppers, spinach, or mushrooms. You could even mix in some black, white, or refried beans if you’d like!
Freezing Instructions
- Enchiladas Verdes freeze great, just make sure not to add any cream or sour cream before freezing. If you plan to freeze enchiladas after they are baked or want to bake them from frozen, use an aluminum baking pan.
- Make sure to freeze cooled enchiladas and it’s better not to add the sauce on top (it’s okay to add to the bottom). The reason why I prefer to freeze enchiladas without sauce is that less exposure to sauce makes enchiladas less soggy. You can freeze the sauce separately.
- If you plan on freezing all or half of the enchiladas, you can prepare the ones you plan to freeze in an aluminum pan. Follow the recipe as directed up to the part where you add the sauce and cheese.
- Stack rolled enchiladas side by side in the aluminum foil pan, seam down. Place a sheet of plastic wrap right over the enchiladas, tucking it under on the sides.Wrap the whole pan with a sheet of aluminum foil as airtight as possibly. Label with the date and content and freeze for 2-3 months.
- To thaw enchiladas before baking, pull it out of the freezer and into the refrigerator to let it slow-thaw for up to 18 hours.
- To bake frozen enchiladas, you can bake frozen enchiladas straight from the freezer or thawed. Frozen enchiladas will take longer to bake. Before baking, make sure to take off the aluminum foil and plastic wrap first. Spread enchilada sauce over the enchiladas evenly but add the shredded cheese about half way through baking. Bake frozen enchiladas at 350° for 30-40 minutes and thawed enchiladas for 20-25 minutes.
DID YOU MAKE THIS RECIPE? PLEASE leave a 🌟 star rating! Let me know how you liked it by leaving the 📝 comment below or share and tag me on social media @willcookforsmiles. DON’T FORGET to subscribe to my newsletter!
Chicken Enchiladas Verdes
Ingredients
Tomatillo Sauce:
- 2 lbs tomatillos
- 2 jalapenos
- 1 small yellow onion
- 4 garlic cloves
- 1/4 cup fresh cilantro
- 1 lime juice only
- 1 tsp salt
- 1/2 tsp chipotle chili powder
Chicken Filling:
- 2 lbs boneless skinless chicken thigh meat
- salt
- 1/2-2/3 cup tomatillo sauce
Enchiladas:
- 8 corn or flour tortillas*
- 8 oz Pepper Jack cheese preferably block
- 8 oz Monterrey Jack cheese preferably block
Optional toppings:
- red onions
- avocado
- fresh cilantro
- crumbled Cotija cheese
- Mexican crema or sour cream
Instructions
- Note: you can make salsa verde ahead of time and store in the glass jar with a lid (or another food storage container) in the refrigerator. You can make the sauce up to 2 days ahead of time.
Salsa Verde (Tomatillo Sauce):
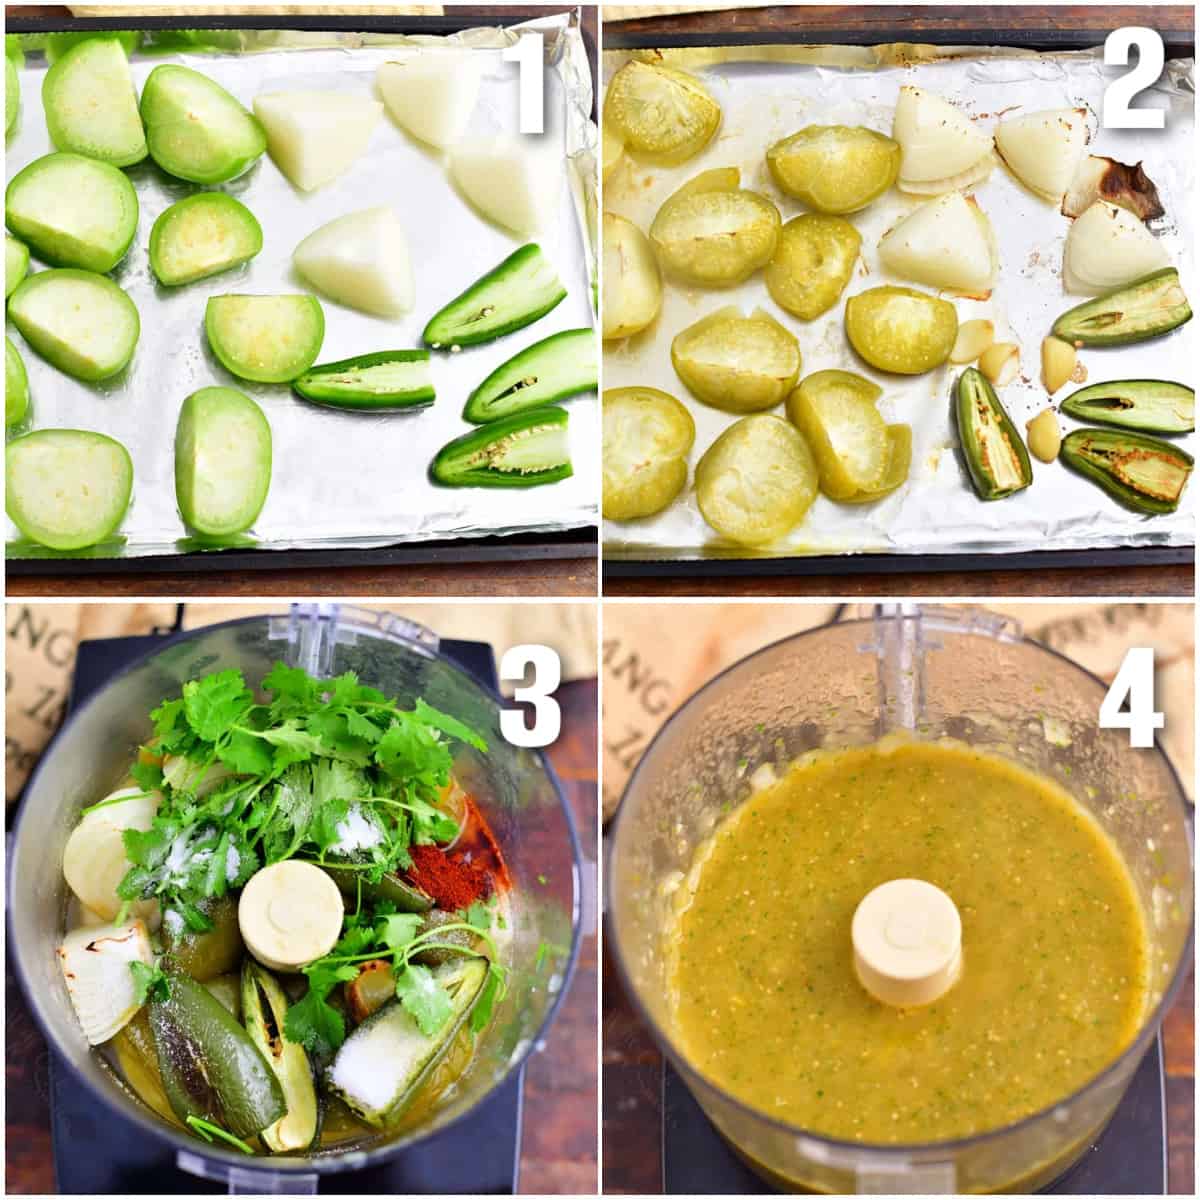
- Preheat oven to 425°F and line a large baking sheet with aluminum foil. Lightly grease the foil with some cooking spray.
- Remove the husks and wash the tomatillos. Cut tomatillos and jalapenos in half and cut onion in fourths. (You can discard jalapeno seeds if you want your sauce to less spicy.)
- Place tomatillos, onion, and jalapenos on the baking sheet, cut side up, and bake for 20-30 minutes depending on the size. Add garlic cloves about half way through the baking.
- Once roasted, add everything (including the juices) into a food processor. Add in cilantro, lime juice, salt, chili powder, as well. Pulse until everything is well blended.
Chicken filling:
- Preheat the oven to 425°F and lightly grease a 9×13 baking dish.
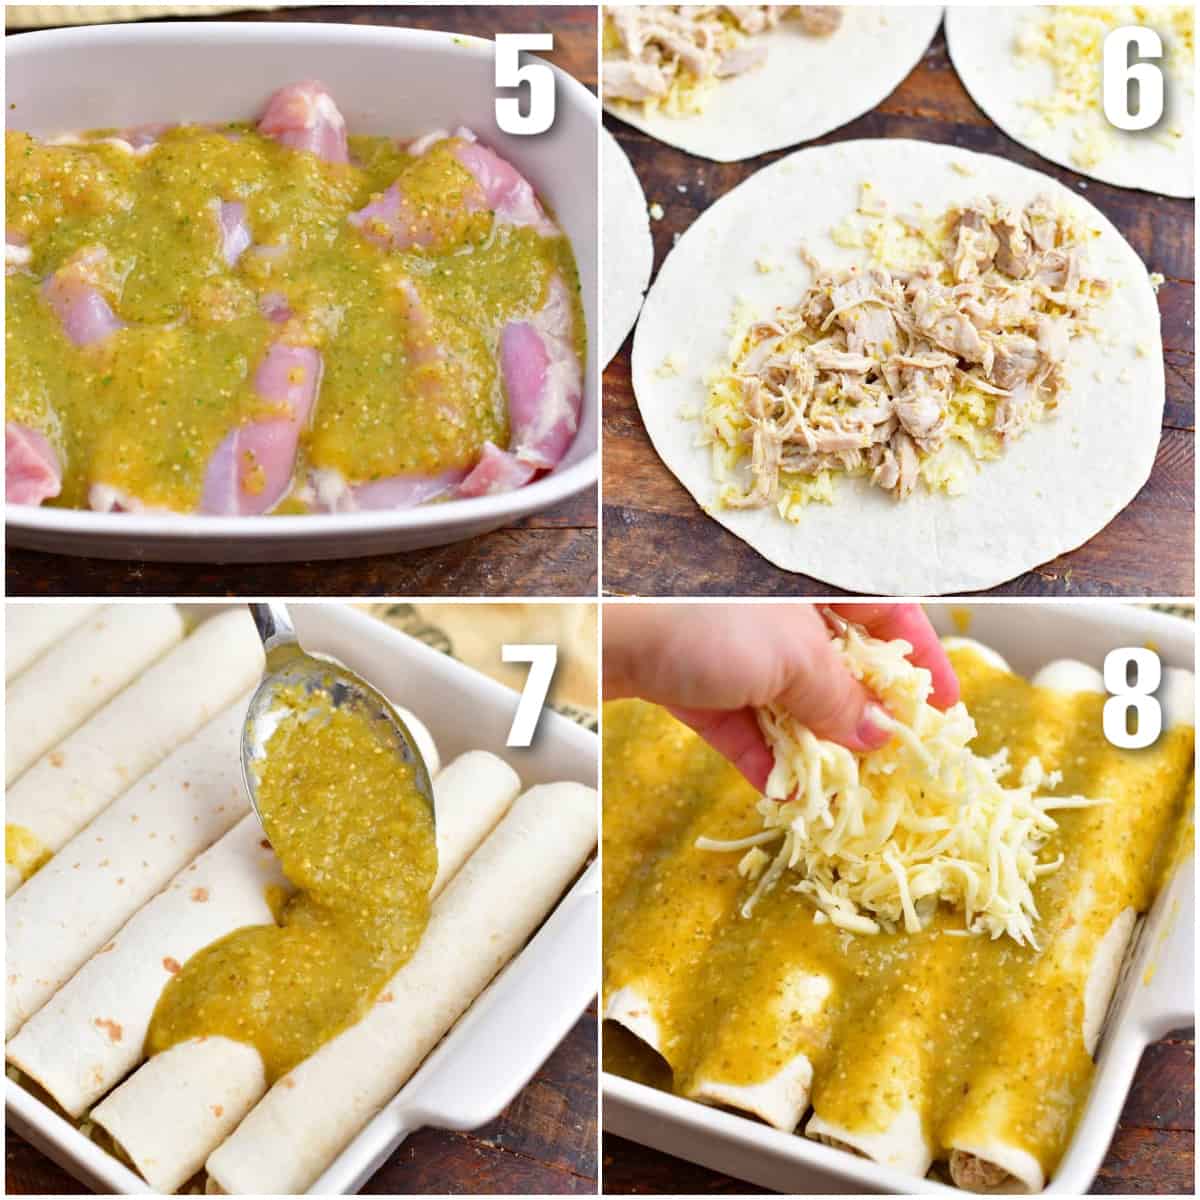
- Spread some tomatillo sauce over the bottom and place chicken thighs over the sauce. Season with some salt and add a little more sauce on top.
- Bake chicken for 18-23 minutes, until completely done.
- Take chicken out of the baking dish and shred it using two forks.
- Mix in a couple tablespoons of tomatillo sauce into the shredded chicken.
Prepare Enchiladas:
- Preheat oven to 350°F and lightly grease a 9×13 baking dish. Spread half of the tomatillo sauce in the bottom of the baking dish.
- Grate the cheeses on a large box grater.
- Divide Pepper Jack cheese among 8 tortillas and then divide shredded chicken among the 8 tortillas.
- Roll them up and place them seam down in the baking dish.
- Spread remaining tomatillo sauce over the rolled enchiladas and top them all off with Monterrey Jack cheese.
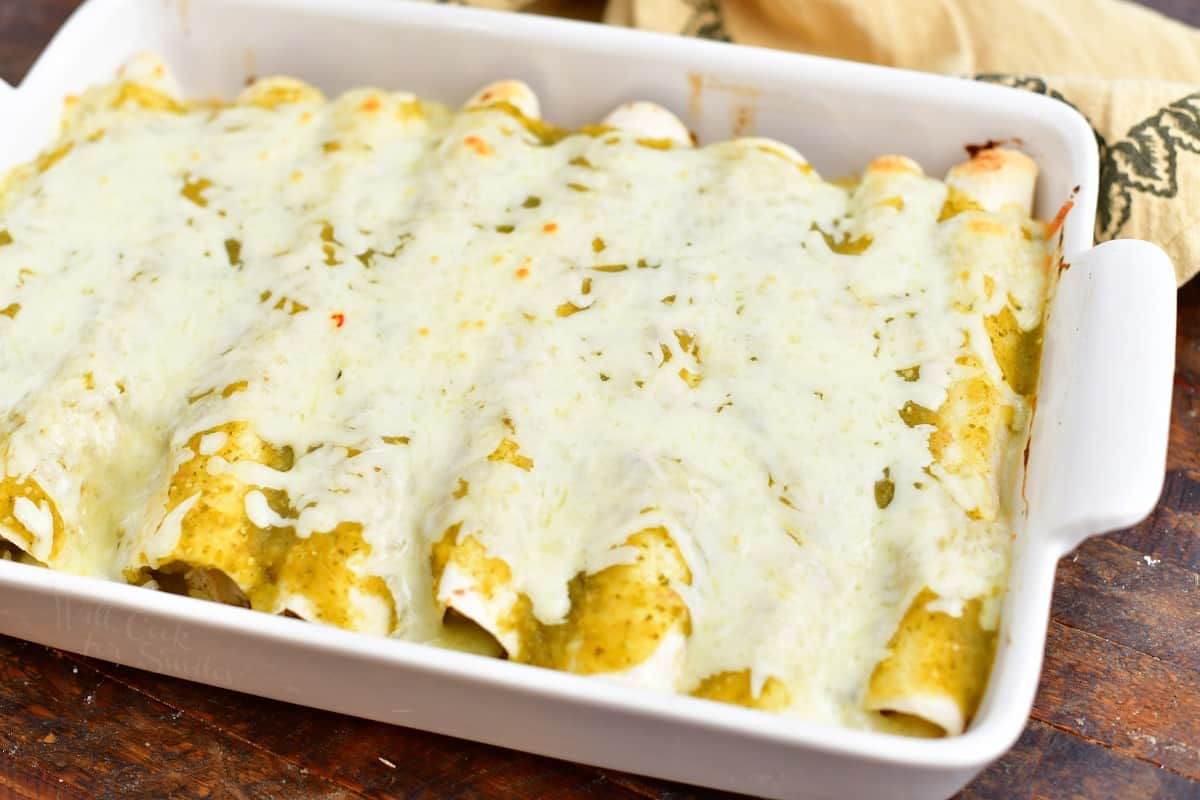
- Bake for 15-20 minutes, until hot throughout and cheese is all melted.
- Top enchiladas off with your desired toppings and serve!
Video
Notes
- Flour vs Corn Tortillas: this is a personal taste preference! Flour tortillas are softer and sturdier, white corn tortillas do have a tendency to break and crumble. There is also a noticeable flavor and texture difference between the two types of tortillas, that is mostly where personal preference comes in. You can absolutely use corn tortillas if that is what you love or use flour.
- If you want to use corn tortillas for enchiladas, it is important to soften them! Trying to roll cold tortillas will be frustrating because they will be breaking.To soften corn tortillas, lightly brush or spray them with some oil and place them on a sheet tray. Bake at 325°F for 3-5 minutes. After they’re warmed, stack them and cover with a damp warm clean towel to keep them soft while rolling enchiladas.
- Make Ahead Suggestions: enchiladas verdes are easy to prep ahead of time. You can always make the salsa verde a day or two before and keep in in the refrigerator, in a glass jar with a lid. Take the prep a step further and make the chicken filling and the sauce ahead of time. You can still store the sauce in the glass jar and store the cooked chicken separately, in the refrigerator, in another food storage container.
Nutrition
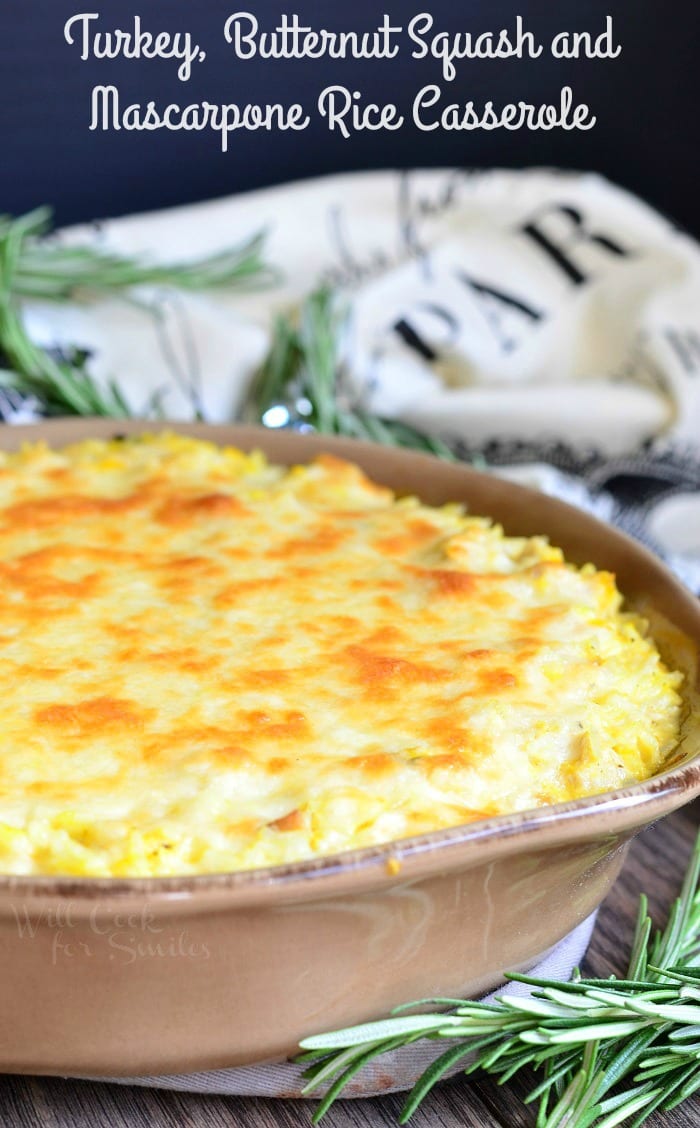
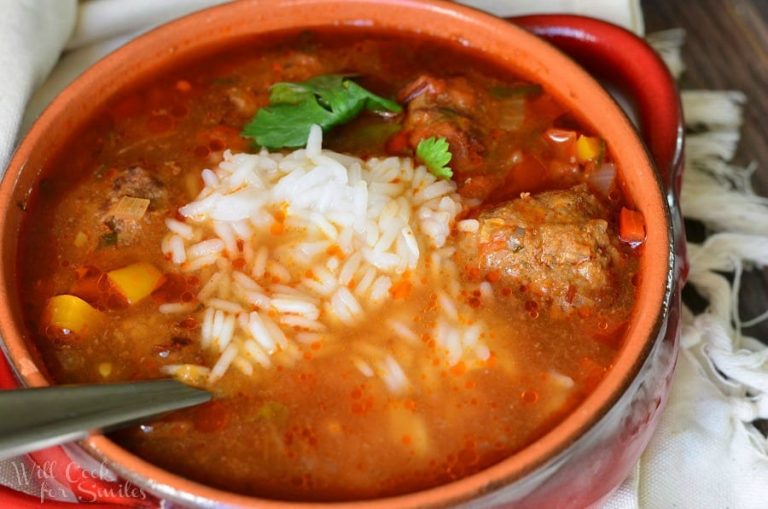
More Recipes To Make
All images and text ©Lyubov Brooke for ©Will Cook For Smiles. Please do not use my images without prior permission. If using my posts in collections and features, please link back to this post for the recipe.
Disclaimer: Nutrition information shown is not guaranteed to be 100% accurate as most ingredients and brands have variations.


I loved this recipe!