
Roasted Garlic Aioli
Roasting the garlic first gives this homemade aioli a smooth, mellow garlic flavor without the sharp bite of raw garlic. With just a few simple ingredients and quick prep, you’ll have the perfect garlic sauce for dipping, spreading, or serving at parties.
Next time you make roasted garlic, be sure to save a bulb or two for this easy aioli recipe. (Or make some extra just for aioli.)
What is aioli?
You might already be familiar with this rich and creamy dip/spread, but you may not know what it is exactly. In the recent decades, aioli has become synonymous with mayo, but it wasn’t this way originally. Original aioli is Mediterranean, and it was a simple emulsion of three ingredients: real olive oil, fresh garlic, and a pinch of sea salt. Of course, by garlic, I mean a ton of garlic!
It was mashed together in a pestle and mortar until it formed a creamy emulsion. It’s an extremely laborious process to get the thick and creamy sauce consistency this way. Over time, aioli has morphed with the French way of making an emulsion by combining egg yolk, lemon juice, and mustard, which is a creamy spread that resembles mayo.
Mayonnaise is also an emulsion of acid like lemon juice or vinegar combined with egg yolks, mustard, and salt, but it goes through a different preparation process which makes it more fluffy instead of rich and creamy.
Aioli vs Mayo:
So the key differences between aioli and mayo is the oil and the actual emulsion process. Aioli uses olive oil, while mayo uses a more neutral oil. The process for making aioli results in a denser, richer, and creamier sauce, while mayo is creamy, yet light and fluffy.
Different aioli recipes use homemade mayo or store-bought, but it’s always made with “a little something extra” to give it a burst of flavor. You can choose to use your favorite mayo from the store to make it easy, or make it homemade if you have a great recipe you love! (Do remember to choose a classic, straight forward mayonnaise. No flavored ones or brands that have a very potent, lemony taste of mayonnaise because it will change the whole flavor profile of the aioli.)
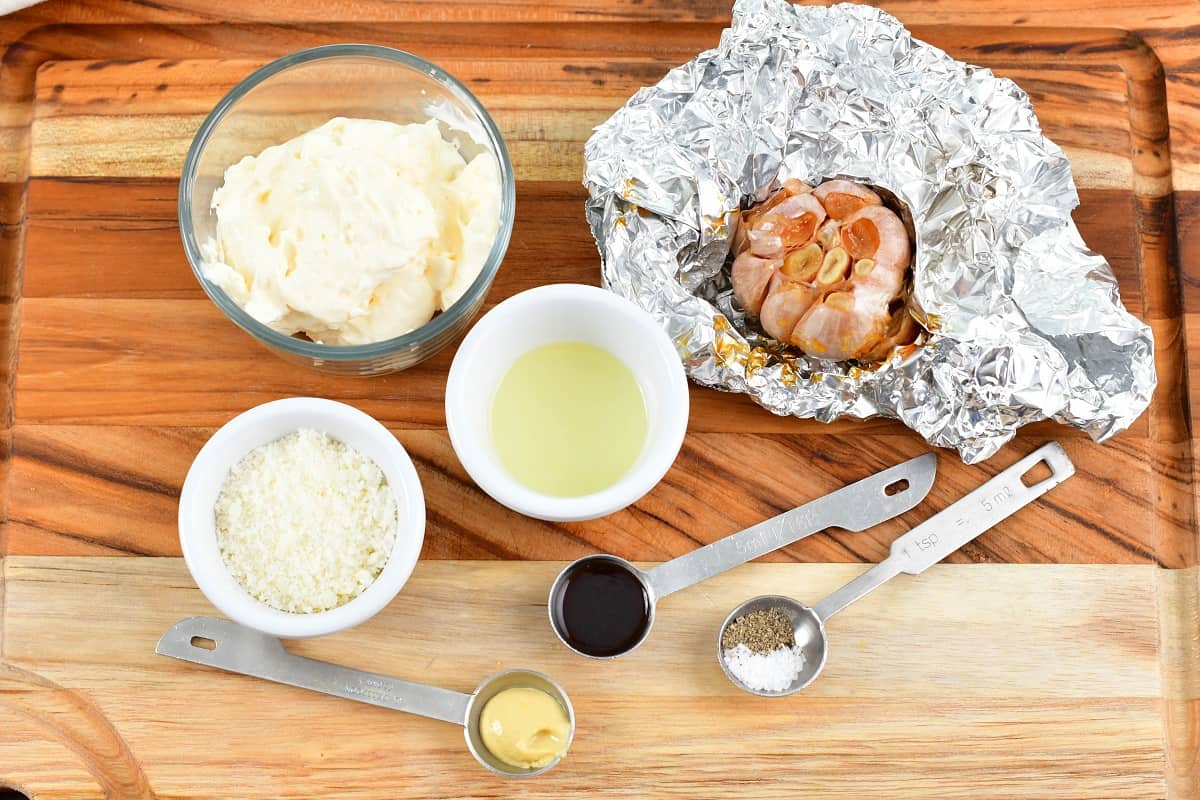
Key Ingredients You Need
- Garlic – You’ll need a whole bulb of garlic, and maybe even two depending on the size.
- Olive Oil – Try to use a good quality olive oil for the best results.
- Mayonnaise – For the best consistency, avoid using low fat or flavored mayo. It should be smooth and mild in flavor.
- Lemon Juice – use fresh squeezed lemon juice!
- Dijon Mustard – Do NOT substitute this ingredient with plain yellow mustard.
- Parmesan Cheese – for best results, grate the cheese yourself, or head to the deli and see if they sell containers of freshly grated parmesan.
Full list of ingredients is in the recipe cars below!

How To Make Roasted Garlic Aioli: Step-byStep
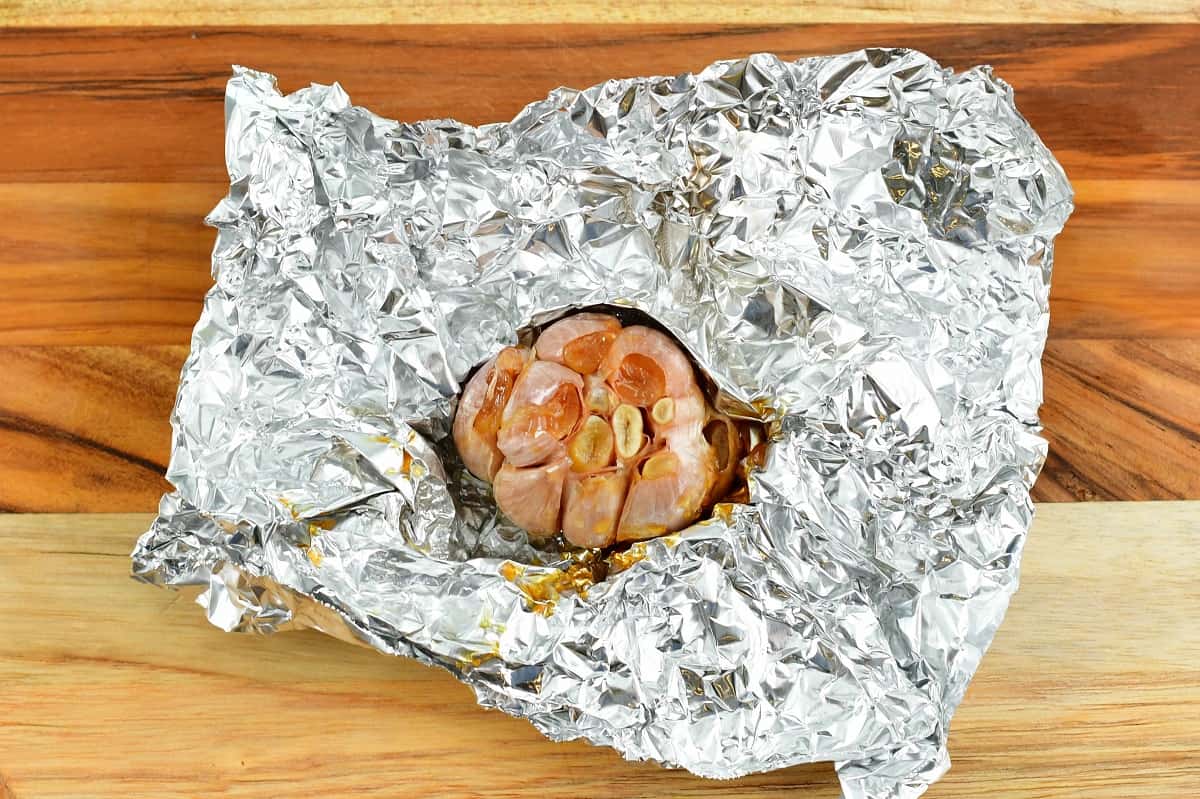
Start off by roasting the garlic.
- Clear the outer, sheer layer of the garlic, but make sure the bulb is still intact and the thick skin is on. Slice the tips off of the bulbs.
- Place prepared garlic bulb on a square sheet of foil and drizzle it with olive oil. Tightly wrap the bulb with the foil.
- Bake the garlic in an oven at 400°F for 40-45 minutes. Let the garlic fully cool before trying to handle it, because it’ll be very hot!
Combine the ingredients to make your aioli.
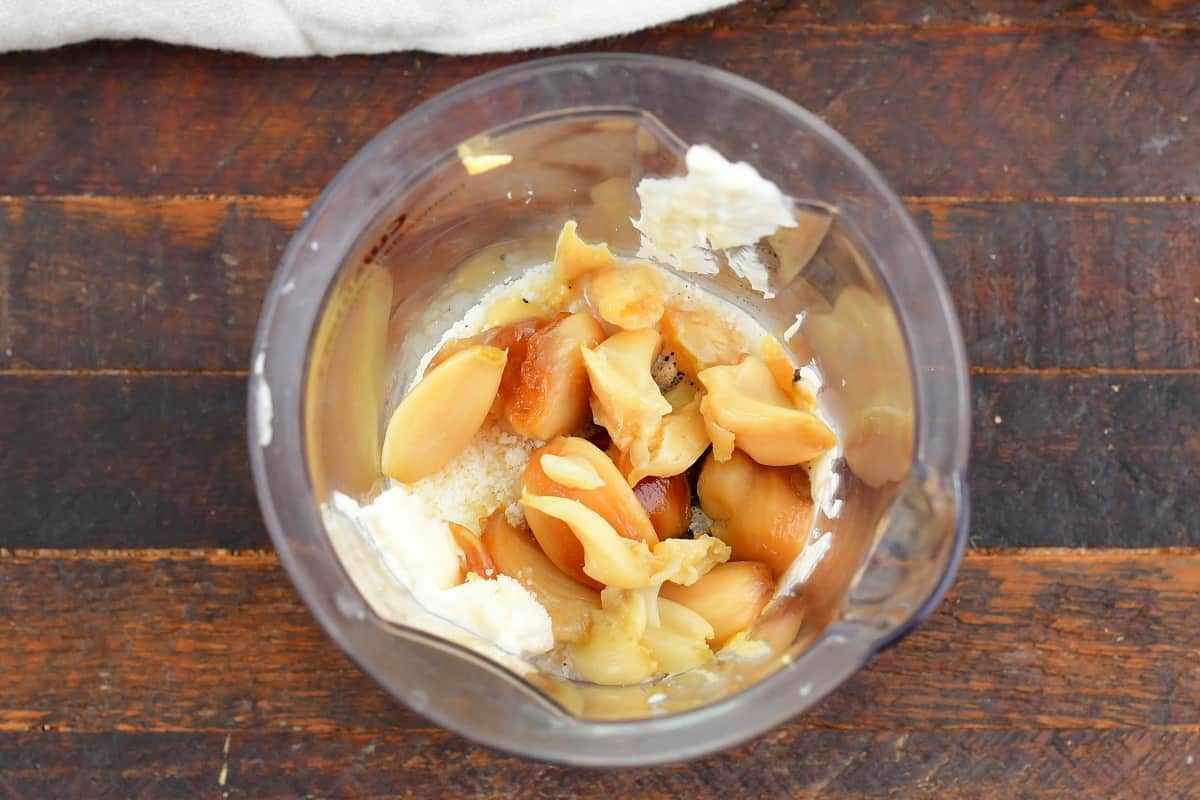
- Once the garlic is cooled enough to handle, squeeze out all of the caramelized cloves you’d like to use. (Or peel the skin off each one.)
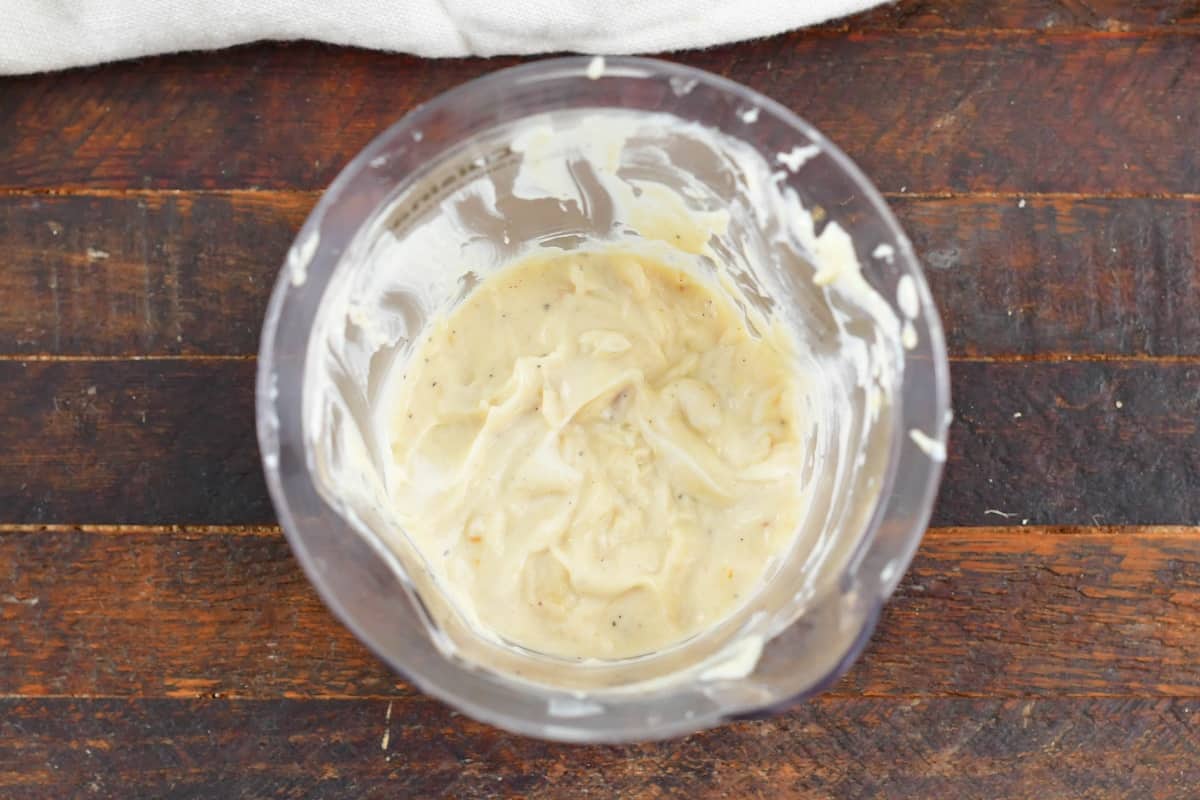
- Combine all of the ingredients in a blender and pulse a few times to combine.
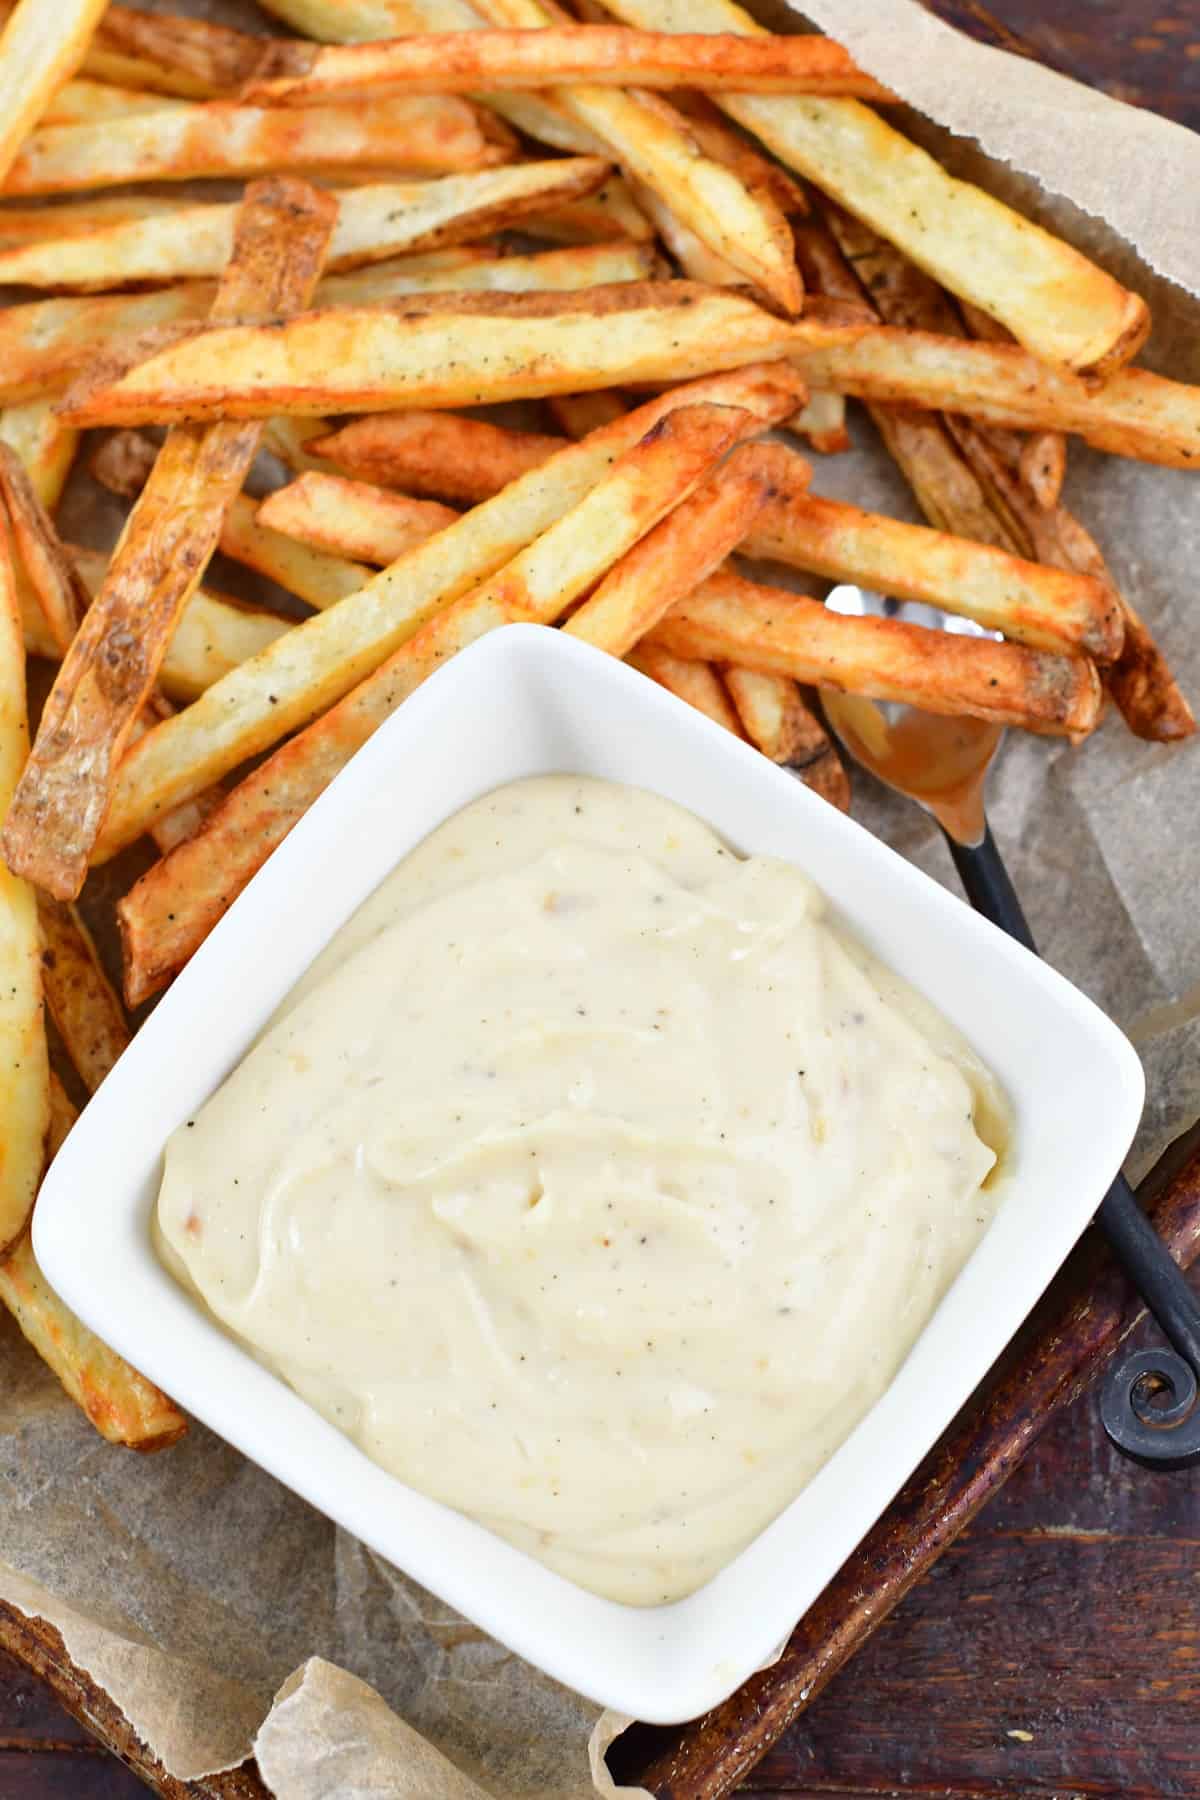
Serving Suggestions
You can use Roasted Garlic Aioli any way you would use a mayo!
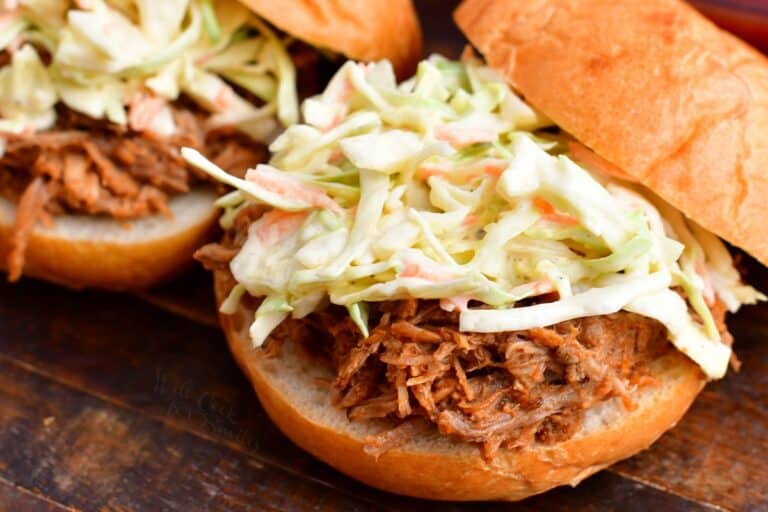
- Use it as a spread on all of the sandwiches, chicken burger, beef burgers or turkey burger instead of the burger sauce.
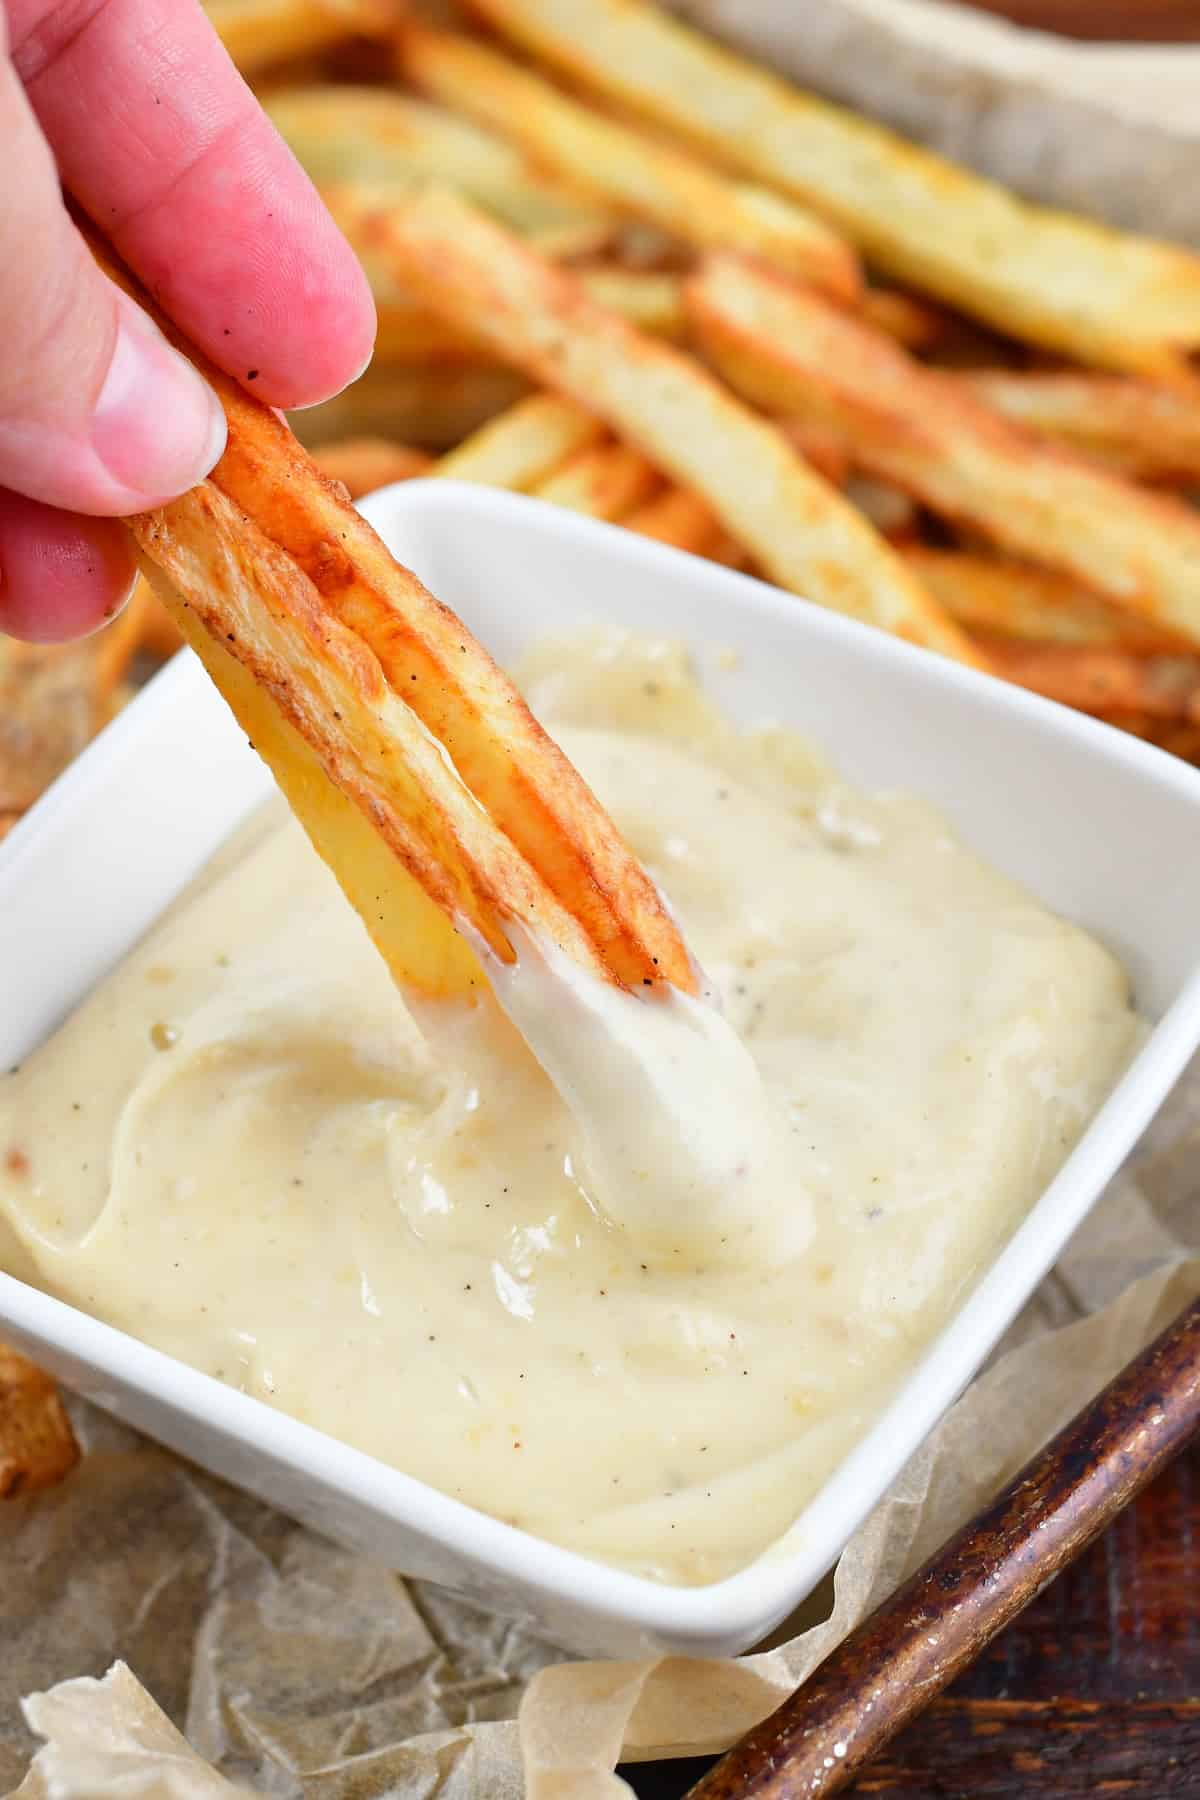
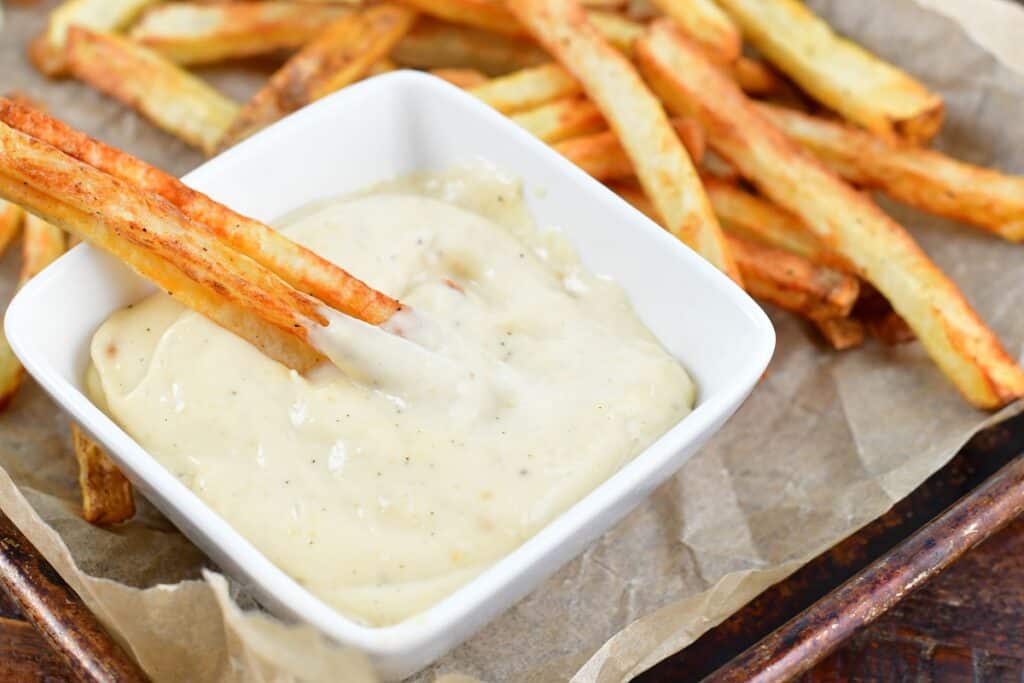
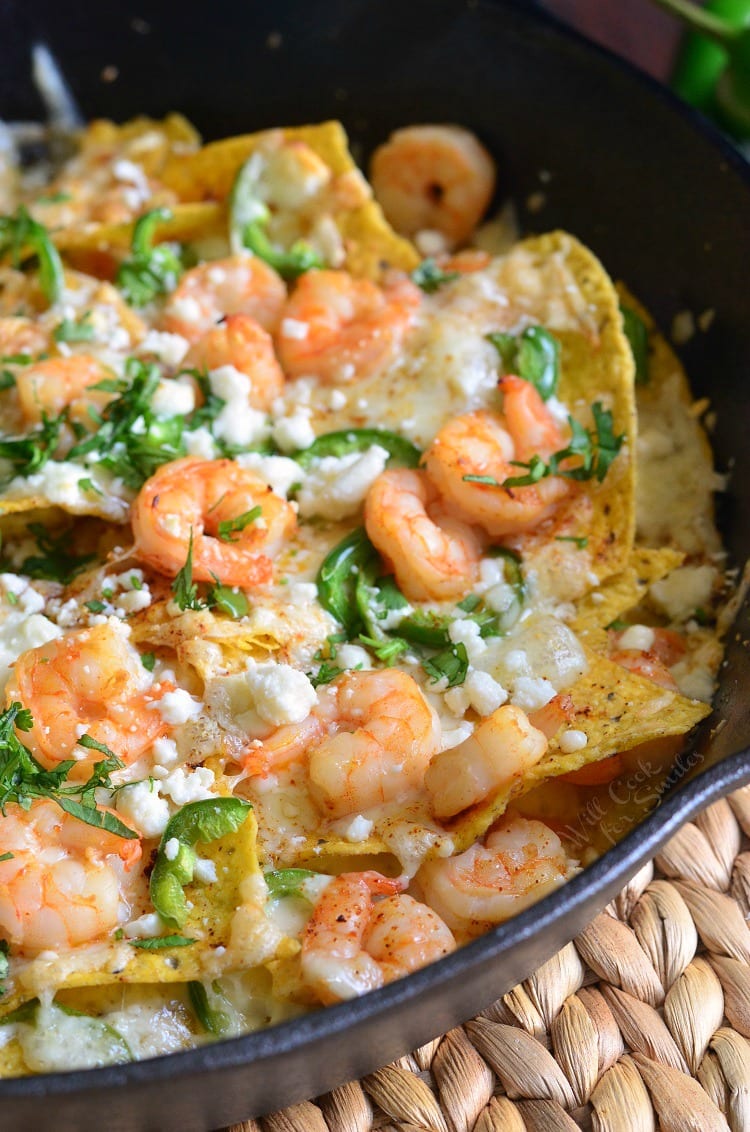
- It’s also common to use it as a dip for your fries like truffle fries or truffe tater tots, crackers, and veggies.
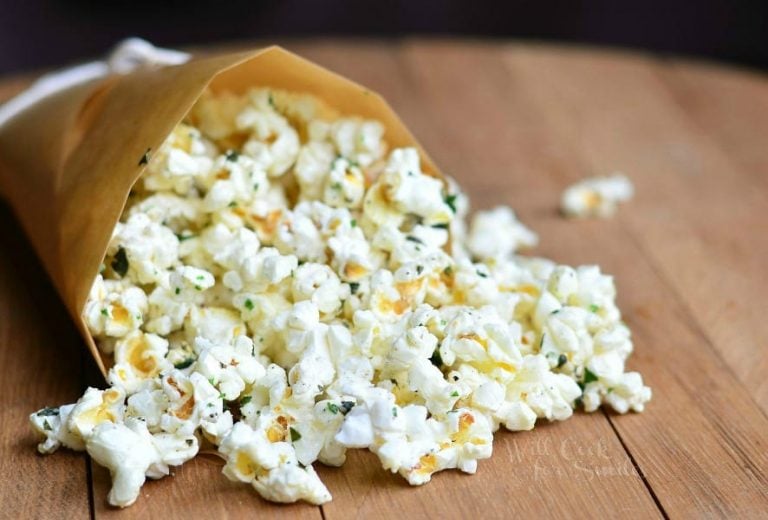
- You can even dip chicken nuggets, popcorn shrimp, and popcorn chicken into it.
- If you’d like, you can can thin it with some extra olive oil and drizzle it over roasted vegetables, flatbreads, and pizzas. You can also dip some breadsticks into it!
Make Ahead and Storing Roasted Garlic Aioli
- Make ahead roasted garlic: You can follow the instructions for roasting garlic and storing it in the fridge. There’s also no need to reheat the garlic, just mix it into aioli cold. Just remember to NEVER store roasted garlic at room temperature!
- Make ahead aioli: you can definitely make the aioli ahead of time and store in the refrigerator.
- Storing: It’s best to store Roasted Garlic Aioli in an airtight glass jar with a lid, and of course, in the refrigerator. Stored properly, it should stay fresh for 5-7 days.
DID YOU MAKE THIS RECIPE? PLEASE leave a 🌟 star rating! Let me know how you liked it by leaving the 📝 comment below or share and tag me on social media @willcookforsmiles. DON’T FORGET to subscribe to my newsletter!
Roasted Garlic Aioli Recipe
Ingredients
To Roast Garlic:
- 1 garlic bulb if garlic bulbs are small, you can use 2
- 1 tsp olive oil
For Aioli:
- 1/2 cup mayonnaise
- 1 tbsp fresh lemon juice
- 1/2 tsp Worcestershire sauce
- 1 tsp Dijon mustard
- 2 tbsp grated Parmesan cheese
- pinch salt to taste
- pinch black pepper to taste
Instructions
Roasting the Garlic:
- Preheat the oven to 400°. You can roast as many garlic bulbs as you wish, just roast them individually wrapped. You will need aluminum foil squares, each square big enough to wrap the bulb. For this recipe, you will need one, medium sized garlic bulb.
- Clear the very outer, sheer layers of of the garlic bulb but leave the thicker inner skin on. Keep the bulb intact. Slice off tips from garlic cloves on the bulb, just a little, about 1/4 inch.
- Place the garlic bulb in a middle on an aluminum foil square. Drizzle about a teaspoon of olive oil over the top of the bulb and wrap the bulb in foil.
- Place wrapped garlic bulb onto a roasting pan and bake for 40-45 minutes. Let the bulb cool down before using.
To Make Aioli:
- Once garlic is cooled, you can either squeeze the garlic out of each clove or peel each clove to get the garlic out. (Personally, I prefer to peel each clove because when you just squeeze it out, some garlic is always left behind.)
- Combine all of the ingredients (including roasted garlic) in a blender and pulse a few times just to combine and blend.
Storing:
- Serve right away or store in an air-tight glass container with a lid. Make sure to store roasted garlic aioli in the refrigerator. Stored properly, it should be good for 5-7 days.
Notes
- Storage and food safety: Always store roasted garlic aioli in an airtight container in the refrigerator. It will stay fresh for 5–7 days. Never leave roasted garlic or aioli at room temperature for extended periods.
- Serving ideas: This aioli is delicious as a dip for fries, veggies, or shrimp, and it also works as a spread for burgers, wraps, and sandwiches.
Nutrition
Would you like to save this recipe?
Categories:
Appetizer Recipes, Burger Recipes, Dip Recipes, Gluten Free Recipes, Most Popular Recipes, Sandwich Recipes, Sauce Recipes, Toppings and Spreads,All images and text ©Lyubov Brooke for ©Will Cook For Smiles. Please do not use my images without prior permission. If using my posts in collections and features, please link back to this post for the recipe.
Disclaimer: Nutrition information shown is not guaranteed to be 100% accurate as most ingredients and brands have variations.


Omg! This recipe is amazing!