
How To Make The Best Burgers
Learn How to Make the BEST Burgers this summer! This is a classic all-American recipe that has no over the top ingredients – just simple tips and tricks to help you accomplish the very best burgers every single time.
Burgers make great easy meals, you will also love my Chicken Burger, Salmon Burger, and Turkey Burgers!
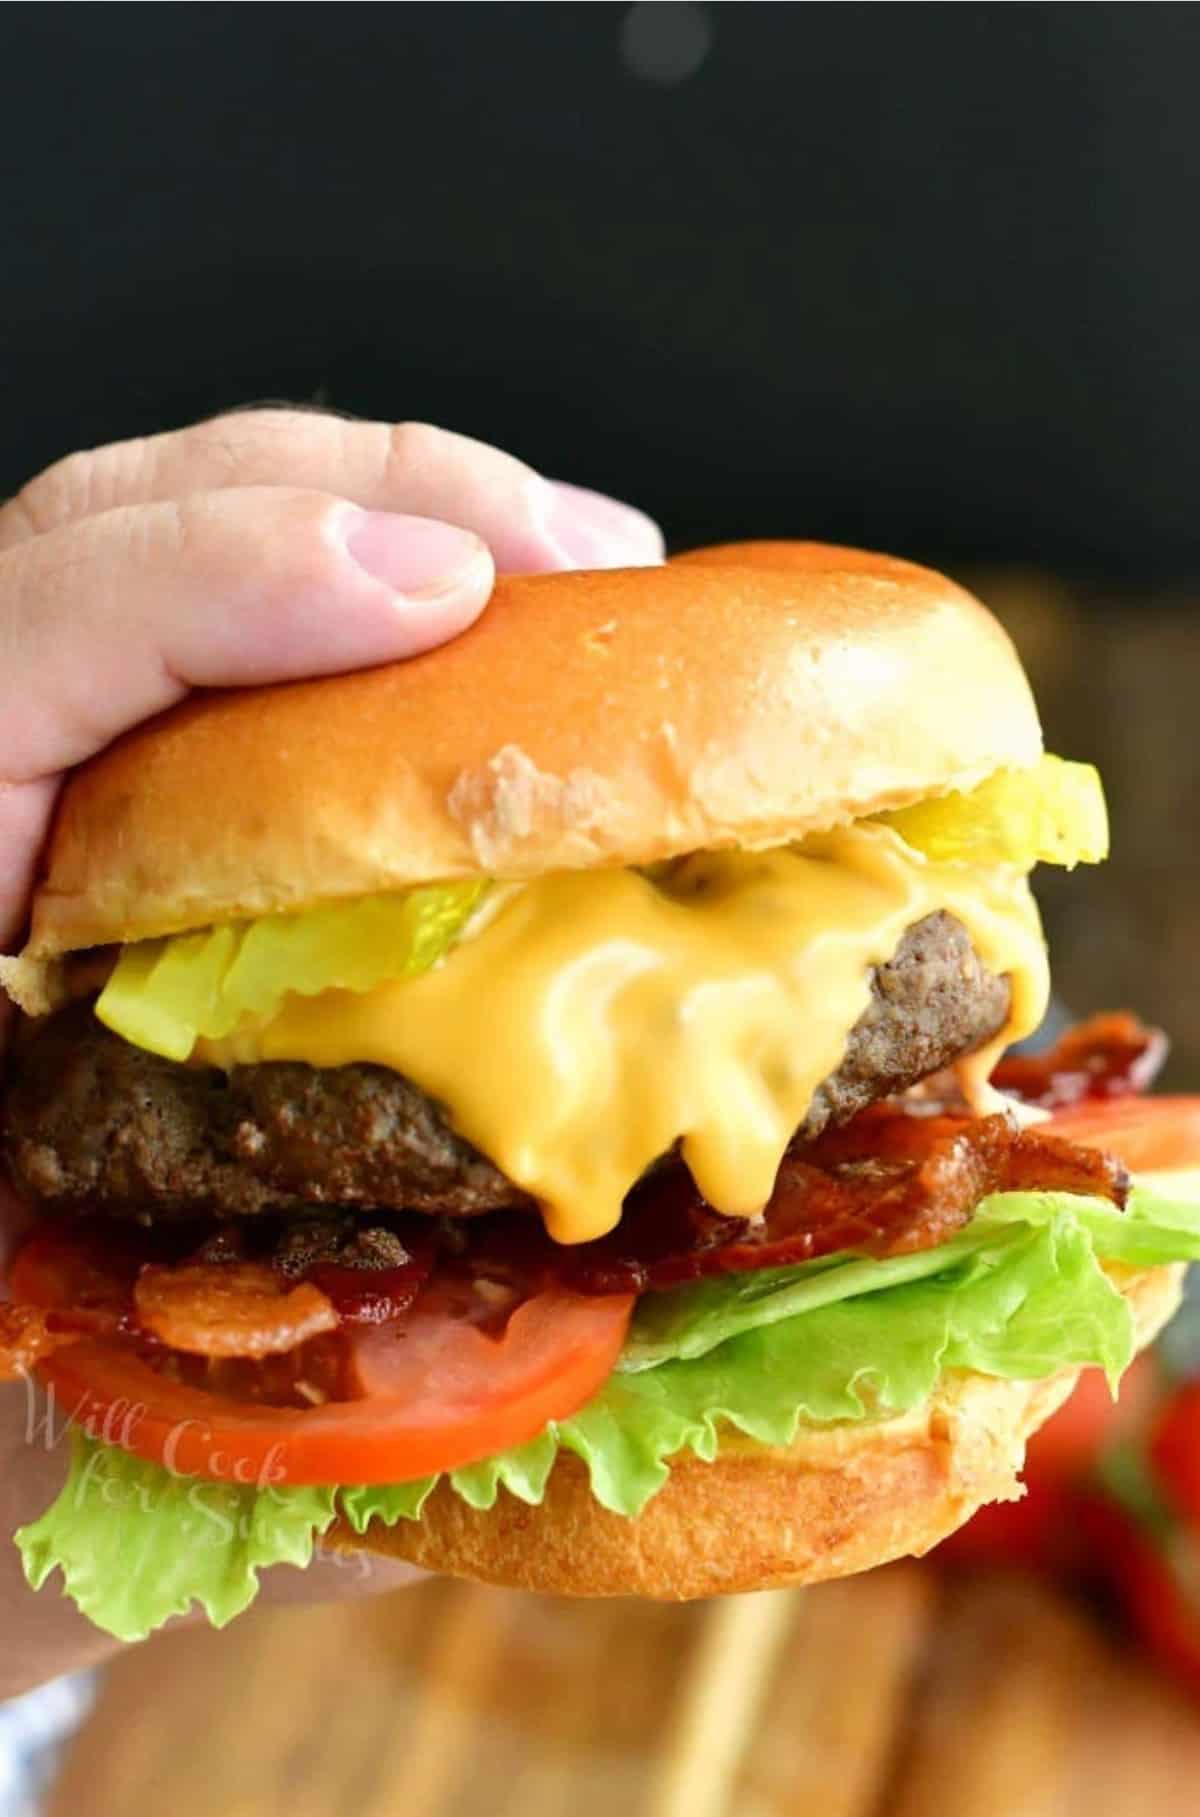
Table of Contents
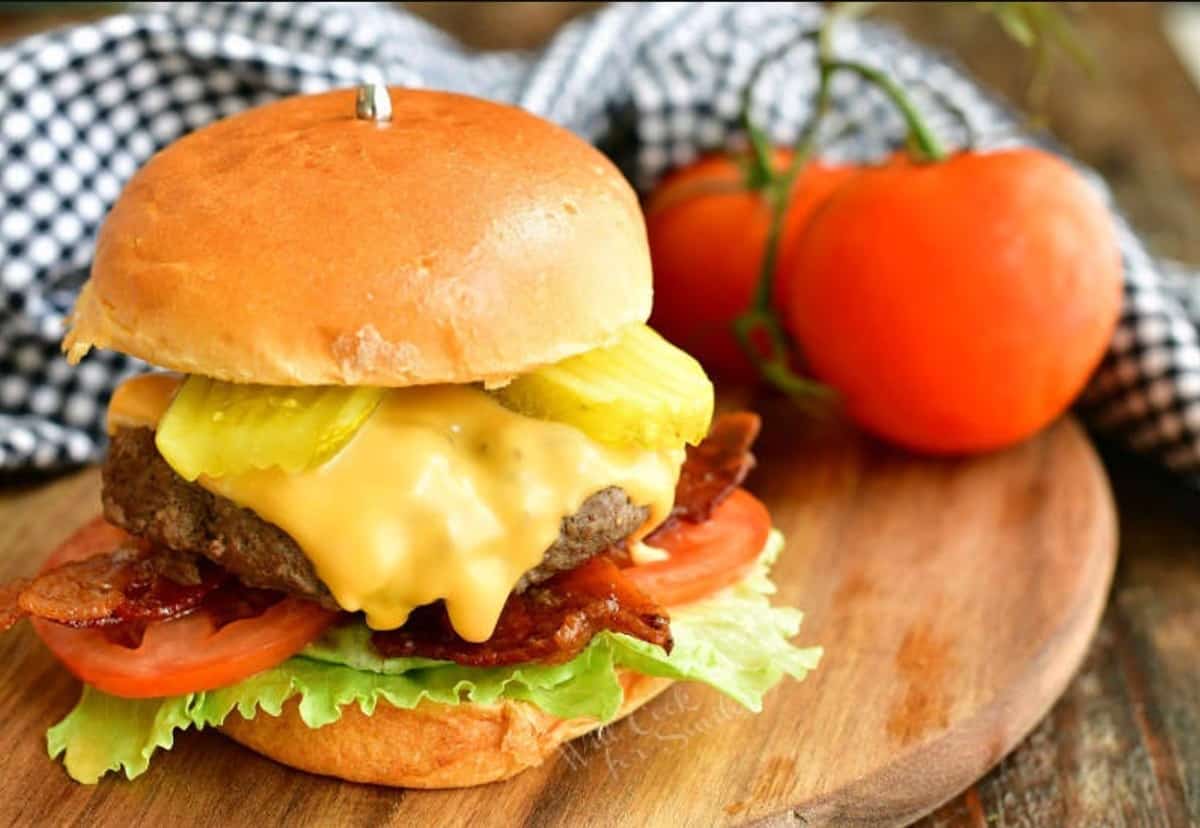
There’s nothing like biting into a juicy, tender cheeseburger where the meat is perfectly flavorful and all your favorite toppings are on it! I can’t tell you which toppings to choose but I can definitely help you make those burgers so delicious, the juices will be running down your hands. There aren’t any unnecessary frills to be found here – just real, tried and true results that I’ve loved serving time and time again.
These easy to make burger patties pretty much explode with juices and flavor from the very first first bite. There’s no need to overload the meat with a ton of seasonings either. You can easily bring out the natural flavor of beef with simple salt and pepper and infuse enough flavor to make the burger shine. There’s also an egg in the mix to hold everything together, giving the patties their signature shape.
Through many years, I’ve collected several tips and tricks from friends who are chefs and grill masters, from butchers, and simply enthusiasts who love good food. The best part is that every single tip is so simple that everyone can do it. All you need is a little patience and start prepping the burgers ahead of time!
Ingredient Notes
Ground Beef – Choose 80/20 good quality ground beef! This will give the burger a good amount of fat to make it tender and juicy. At the most, I recommend going up to 85/15 ratio.
Egg – I started adding egg a couple of years ago and I did notice a difference in the texture. The egg really helps keep the meat from falling apart.
Salt and Black Pepper – These are simple seasonings, but when you add them inside and on the outside of the beef patty, they make the flavors sing.
See recipe card for complete information on ingredients and quantities.
Cooking Instructions
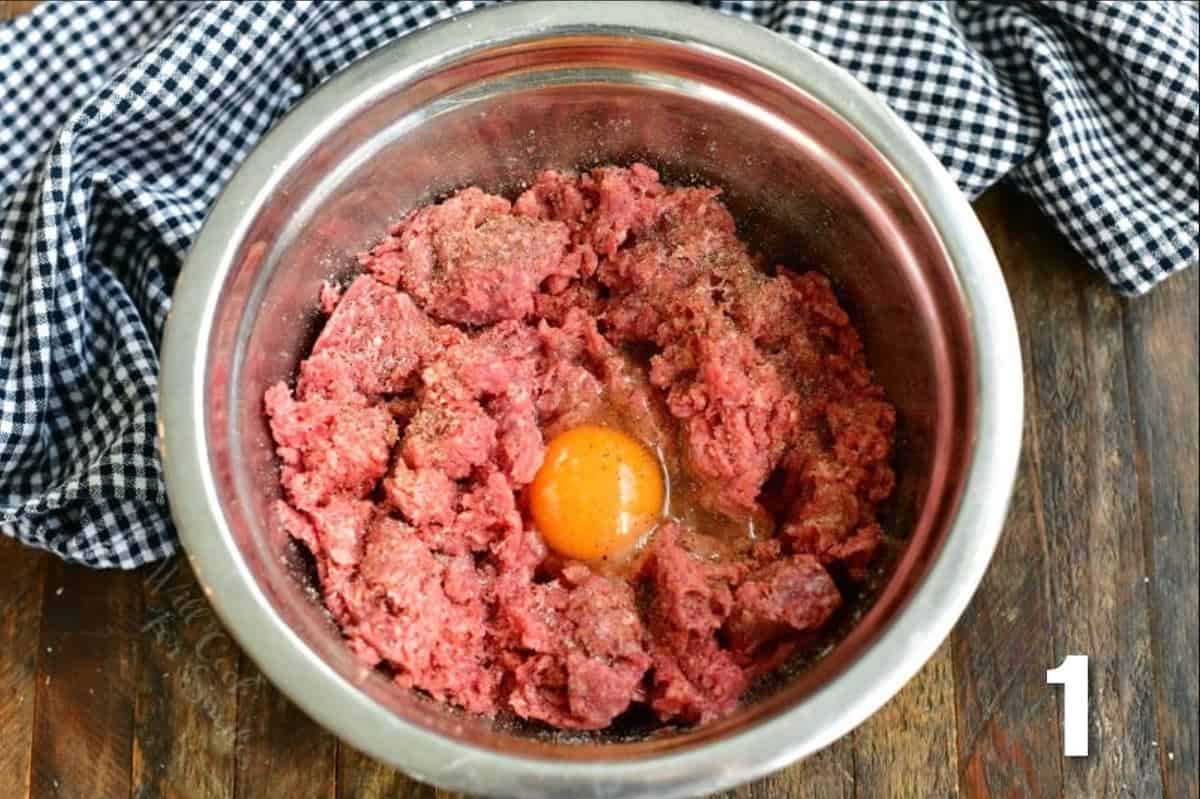
Combine the beef, egg, salt, and pepper in a mixing bowl (1). Mix it quickly and thoroughly.
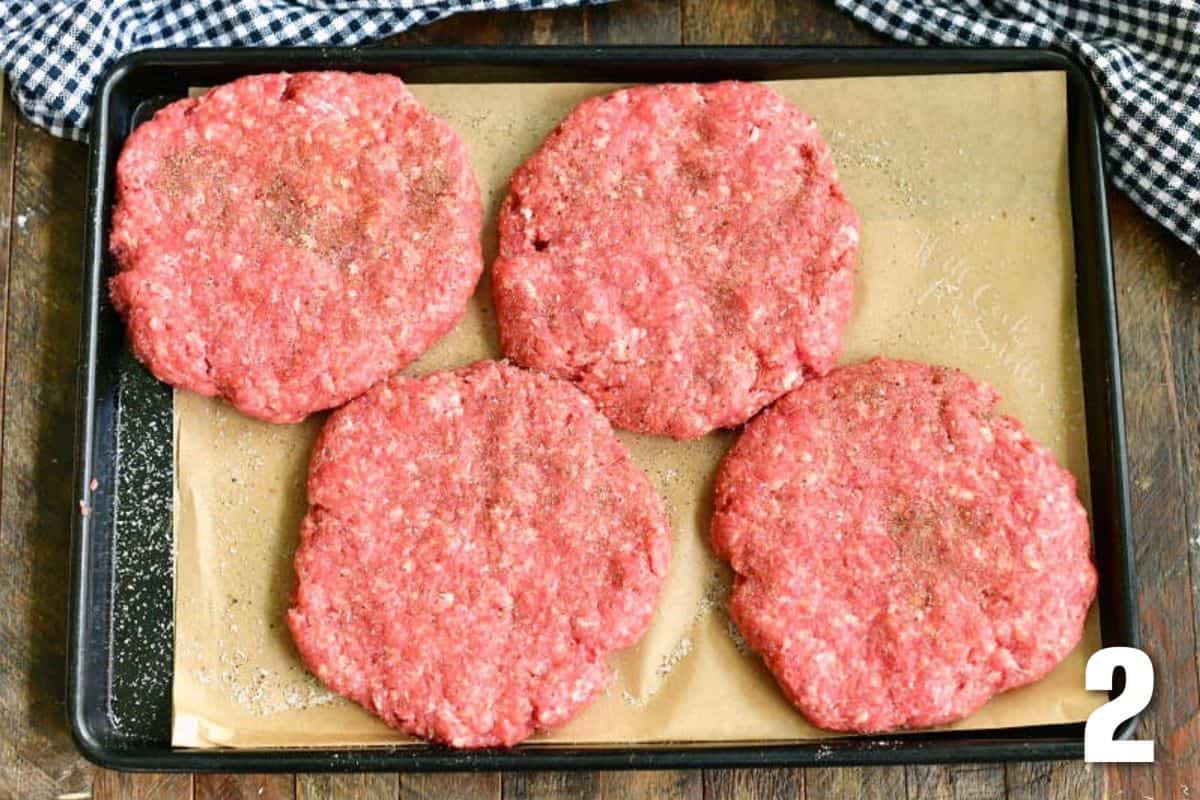
Shape the patties as quickly as you can and lay them out on a metal tray covered with parchment paper (2).
Season each patty with some more salt and pepper on both sides and cover the tray with plastic wrap.
Refrigerate for 2-4 hours prior to cooking.
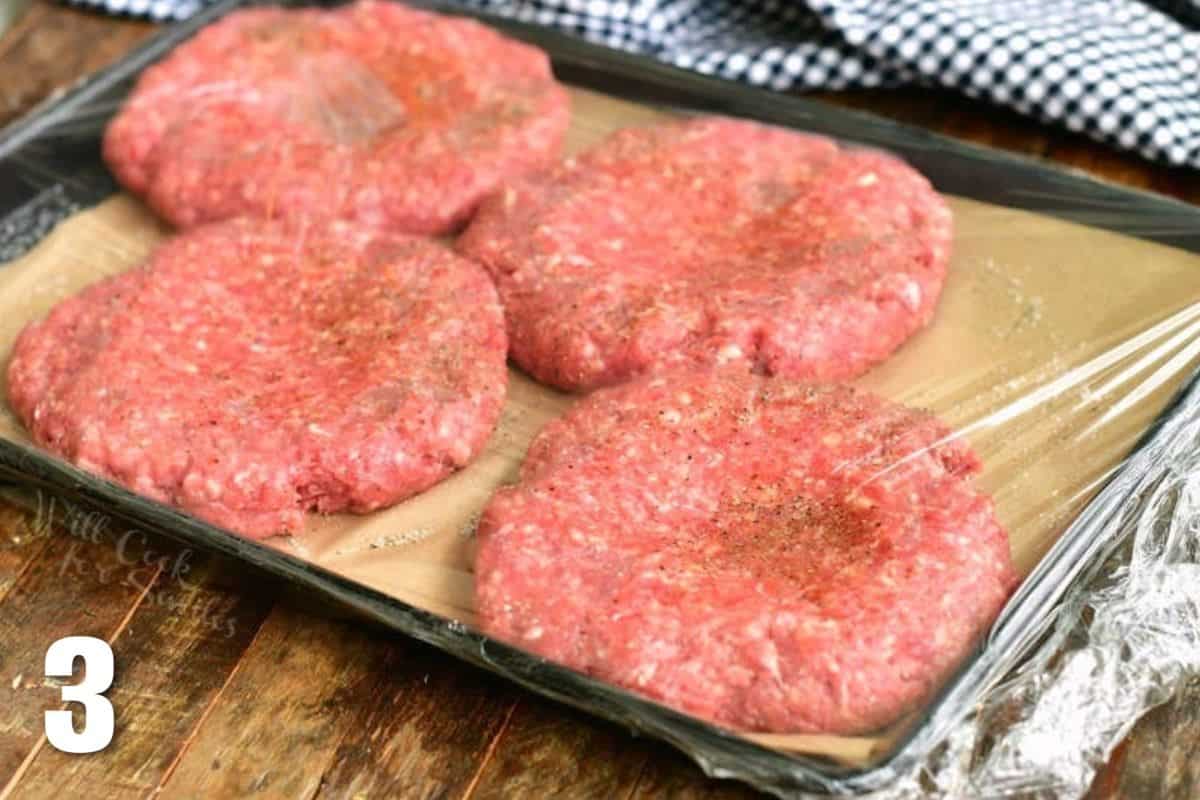
Use your fingers to make a well in the center of each patty about half way deep. Then, take off the plastic wrap (3).
Preheat a pan over medium to medium high heat with a little oil.
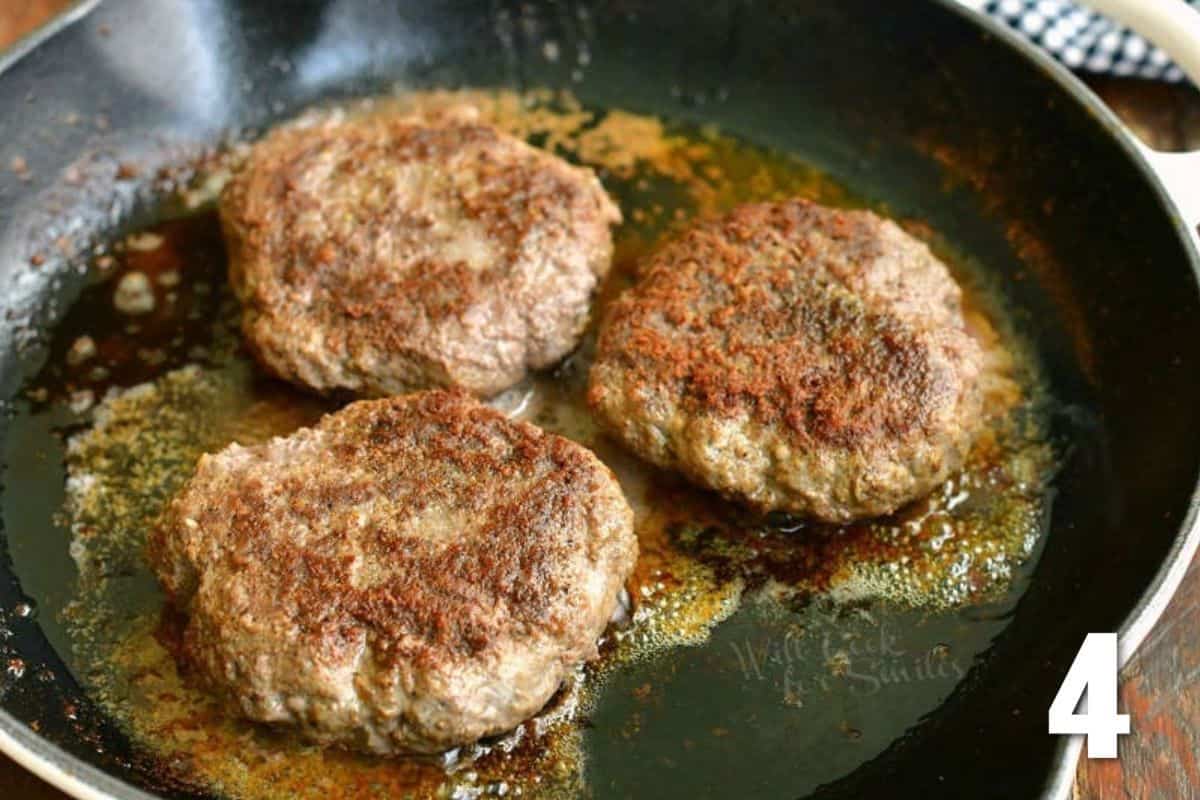
Add the patties to the hot pan and cook for 5-8 minutes per side (4). The timing will depend on how well done you want them.
Let the cooked patties rest on a plate for about 5 minutes prior to serving. Keep them warm by loosely tenting with foil.
PRO TIP: These are 1/2 lb patties, so they’ll take a couple minutes longer than thin burgers to cook.
Safe Temperature: The FDA recommends that hamburgers should be cooked to an internal temperature of 160°F. If you choose to cook them to a lower temperature, be sure you’re using the freshest and best quality beef or even making your own ground beef!
How To Cook Burgers On The Grill
Prepare the meat the same way as cooking them on the stove and refrigerate. Use your fingers to make a well in each center, about half way deep, before taking off the plastic wrap. Prepare coals and preheat the grill first so it’s hot and ready. If using gas grill, set it to medium-high temperature but leave a cooler zone to the side.
Spray each patty with some cooking spray before placing it on the grill. Place them over direct heat.
Once on the grill, do not touch them again until ready to flip. Grill for 4-6 minutes per side, depending on how well you want them. Cooked for 4 minutes per side will be closer to rare and 7 minutes per side will be closer to well done.
(If you want to read some more about grilled burgers, check out our sister site!)
Tips for the Best Burgers
Season inside and out. Season the ground beef when mixing it with the egg. After you shape the patties, season each patty on both sides with some more salt and pepper.
Refrigerate before cooking. The most important tip that most cooks emphasize is to cook cold burger patties. You don’t want to let the fat in the meat mixture melt before the burgers are cooking to have the juiciest texture. So it’s best to handle the meat as little as possible, shape the patties as quickly as possible, and refrigerate shaped patties for 2-4 hours before cooking.
Preheat the cooking surface first. Whether you’re cooking on stove-top or the grill, make sure to thoroughly preheat the cooking surface.
Make a little well in the patty. Use your fingers to make a well in each center, about half way deep. This truly does help to keep the centers from raising and bulging.
Do not disturb. Do not touch the patties after you place them on the cooking surface until ready to flip. Fight the urge to readjust or move them around.
Do not press! Ever! Please, please, do not press the burgers. It breaks my heart to see people squeezing all those wonderful meat juices out.
Let it rest. Take cooked burgers off the grill and let them rest for a few minutes before eating. This will give a chance for all the juices that have compressed during the cooking process to spread out and give you a nice juicy bite every time.
Recipe FAQs
Figuring out which toppings are best on the burger is tough because everyone likes different ingredients. My top 3 toppings that I always have are cheese, bacon, and pickles. But there are so many more options:
Vegetables – tomatoes, lettuce, onion, ad pickles are your classic choices.
Other meat – bacon, prosciutto, ham, pulled pork, and pulled brisket are always popular.
Fried stuff – this could include fried onions, onion haystack, egg, fries, caramelized onions, and even shrimp.
Sauces – there are the classics like ketchup, mayo, and mustard that never disappoint. You can also go with BBQ sauces, hot sauce, creamy special sauce, teriyaki sauce, whiskey sauce, and any sauce you personally love.
Cheese – American cheese is the classic for a true burger but you can shake things up with absolutely any cheese you love.
No, it is not recommended to cook the patties from frozen. Make sure to thaw the frozen patties first and do it slowly in the refrigerator.
The best way to tell if your meat is done cooking is to take internal temperature with a meat thermometer. Make sure to take the meat out of the pan, insert the probe through the side, and measure the very enter.
You can also touch the center of the patties to see how soft it feels in the middle. For this method, you do need a little more cooking experience to be able to tell by touch.
More Burger Recipes We Love
If you’ve made my Burger recipe and found a lot of good information here, PLEASE leave a 🌟 star rating! Let me know how you liked it by leaving the 📝 comment below as well. Don’t forget to subscribe to my newsletter!

How To Make The Best Burgers
Ingredients
- 2 lbs 80/20 good quality ground beef
- 1 egg
- salt
- black pepper
Toppings:
- American cheese
- Soft hamburger buns
- Other toppings of choice
Instructions
Prepare meat:
- Combine ground beef, egg, salt, and pepper in a mixing bowl and mix. Mix it fast but mix it thoroughly.
- Shape the patties as quickly as you can and lay them out on a parchment paper covered metal tray.
- Season each patty with some more salt and pepper on both sides and cover the tray with plastic wrap.
- Refrigerate for 2-4 hours before cooking. (If you need to, you can refrigerate overnight but make sure to cover the tray with plastic wrap air-tight.)
Cooking:
- Use your fingers to make a well in the center of each patty, about half way deep, before taking off the plastic wrap.
- Preheat a cooking pan over medium to medium high heat with a little oil. The pan should be hot when adding the burgers.
- Add burger patties and cook for 5-8 minutes per side, depending on how well you want them. Do not disturb the burgers while cooking.
- (Note that these are 1/2 lb patties, they will take a couple minutes longer than thin burgers to cook.)
- Take cooked patties out of the pan and let them rest on the plate for about 5 minutes before servings. Tent them loosely with a sheet of aluminum foil to keep warm.
- If adding cheese: place a slice of cheese on top of each patty 30-45 seconds before taking it off the pan. Toast the buns: to make the buns nice and toasty, preheat another pan, brush each bun with a little butter on the inside and place them in the pan buttered side down. Let them toast for a couple of minutes.
Video
Notes
Nutrition
Categories:
4th Of July Recipes, Backyard BBQ Recipes, Beef Recipes, Burger Recipes, Father's Day Recipe Ideas, Lunch Recipe Ideas, Sandwich Recipes,All images and text ©Lyubov Brooke for ©Will Cook For Smiles. Please do not use my images without prior permission. If using my posts in collections and features, please link back to this post for the recipe.
Disclaimer: Nutrition information shown is not guaranteed to be 100% accurate as most ingredients and brands have variations.


Fantastic! I had no idea about the egg, or seasoning inside. I also didn’t know about cooling and making a little well. Thank you Lyuba! –Dr. Tom
I am so glad you found it helpful!
what a delicious, Nice recipe. I will try this next Sunday at home. thanks for sharing.
I hope you like them, Aliza! 🙂
I just tried these burgers and they were so good! Thanks for the recipe!
You’re very welcome!