
Roast Pork Recipe

This post may contain affiliate links.
rave reviews

Since I have used this recipe I will not do my roast any other way. My family enjoys the flavor and tenderness of it!!! ~Latasha W
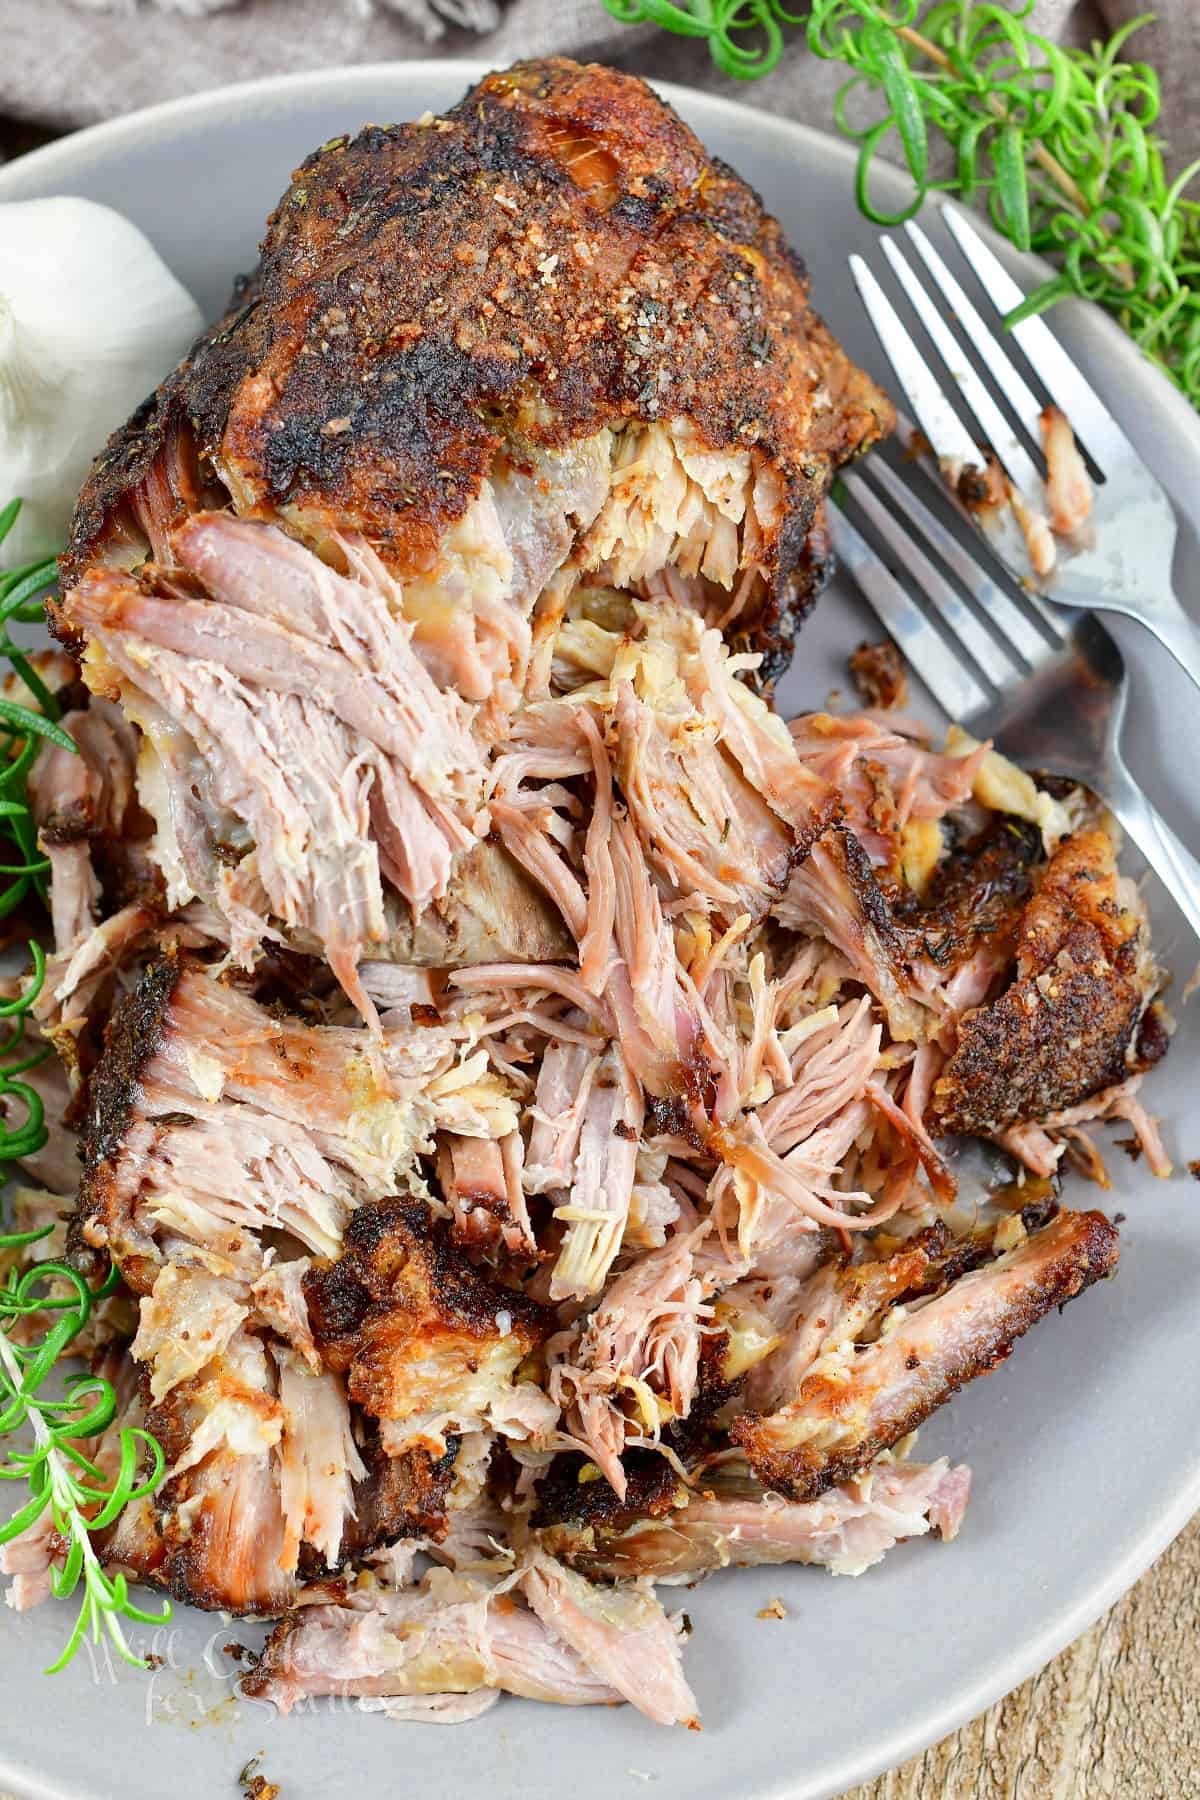
For this pork roast, I use a bone-in Boston butt and slow roast it in the oven until it’s pull-apart tender. When I want a more elegant dinner for parties, my garlic pork loin is the one I make because it slices so neatly. Every other time, and any time I want a big batch of tender pork for sandwiches, tacos, and leftovers, this simple roast pork is my go-to!
The seasoning mix I use to make this pork is a combination of garlic cloves, coarse salt, fresh cracked peppercorns, ground mustard, onion powder, and fresh minced rosemary. And the (not so) secret ingredient for more flavor is the garlic halves inserted directly into the meat that really infuse it with so much more flavor.
You’ll love how little effort it takes to make my roast post, just reason and pop it in the oven. You can even salt it the night before, which I prefer actually, then season and pop it in the oven in the morning. That way you’ll have dinner ready by the evening with no stress.
Table of Contents
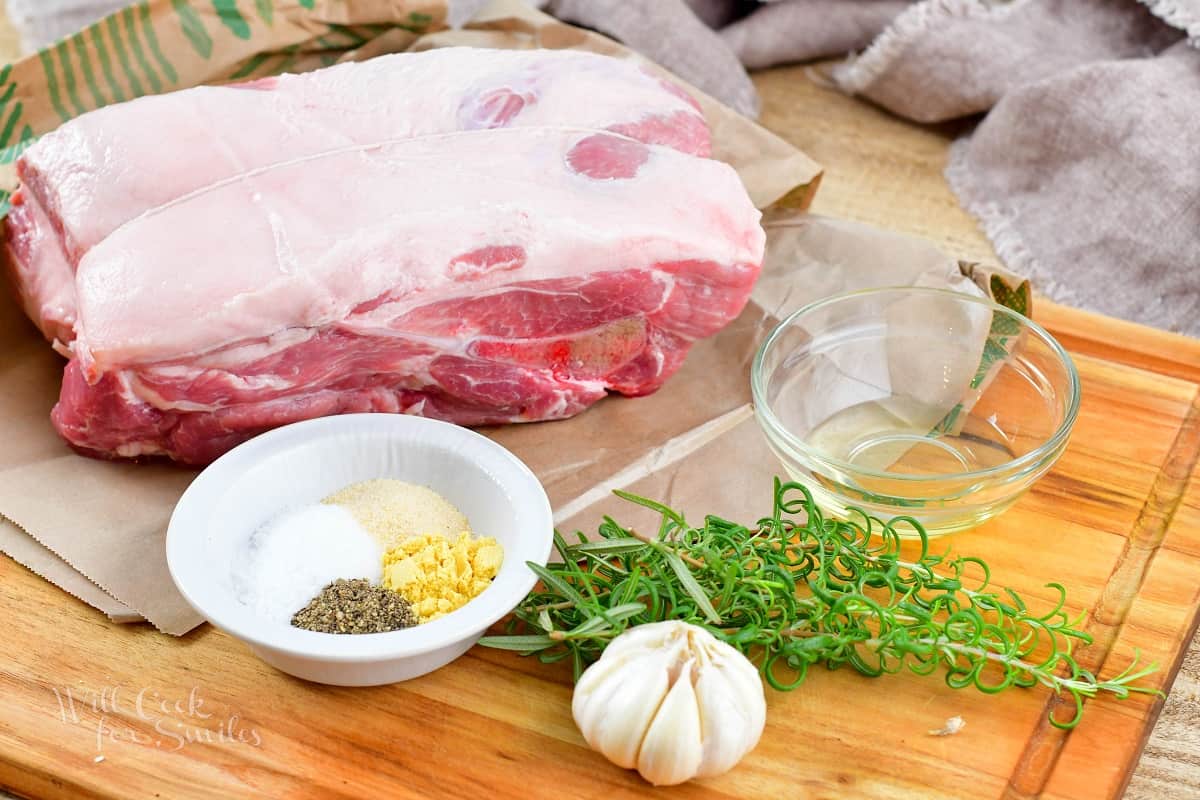
Key Ingredients
- Pork Butt – For this recipe, you’ll need a bone-in Boston pork butt. It has plenty of marbling throughout, so you end up with the most tender and juicy meat after the long, slow roast.
- Salt – You’ll use coarse salt in two separate steps, so it appears twice in the recipe card:
- Overnight salting: 2 tablespoons to season the pork the night before.
- In the seasoning mix: 1 tablespoon mixed in with the rest of the spices.
- Make sure you’re using kosher or sea coarse salt, not table salt! Table salt has much finer grains, so the same tablespoon packs in a lot more salt and will make the pork too salty. Most table salt also contains added iodine and anti-caking agents, and you can taste a lightly bitter, metallic edge. Coarse salt gives you a cleaner, purer salt flavor.
- Garlic – You’ll need fresh garlic cloves for this recipe since it will go right into the meat.
- Peppercorns – use freshly cracked peppercorns for the boldest pepper flavor.
- Ground Mustard – I love the sharp, tangy flavor of mustard with the natural richness of pork. Mustard is a classic flavor pairing with pork.
- Onion Powder – I use onion powder for a savory, slightly sweet base in the seasoning mix.
- Rosemary – It’s best to use fresh rosemary here but if you need to, feel free to use dried. Just cut it in half since dried herbs are more potent.
How to Make Roast Pork
PRO TIP (optional): Salt the pork the night before. Rub 2 tablespoons of coarse salt all over the pork, tie it, wrap it airtight, and refrigerate overnight. This seasons the meat all the way through and keeps it juicier. No need to rinse off the salt in the morning, just pat the seasoning mix right on top.
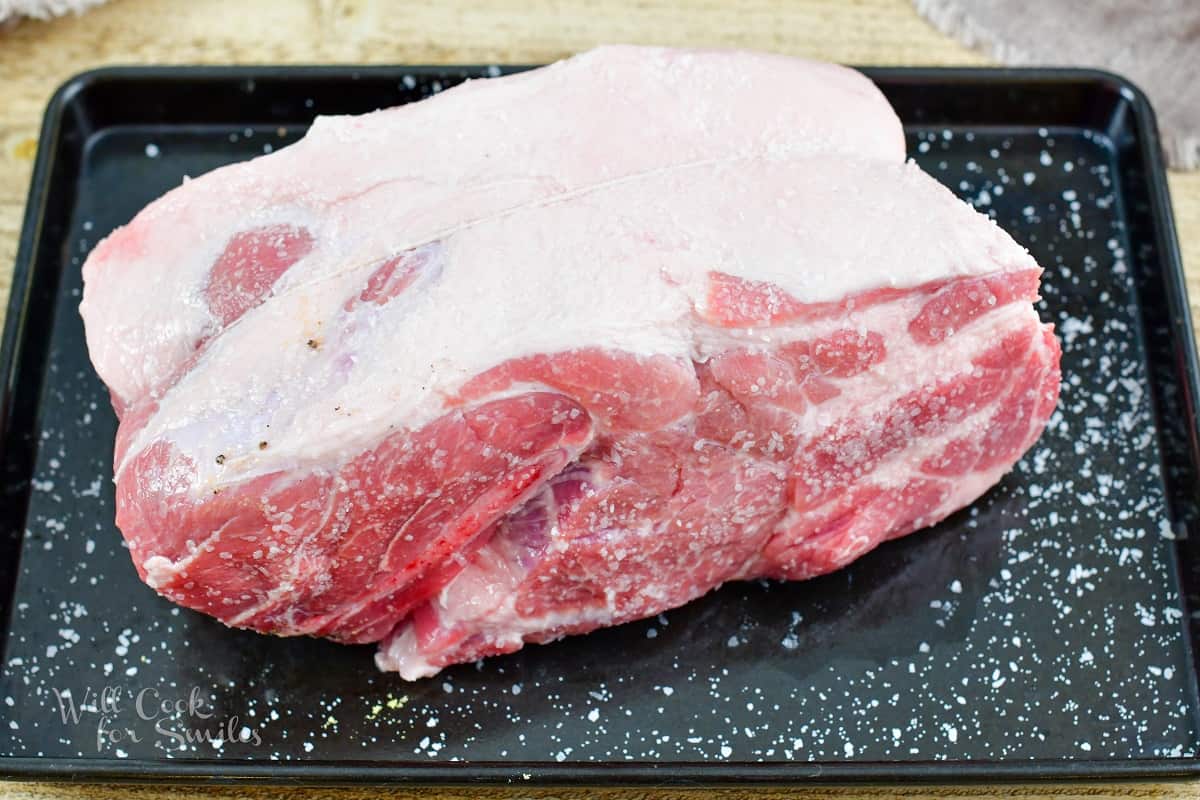
- Start by seasoning the pork really well with coarse salt and giving it time to sit wrapped tight in the refrigerator overnight. This helps the flavors infuse and makes a big difference in how juicy the meat turns out.
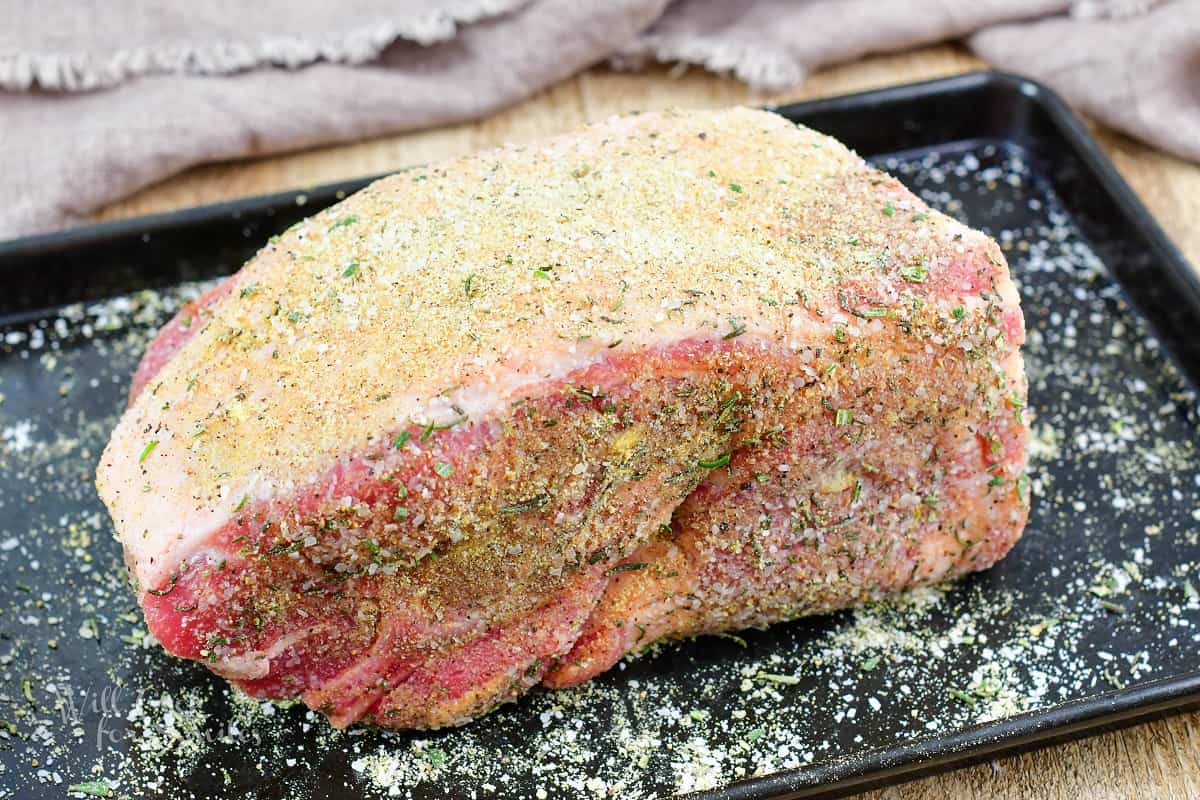
- Before cooking, pierce the pork generously all over with a sharp knife and place sliced garlic cloved inside. Then coat the pork with seasoning all over and remember not to rub but pat the seasoning on.
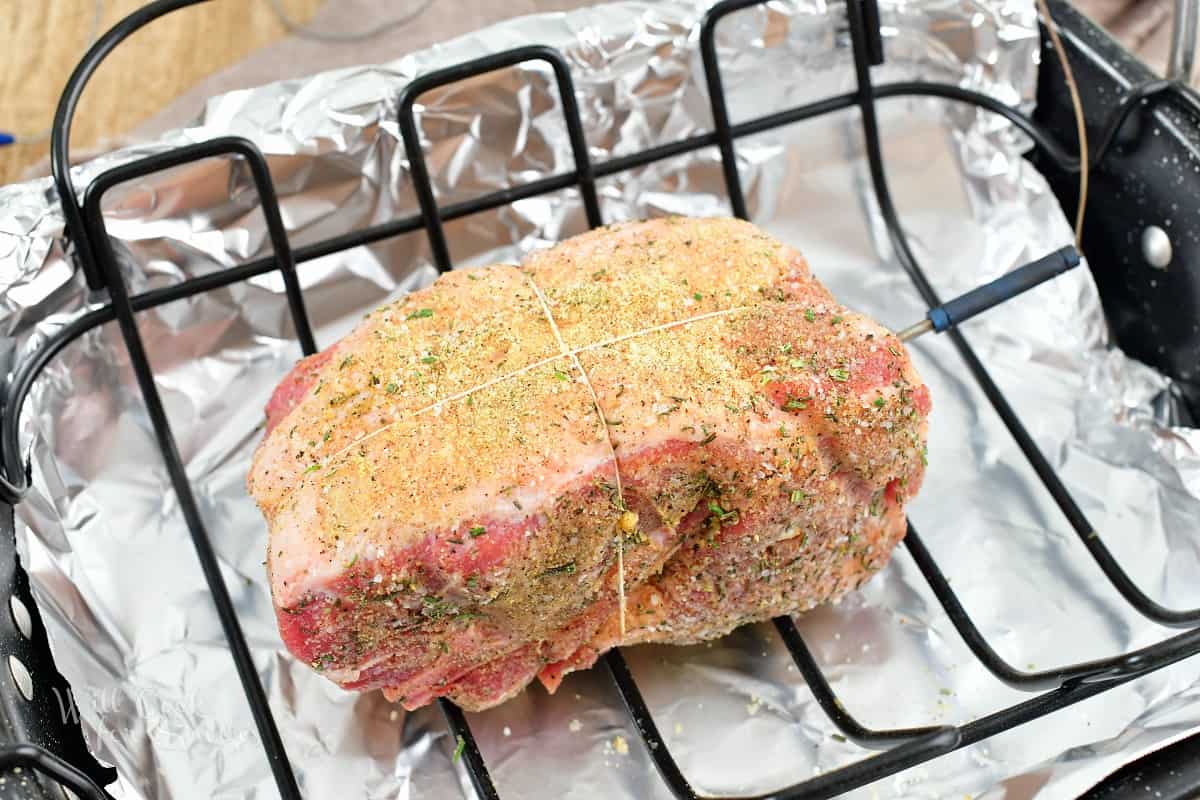
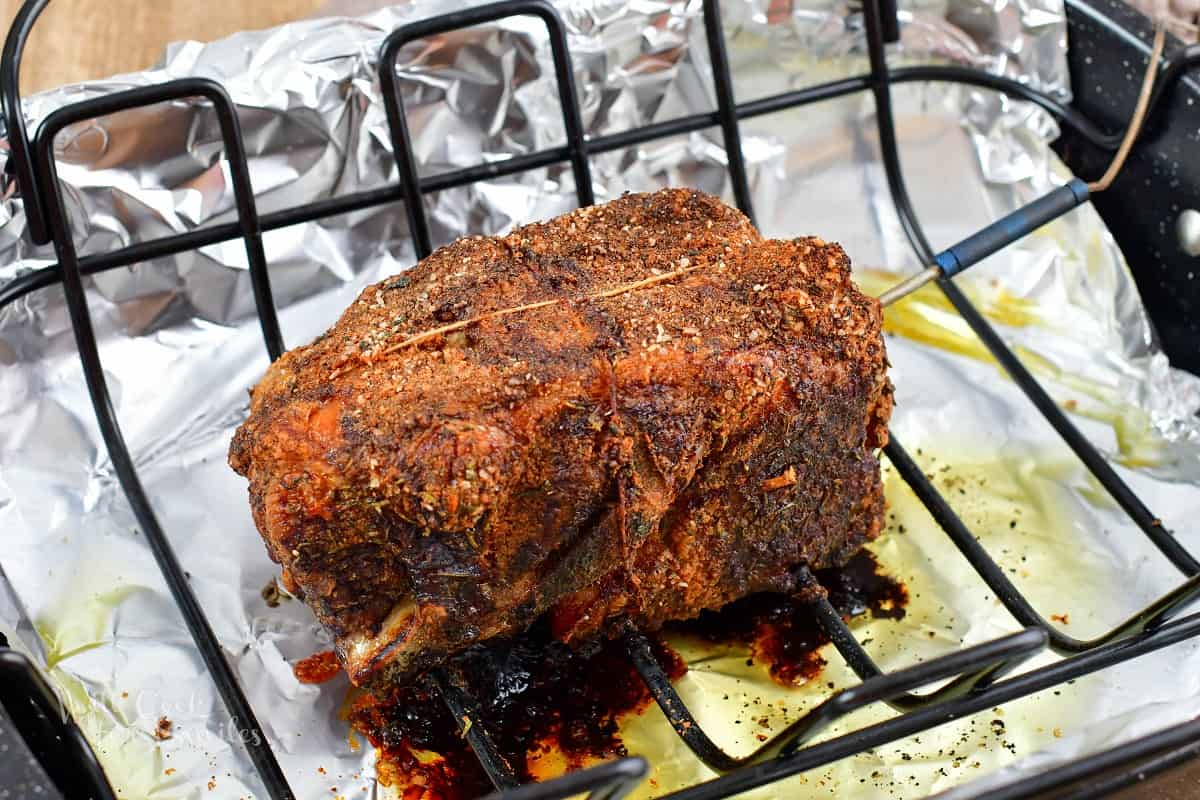
- As the pork goes into the oven (at 450°F), the initial high heat helps set the outside. Before long, you’ll notice the smell of garlic and rosemary filling the kitchen, that’s your first sign things are going right. After lowering the temperature to 275°F, the pork slowly cooks for several hours, during which the fat melts and naturally bastes the meat. This is where the magic happens.
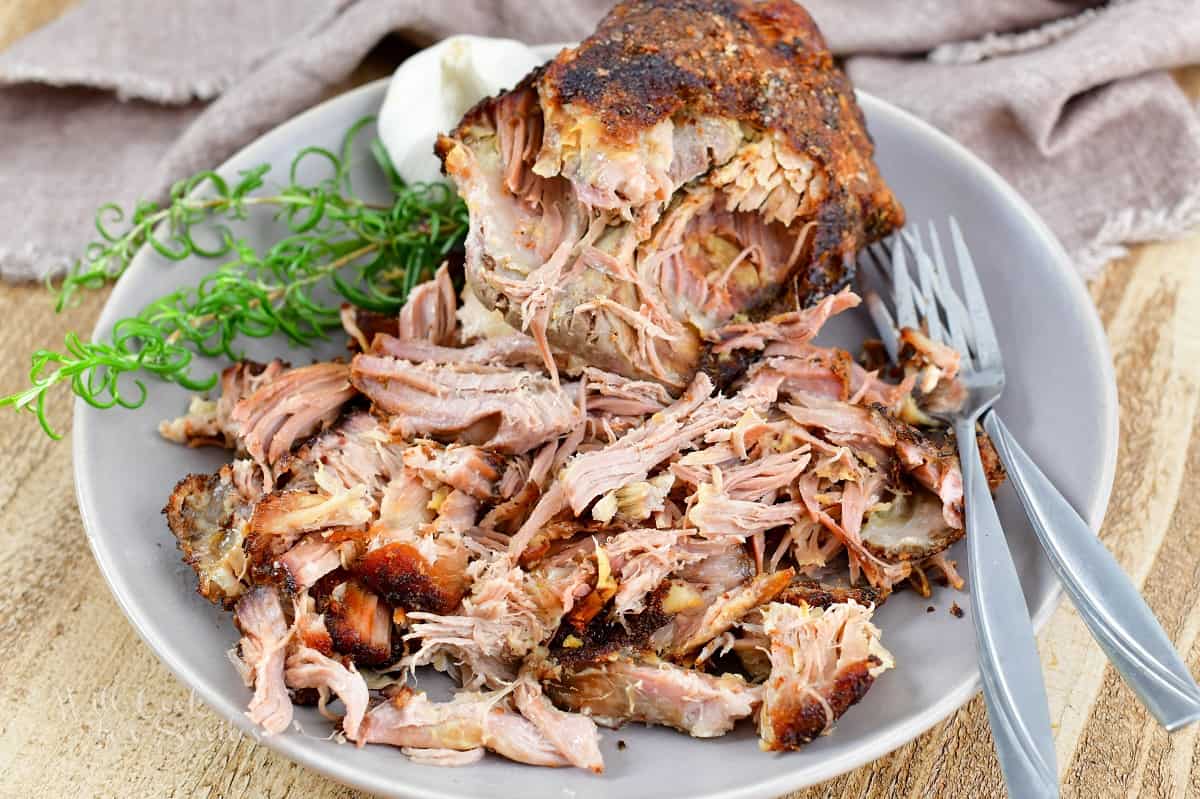
- You don’t need to fuss with it while it cooks. Just let it roast until the meat becomes deeply tender. When it’s ready, a fork should slide in easily, the meat should pull apart without effort, and the bone should release cleanly from the pork. If it still feels firm, it simply needs more time. Optimal internal temperature for a pork that pulls apart at fork tender is 202°F to 203°F.
- Once out of the oven, give the roast time to rest before pulling. This helps juices to spread back through the meat for the juicy and tender results. What you’re left with is flavorful, fall-apart pork that’s perfect.
Tips for the Best Tender Roast Pork Shoulder
- Season it the night before, cover and refrigerate. It will give more time for the seasoning to flavor the meat and take no time to pop it in the oven in the morning.
- If the pork is cold, let it sit on the counter for about 30 minute before placing in the oven. You never want to cook cold meat!
- Use a leave-in meat thermometer to track the temperature! This is your most accurate way to make sure your meat is cooked perfectly.
- When inserting the thermometer probe, get it close to the bone but NOT touching the bone.
- Slow, slow, slow! Don’t be tempted to raise the temperature to try and cook the meat faster. This is a tough meat and it needs time to cook at a lower temperature to give you the best tasting results.
- Cook the pork shoulder fat-cap up! Melting fat will slowly seep into the meat and produce much more tender and juicy results.
- Expect your 4-5lb pork shoulder to take about 5-8 hours to cook. Remember that each cut of meat is different, so each will take slightly different amount to cook. Track the temperature, not the time!
- For a tender pull-apart pork, you need to aim for interna; temperatures of 200°F-203°F.
- Note that if you want to cook a boneless pork shoulder and slice it rather than pull it, it’s totally fine, just pull it out of the oven when it reaches an internal temperature of 190°F-195°F.
How to Serve Roast Pork
This pork roast is so versatile, so I serve it as a cozy dinner one night and turn the leftovers into something new the next.
- Serve it as a main course with sides. I love it with mac and cheese, scalloped potatoes, or honey roasted carrots.
- In sandwiches, tacos, and nachos: use the pulled roast pork in pulled pork sandwiches, pulled pork tacos, or pulled pork nachos.
- With gravy: You can make a quick gravy from the pan drippings using the same method as my pan dripping gravy. Taste it before adding any salt, since you already salted the pork twice.
- In a Cuban sandwich: Shredded leftovers make the perfect filling for a Cuban sandwich.
Storing and Reheating Leftovers
- Store: in an airtight container in the refrigerator for 3 to 4 days. Refrigerate any leftovers within 2 hours of cooking, and spoon a little of the pan juices over the shredded pork first so you don’t end up with dry meat the next day.
- Freeze: in freezer bags or airtight containers for up to 3 to 4 months. I like to portion it into meal-size bags and press out as much air as possible, so you can thaw just what you need. Thaw overnight in the refrigerator.
- Reheat: in a covered baking dish with a splash of broth or pan juices at 300°F until heated through to 165°F. You can also microwave smaller portions, covered, in short intervals, stirring in between. For tacos and nachos, toss the pork in a hot skillet over medium-high heat for a few minutes to crisp up the edges.

Roast Pork Recipe FAQs
Use bone-in Boston butt! It has less fat on the outside and the fat is more evenly spread throughout the muscle. This will result in a more tender and juicy meat, which is exactly what you want in your pull-apart tender pork. Bonus – you don’t have to trim the fat off the meat before cooking it, making this recipe even easier.
Actually, it will take about the same amount of time to cook bone-in pork roast. It may even cook a little faster than boneless. Your main indicator will be the size, and of course tracking the temperature rather than time. Remember, the internal temperature is your go-to indication of pork being done, not time.
Did you know that pork shoulder and pork butt are actually both from the shoulder part of the pig? Yep! The name “pork butt” is a little confusing because it does not actually come from the rear of the animal. Both cuts are from the shoulder, but one is the top part and the other is the bottom part.
Pork butt is the top part of the shoulder and it sits higher on the foreleg, while pork shoulder is the lower cut that is closer to the leg. Both cuts are tough and fatty, so it’s best to cook them in a slow cooker, Instant Pot, and of course the smoker. Pork butt is often labeled as “Boston butt” and pork shoulder is labeled as “picnic shoulder” or “picnic roast.”
More Pork Recipes to Make
If you love this roast pork, there are plenty of other pork recipes on my site to try next. From juicy garlic pork loin and pork cutlets for any day, to a more elegant dinner like stuffed pork chops, stuffed pork loin, roasted pork tenderloin, and pot roasted pork loin. You can also switch up the flavor of this roast and use my homemade pork rub instead of the seasoning blend. No matter the cut, these pork recipes are designed to be approachable, flavorful, and perfect for everyday cooking.
DID YOU MAKE THIS RECIPE? PLEASE leave a 🌟 star rating! Let me know how you liked it by leaving the 📝 comment below or share and tag me on social media @willcookforsmiles. DON’T FORGET to subscribe to my newsletter!
Tender Roast Pork Recipe
Equipment
- Leave-in Meat Thermometer
- Roasting pan
Ingredients
- 4-5 lb bone-in Boston pork butt
- 2 tbsp coarse salt to season overnight
Seasoning:
- 4-6 garlic cloves
- 1 tbsp coarse salt
- 1/2 tbsp fresh cracked peppercorns
- 1 1/2 tbsp ground mustard
- 1 1/2 tbsp onion powder
- 2-3 tbsp minced fresh rosemary
Instructions
Salt pork:
- Season the pork with salt in the evening and refrigerate it. It's easy to pop the pork into the oven first thing in the morning and let it slow cook.
- Rub pork shoulder with coarse salt all over, tie it, wrap it air-tight, place it in a sheet pan or a roasting dish, and refrigerate overnight.
- Pull the pork out of the refrigerator about 30 minutes before cooking to let it warm up.
Season:
- Preheat the oven to 450°F, line the bottom of a roasting pan with aluminum foil for easy clean up later, and fit a roasting rack inside the pan.
- Cut each garlic clove in half lengthwise. Use a small knife to poke holes in the pork that are about 1/2 deep (or the length of the garlic clove) to create slits throughout and sides. Push in a garlic clove half into each slit.
- Mix the seasoning together and spread it in a small rimmed baking sheet to make it easy to coat the meat with seasoning.
- Dip and pat the meat in seasoning on all the sides.
- Place the seasoned pork onto the roasting rack in roasting pan.
Roasting pork:
- Insert a digital thermometer probe towards the middle of the thickest part of meat. Make sure the probe is near but not touching the bone.
- Place the roasting pan into the oven and let it roast for 15 minutes at 450°F. Lower the heat to 275°F and let it slowly cook until it reaches the tender internal temperature of 200°F-203°F.* (Expect your 4-5lb pork shoulder to take about 5-8 hours to cook.)
- After taking the pork out of the oven, let it rest on the cutting board for about 10-15 minutes before pulling. This will let the condensed juices spread back through the meat, making meat more juicy and tender.
Notes
- For a fork tender pull-apart pork, you’ll want to cook it to 200°F-203°F internal temperature.
- Slicing option: If you want to cook a boneless pork shoulder and slice it rather than pull it, it’s totally fine, just pull it out of the oven when it reaches an internal temperature of 190°F-195°F.
Nutrition
Would you like to save this recipe?
All images and text ©Lyubov Brooke for ©Will Cook For Smiles. Please do not use my images without prior permission. If using my posts in collections and features, please link back to this post for the recipe.
Disclaimer: Nutrition information shown is not guaranteed to be 100% accurate as most ingredients and brands have variations.














I just pulled this out of the oven a few minutes ago….wow!
I only used a sprinkling of Rosemary but,this is the most delicious pork roast I have ever made.
Thank you for posting this delicious recipe.
Yay! I love hearing that! Thanks for taking the time to leave a review!
Didn’t do pre salting night before or use mustard in rub. Very good and will do again!
That’s great to hear! Thanks so much for sharing how it went!
Do I cover this pork roast with a lid or leave it uncovered
Since I have used this recipe I will not do my roast any other way. My family enjoys the flavor and tenderness of it!!!
That makes me so happy to hear! 🥰 I’m thrilled your family loves the flavor and tenderness too it’s one of my favorites for that very reason. Thank you so much for sharing this with me!
This is the second time cooking this roast…omg, I won’t fix it any other way. Its so good, juicy and flavorful. Melt in your mouth good. Follow the step, so good. Don’t put foil on it. Don’t worry, it’ll be fine. Yummy!
Wow, that makes me so happy to hear! I love that this has become your go-to way of making roast! Thank you for sharing your experience!
Wow, that makes me so happy to hear! I love that this has become your go-to way of making roast! Thank you for sharing your experience!
I have made this roast several times for my family. It is a WIN every time and is so flavorful.
I love hearing that! I am so glad you all like it!
Hi about to try your recipe for new years. Did you cook it in the center of the oven rack?
Hi Mark, Sorry I am just seeing this in the future if you need a response right away send me a message on facebook or instagram. But yes, I put this on the center of the oven rack.
Our small roast cut off the end of a piece for crock pot pulled pork was SOOOO GOOD!!! . If our roast had all fit in the pot I wouldn’t have found this recipe.
I had to go to the store for fresh rosemary but it was worth it.
I am so glad you liked it! 🙂
Awesome recipe! I had to cover mine about an hour into cooking as it was starting to dry out. The meat was tender but slightly dry as I had a roast without the bone
I am glad you liked it, Bonnie!
The first pork roast I ever made was 20 years ago… I was very disappointed by the recipe and I just never made another pork roast.But a few days ago l found your recipe. The roast turned out great, and I will be using it again . Thank you.
So glad you liked it!
I’d give this more than five stars if I could because it was that good. I mixed all of my seasonings exactly as called for and rubbed them into the roast the night before cooking it. My roast was a 8 lb. bone in butt. I took it out of the fridge at 5am and put it on to roast at 6am. I didn’t have a thermometer to insert like the recipe called for so I just judged the time using the recipe directions. By 4pm it was cooked to perfection and my family loved it. It was fall off the bone tender and juicy.
What a sweet thing to say. Thank you!
Hi, getting ready to make this. Do you wipe off/rinse off salt before putting on the other seasonings? Also, for a 5 lb bone in roast cooked with your directions – do you think it’s closer to 5 hours to cook or closer to 8? Just trying to time the rest of the food. Thanks so much!
I left all of the seasoning intact and it was perfect.
So glad you liked it, Judy!
Should the roast be covered when baking ?
Hi Linda,
No, I didn’t cover this while baking it will allow it to get a nice crust.
I’ve tried many pulled pork recipes but this one will be my go-to from now on. My family raved about it all through dinner and then begged to take home the left-overs! The fresh Rosemary is the key! Delicious, fall off the bone perfection. Definitely my go-to recipe for pulled pork from now on!
Nice! I am so glad you liked it so much! 🙂
Great recipe!
can you make gravy out of the drippings?
Absolutely!! You can check out this recipe but use any drippings: https://www.willcookforsmiles.com/the-best-turkey-gravy-pan-dripping-gravy/