
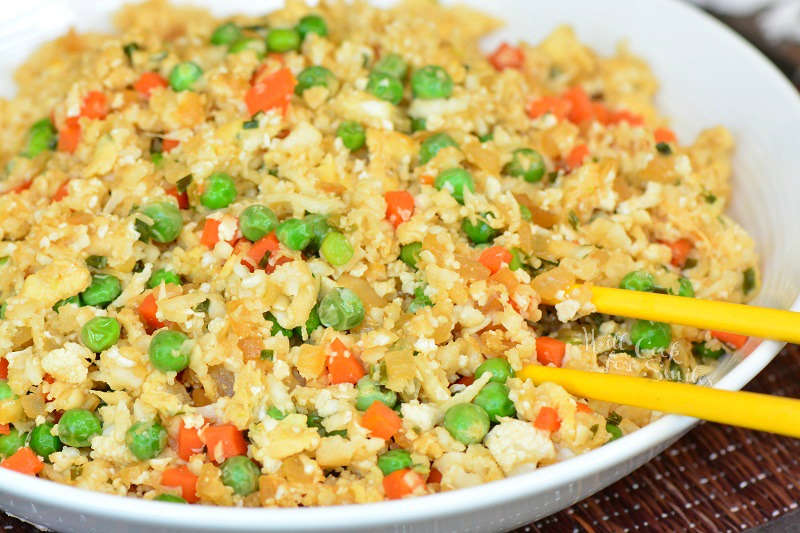
Cauliflower Fried Rice

This post may contain affiliate links.
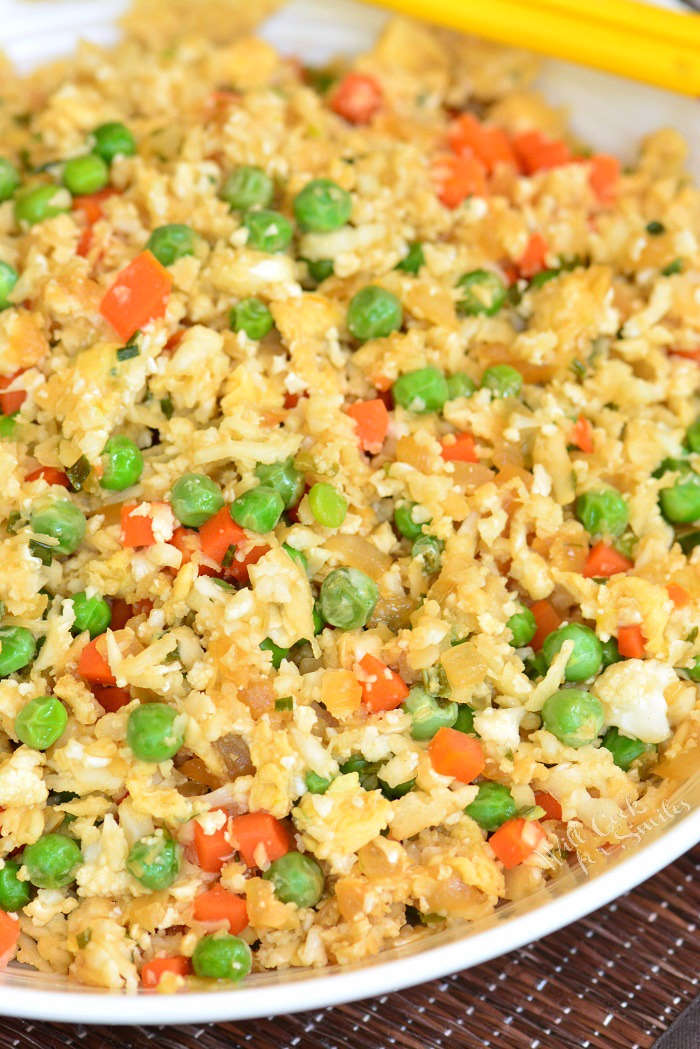
What I Love About This Cauliflower Fried Rice
Cauliflower takes on whatever flavor you cook it in, which is exactly why it works so well here. I call it my “power vegetable,” since I use it in everything from cauliflower pizza crust to mashed potatoes. Riced cauliflower is the same base for both, which makes it worth having extra on hand.
- If you want to make your own riced cauliflower from scratch, I’ve got a full guide to cauliflower rice, though it’s genuinely simple. I grate mine with a box grater instead of pulling out the food processor, since it’s faster and I don’t feel like washing five different parts just to rice a vegetable.
- The whole dish comes together in about 20 minutes, start to finish.
- Cooking the vegetables and eggs separately before adding the cauliflower keeps every ingredient from turning into one soft, mushy pile.
- It’s easy to customize with chicken, shrimp, or leftover ham, so it works as a full meal, not just a side.
Table of Contents
Key Ingredients and Notes
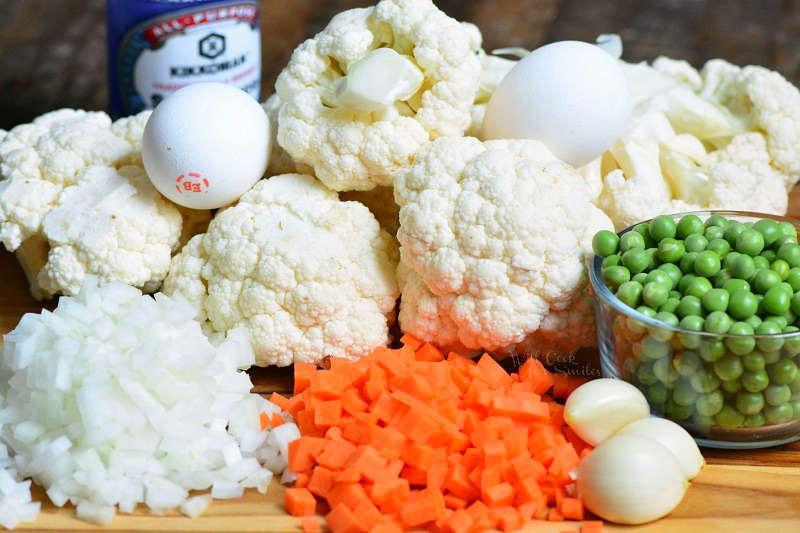
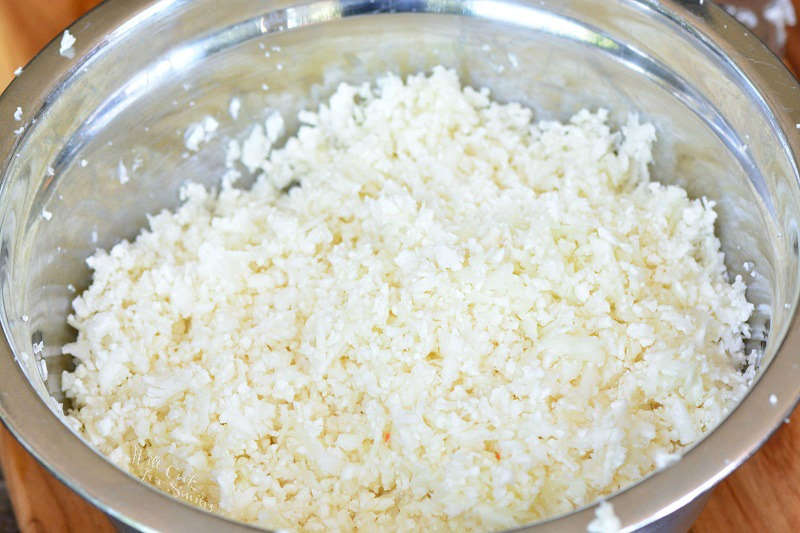
Cauliflower – grate it yourself with the large holes on a box grater rather than a food processor. A grater gives you a bigger, more rice-like crumb, and it’s a lot less cleanup than pulling apart a food processor. You can also buy frozen riced cauliflower but thaw it first and squeeze out excess liquids if needed.
Peanut oil – gives the closest flavor to what you’d get from a restaurant. Canola or vegetable oil both work as a substitute.
Fresh ginger – optional, but it adds a warmth here that ground ginger can’t match.
How to Make Cauliflower Fried Rice
- Prep everything first – Dice the onion and carrot, press the garlic, grate the ginger if using, and whisk the eggs with a little soy sauce. This recipe moves fast once it starts, so having everything ready keeps you from falling behind.
- Cook the vegetables – Preheat a large pan or wok, add the peanut oil, and sauté the onion, peas, and carrot until softened and starting to brown. Remove them from the pan and set aside.
- Scramble the eggs – Add a little more oil if needed, then add the garlic and ginger and sauté until fragrant. Pour in the whisked eggs and stir to scramble.
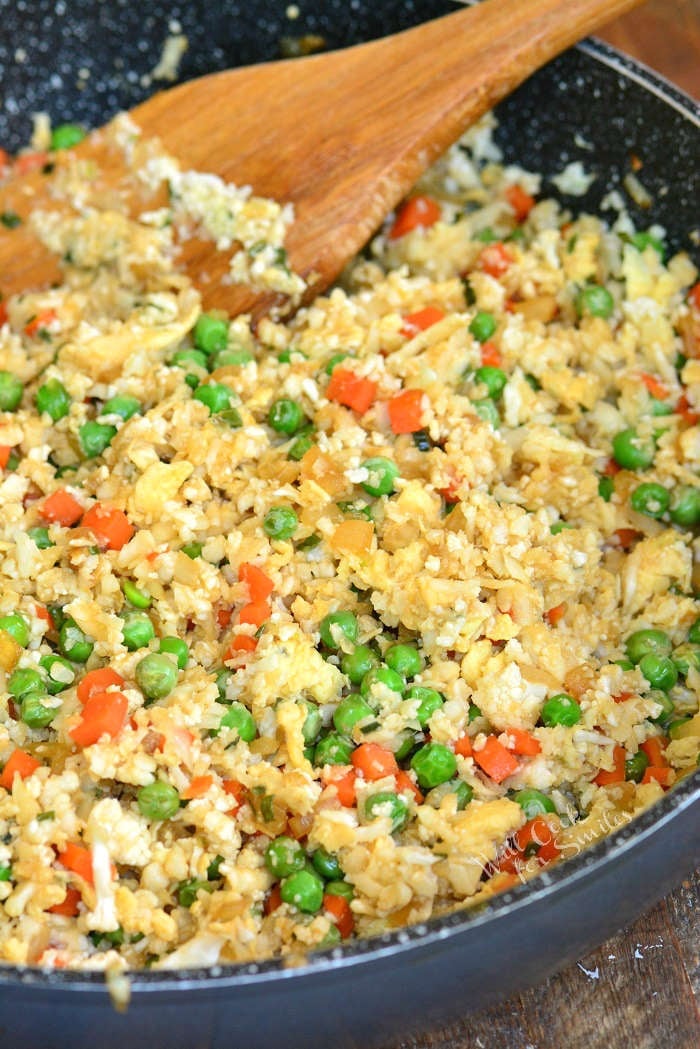
- Add the cauliflower – Once the eggs are mostly set, add the riced cauliflower and stir everything together. Add the vegetables back into the pan. Keep the heat high here, since cauliflower releases moisture as it cooks, and a hot, dry pan is what keeps the texture from turning soggy instead of fried-rice firm.
- Finish and serve – Drizzle the soy sauce over everything and cook for 3-5 minutes, stirring often so the cauliflower cooks evenly. Serve right away.
What Meat to Add to Cauliflower Fried Rice
- Chicken – cook diced chicken breast or thigh with a little oil and soy sauce until done, then set it aside. Add it back to the pan at the same time as the vegetables.
- Shrimp – cook in the pan with a little oil and soy sauce for 3-4 minutes per side, until pink and opaque throughout. Add it back at the same time as the vegetables.
- Pork or ham – a great way to use up leftovers. Dice it and add it in with the vegetables toward the end, since it’s already cooked.
Cauliflower Fried Rice Recipe FAQs
It keeps for 3-5 days in an airtight container.
Reheat it in a pan or wok over medium heat rather than the microwave. Preheat the pan first, then sauté the leftovers, stirring often, until heated through. It only takes a few minutes.
Yes, but thaw it and squeeze out the excess water first. Frozen cauliflower releases more moisture than fresh, and skipping this step is a common reason cauliflower fried rice turns out watery instead of firm.
This usually comes down to moisture and pan temperature. Cauliflower releases liquid as it cooks, so a pan that’s too crowded or not hot enough traps that moisture instead of letting it cook off, leaving you with a wet, mushy texture instead of a fried-rice one.
More Cauliflower Recipes From Me
- Mashed Cauliflower
- Easy Roasted Cauliflower
- Cauliflower Parmesan Crisps
- Cauliflower Cheese Soup
- Cauliflower Mac and Cheese
- Cauliflower Grilled Cheese
DID YOU MAKE THIS RECIPE? PLEASE leave a 🌟 star rating! Let me know how you liked it by leaving the 📝 comment below or share and tag me on social media @willcookforsmiles. DON’T FORGET to subscribe to my newsletter!
Cauliflower Fried Rice Recipe
Ingredients
- 2 tbsp peanut oil (can substitute canola or vegetable oil)
- 1 small yellow onion
- 1 medium carrot
- 1 cup frozen peas
- 4 garlic cloves pressed
- 2 tsp grated fresh ginger optional
- 2 eggs
- 2 tsp low sodium soy sauce
- 4 cups riced cauliflower
- 3 tbsp low sodium soy sauce
Instructions
Cauliflower Rice:
- Cut the leaves and the bulky stem off the cauliflower and discard. Wash cauliflower well and pat dry. Cut the head of cauliflower into 4-6 chunks. Use large holes side of the box grater to grate all the cauliflower chunks.
Cauliflower Fried Rice:
- Dice carrots and onions, press garlic, grate ginger (if using), measure soy sauce, and whisk eggs in a bowl with soy sauce. Set everything aside.
- Preheat a large pan or a wok first and then add peanut oil. Sauté diced onions, peas, and carrots until softened and starts to brown. Once it’s soft, take the veggies out of the pan and set aside.
- Add a little bit of oil to the pan if needed and add garlic and ginger. Sauté just until fragrant and pour in whisked eggs. Stir eggs to scramble and when eggs are mostly done, add riced cauliflower. Stir until all mixed together and add veggies back into the pan.
- Drizzle soy sauce all over and cook for about 3-5 minutes, slowly stirring often so the cauliflower cooks evenly.
- Serve right away.
Notes
- Grating tip: use the large holes on a box grater instead of a food processor for a bigger, more rice-like crumb, and less cleanup.
- Frozen cauliflower rice: thaw and squeeze out excess water before using, to avoid a watery final dish.
- Keeping the texture right: cook over high heat in a large, uncrowded pan so the cauliflower’s moisture cooks off instead of steaming.
Nutrition
Would you like to save this recipe?
Categories:
Cauliflower Recipes, Dinner Recipes, Gluten Free Recipes, Healthy Dinner Ideas, Most Popular Recipes, Side Dishes,All images and text ©Lyubov Brooke for ©Will Cook For Smiles. Please do not use my images without prior permission. If using my posts in collections and features, please link back to this post for the recipe.
Disclaimer: Nutrition information shown is not guaranteed to be 100% accurate as most ingredients and brands have variations.











This sounds wonderful!! Thank you!!
Hi Jennie,
Thank you! I hope you enjoy it! 🙂