
Roasted Red Peppers
Using roasted red peppers in recipes is one of my secret weapons. It almost feels like I’m cheating, because this simple addition can give a boost to the most bland, boring dishes.
It’s a little like Roasted Garlic in that way – once it’s been added to a dish, the whole thing is so much more delicious. This is one of those basic recipes every home chef should have in their back pocket.
With the bold Italian flavor notes, roasted red peppers are a dream when simply served on a piece of toasted crostini. That combination with a glass of wine makes for one seriously good cocktail hour!
It’s also incredible when tossed into salads, blended into hummus, layered into sandwiches, and so much more. The possibilities for roasted red peppers are limitless, so use your imagination and feel free to get creative with this universal condiment.

How To Use Roasted Red Peppers
There are so many ways to use this recipe, like mix-ins, toppings, and adding flavor to various dishes like:
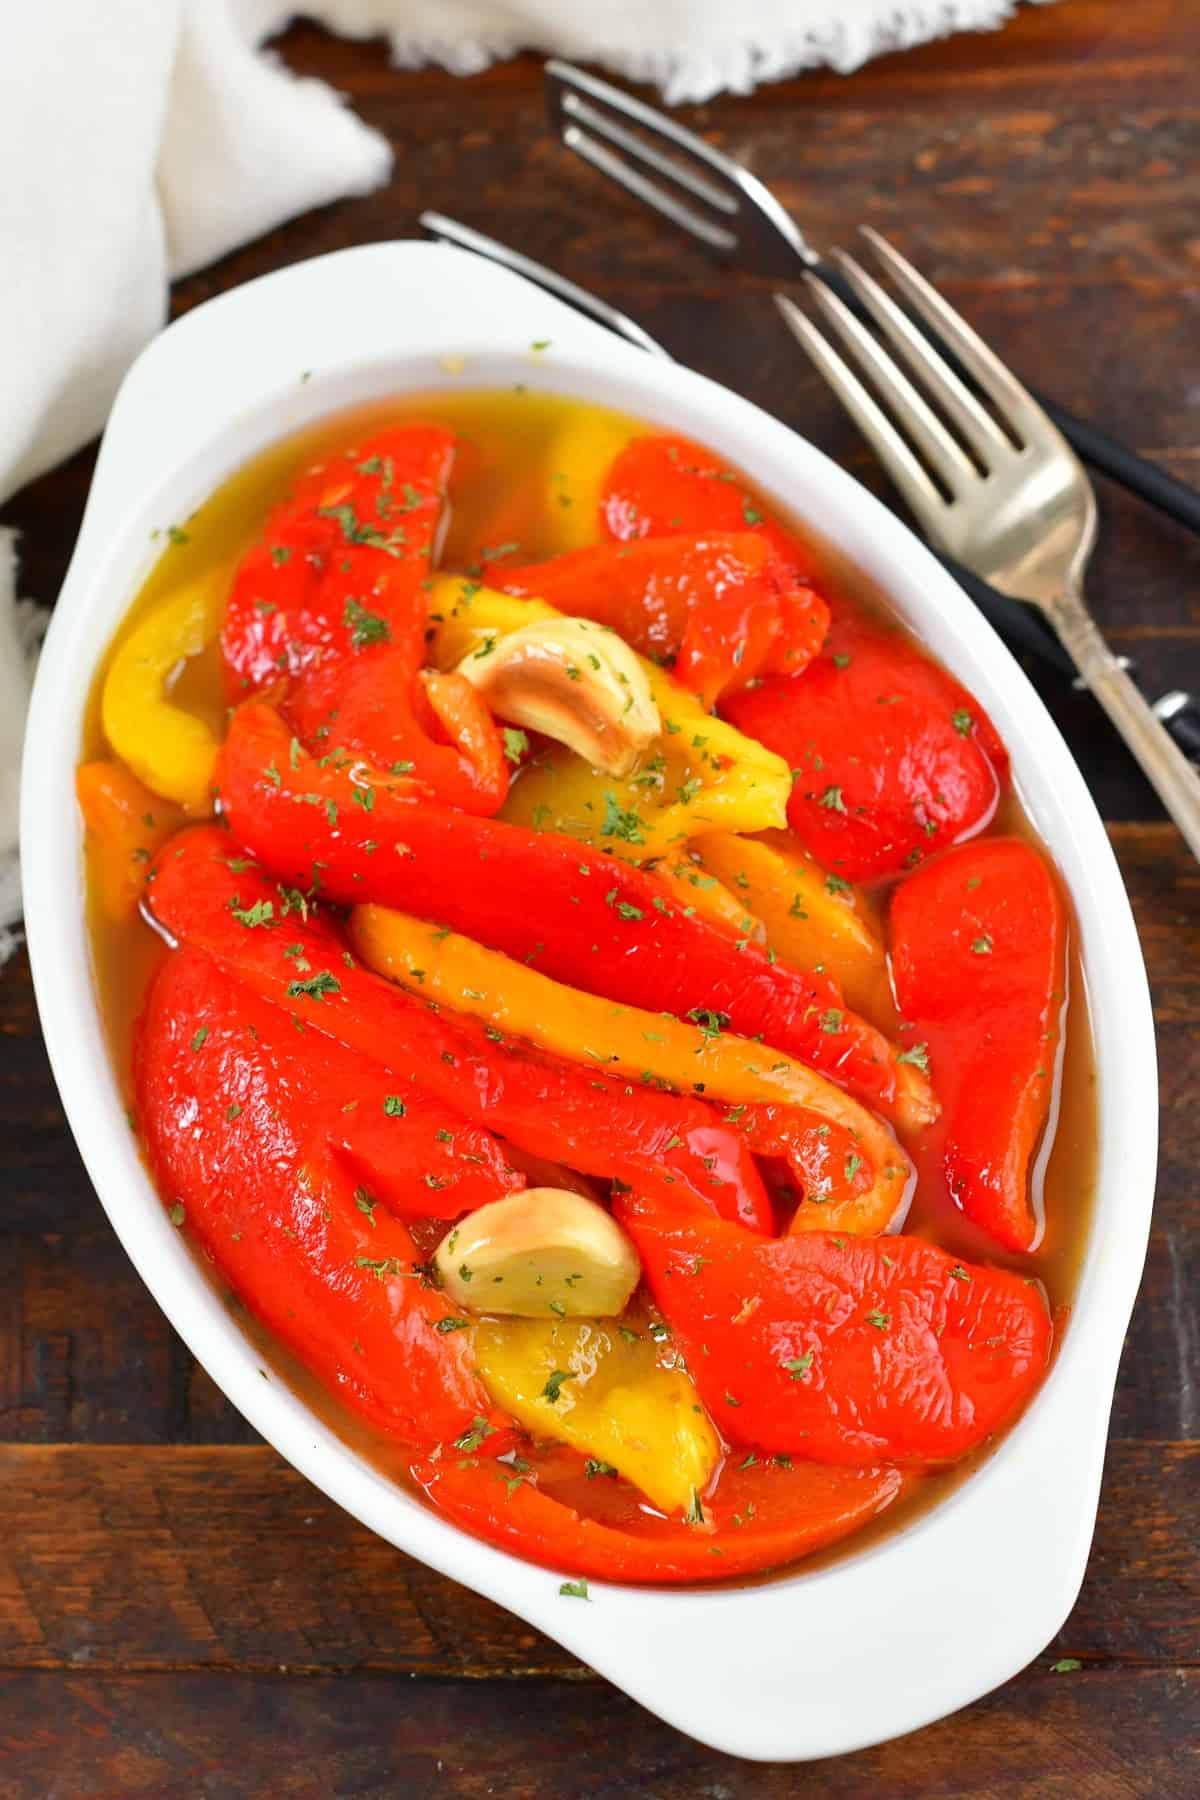
- For an incredible appetizer, serve your peppers over freshly baked crostini! You can also dice them and mix them in with your Bruschetta. I also enjoy blending these peppers into pasta sauces or slice them thin and toss it right into your summer pasta dishes.
- Blend it into Hummus and White Bean Dip.
- Of course, you could also slice your peppers thinly and toss them into fresh green salads or pasta salads.
- They’re also wonderful when added to all sorts of sandwiches, wraps, burgers, hot dogs, pizzas… You get the idea!
Storing and Freezing Recommendation
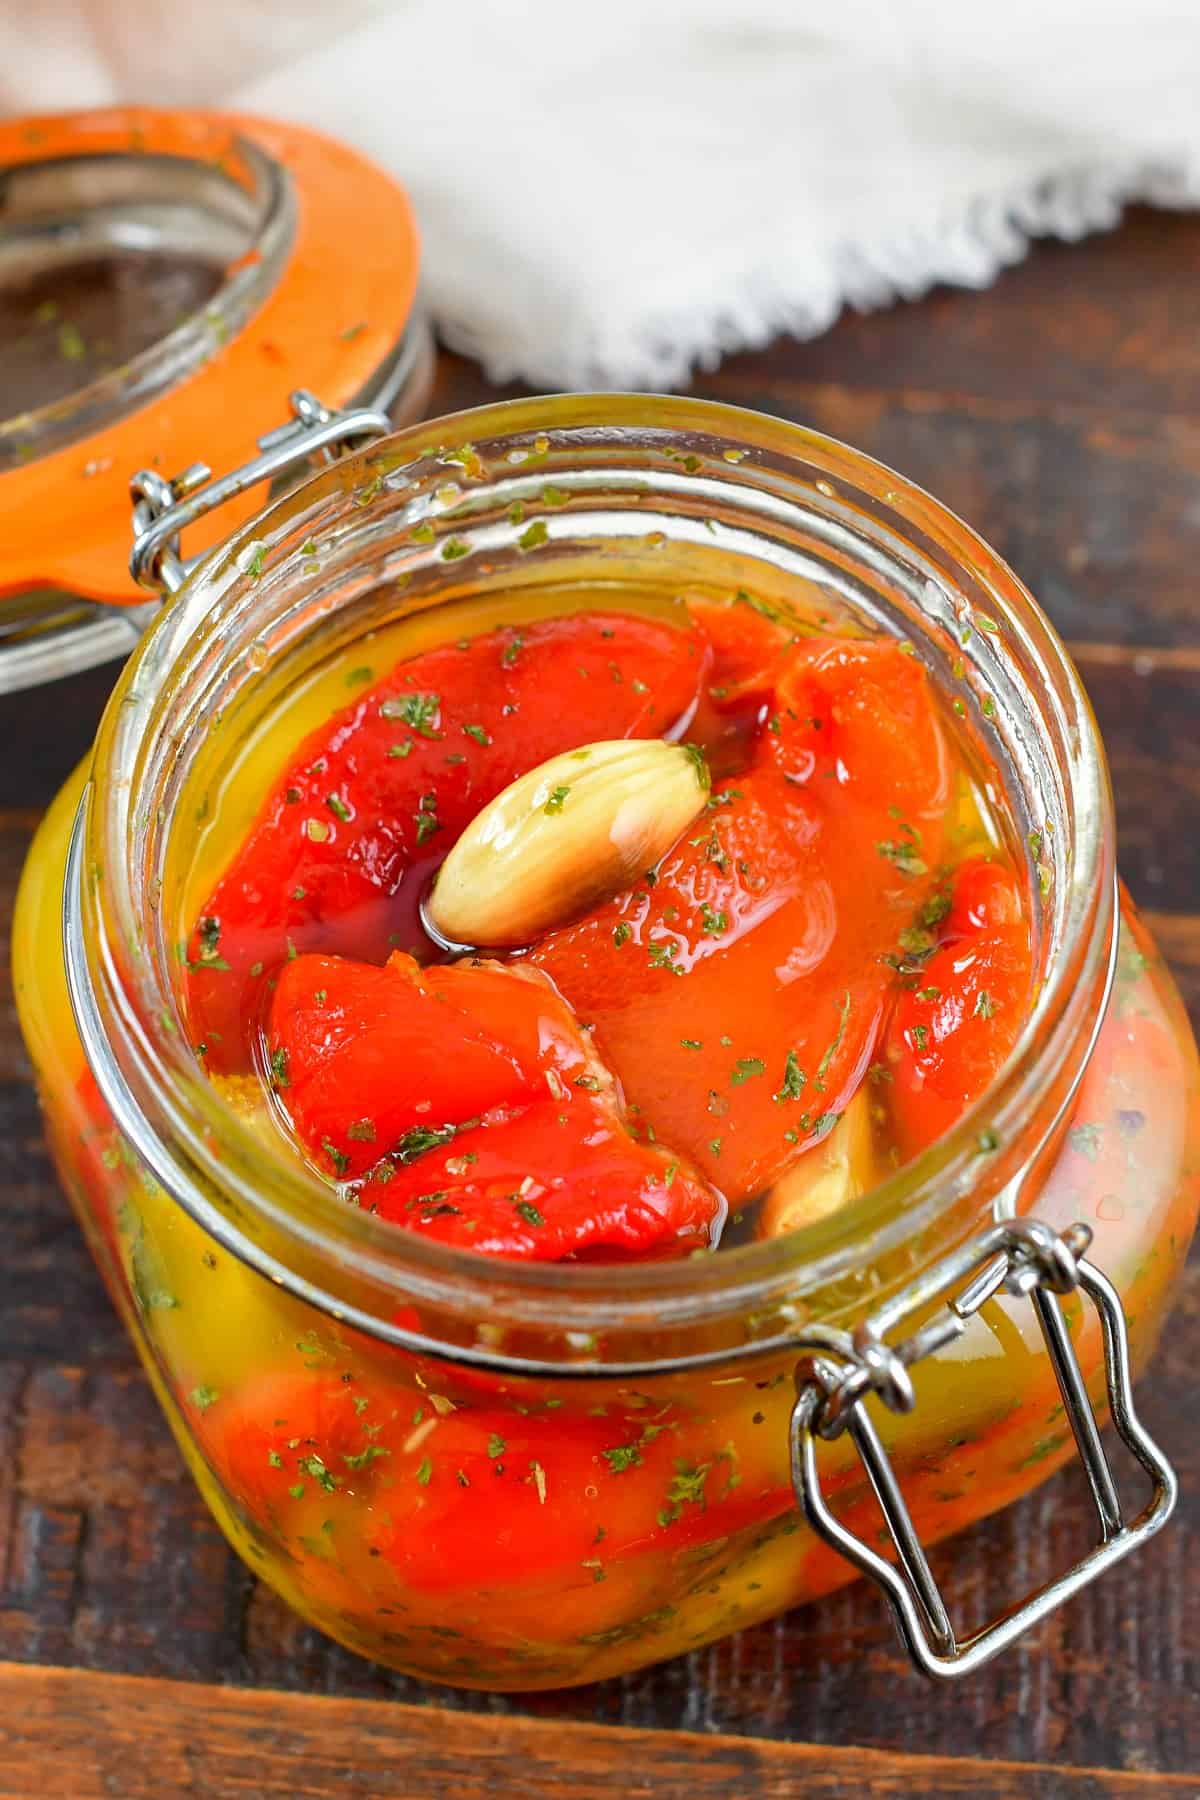
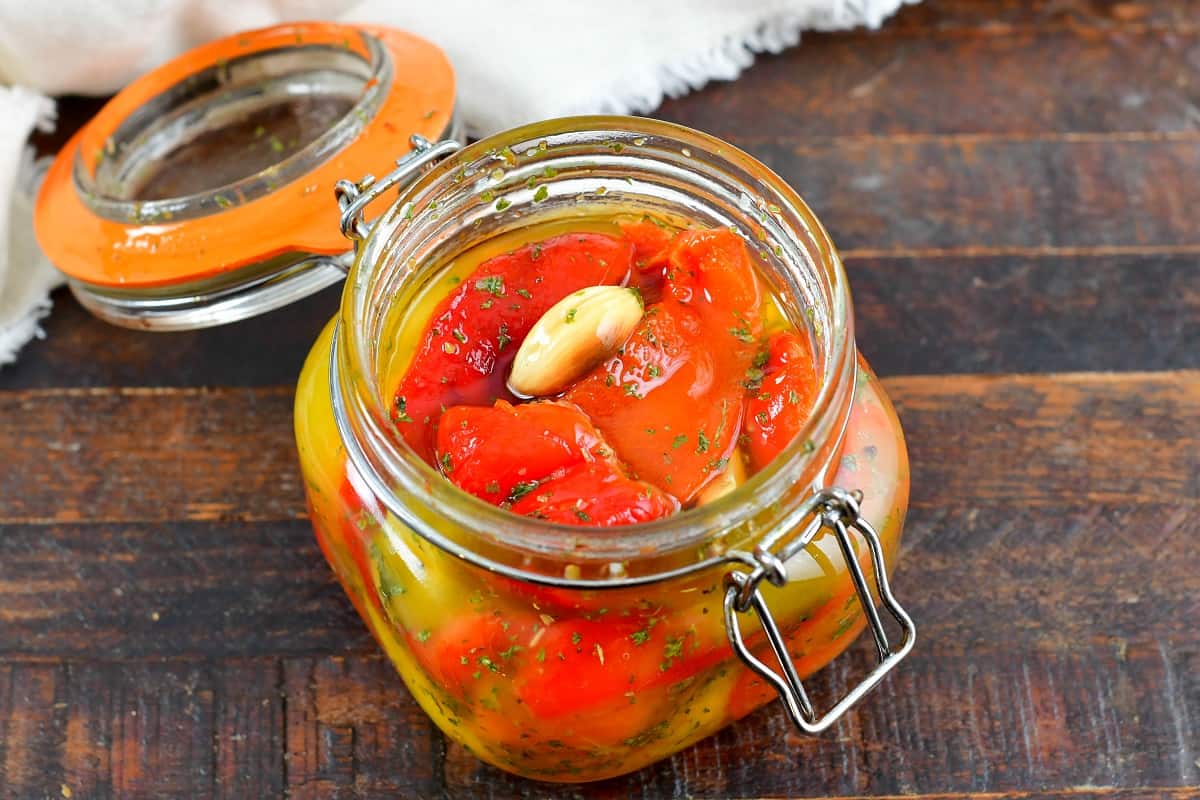
Store roasted red peppers in oil, in a glass jar with a lid, and they will last for up to 2 weeks in the refrigerator! Make sure to keep the jar airtight and always use a clean fork to get some peppers out to extend the shelf life. (These are my favorite glass jars with lids or jars with lids on hinges.)
If you want to make an extra batch and freeze them for later, you can easily do that. Store the peppers with or without oil. Either way, place the peppers into a freezer zip-top bag, get all the air out, and seal air-tight. Label and freeze. You can also store them in a freezer food storage container with an airtight lid.
To thaw, transfer the frozen peppers into the refrigerator and let them thaw slowly. Once thawed, keep them in an air-tight container and consume within 2 weeks.
DID YOU MAKE THIS RECIPE? PLEASE leave a 🌟 star rating! Let me know how you liked it by leaving the 📝 comment below or share and tag me on social media @willcookforsmiles. DON’T FORGET to subscribe to my newsletter!
Roasted Red Peppers Recipe
Ingredients
- 4 red bell peppers or orange, or yellow mixed in
- 4 garlic cloves
- pinch salt
- 1/2 tsp dried oregano optional
- 1 tsp dried parsley optional
- olive oil To fill the jar
Instructions
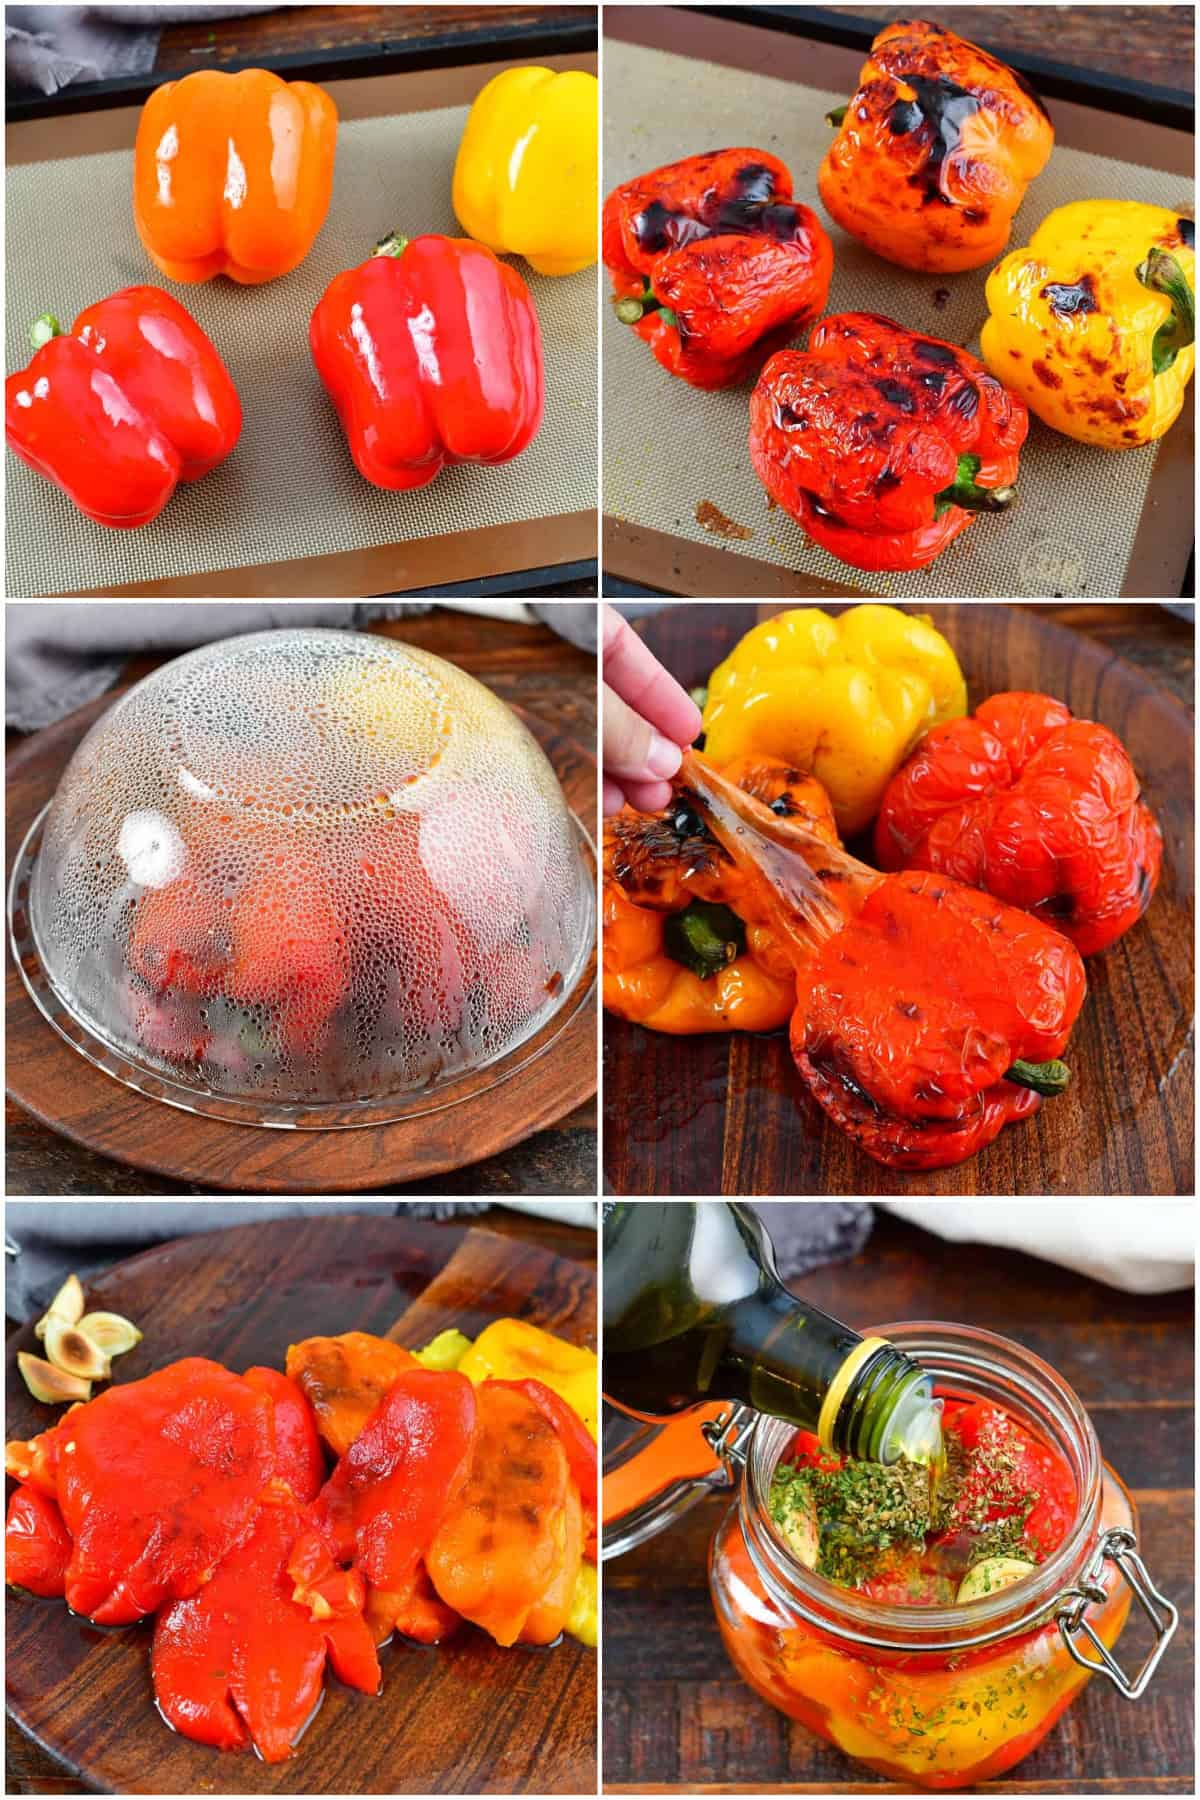
Roasting peppers:
- Set the rack in the oven to about 8 inches away from the broiler and turn the broiler to low.
- Line the baking sheet either with high temperature parchment paper or silicone baking mat (that can handle high temperatures). (You can also use aluminum foil if needed.)Note: some parchment papers can's handle heat from high broiler and start to burn, be careful not to use those!
- Place peppers and garlic cloves onto the baking sheet and into the oven. Cook for about 5 minutes per side, turning the peppers a quarter of the way.
- Turn the broiler to high, take the garlic off the baking sheet, and let the skin of the peppers crisp and char for a minute or two per side, turning the peppers once one side chars.
Steaming the peppers:
- Immediately after you take the peppers out of the oven, place them onto a plate and cover with a bowl turned upside-down. Make sure it fits well because it should be air-tight.
- Let the peppers sit and steam for 10-15 minutes.
- After the peppers have been steamed, the skin should be easy to peel off. Peel the skin off the peppers and discard the skin and the seeds.
- Slice peppers into strips as desired, season with coarse salt, and place into a glass jar. (Make sure to save the pepper juices that leak out and add some to the jar, it will add great flavor.)
- Add the roasted garlic cloves into the glass jar as well.
- Add in the dried herbs, if using, and a little more salt if desired. Pour in olive oil just until it covers the peppers (or more if you wish to use some olive oil in dressings.) Close tight and give it a little shake to mix.
If you wish to roast the peppers on the grill:
- Make sure to start your grill with two temperature zones, a cool zone, over indirect heat, and a hot zone, over direct heat.
- Start the peppers on the cool zone and cook them for 4-5 minutes per side. Do keep the lid closed while peppers are cooking.
- Then, move the peppers over to the direct heat side and let them roast until each side is nicely charred but not burned. Turn them as they char and then take them off the grill. Steam the peppers right away.
Notes
Nutrition
Some More Recipe To Try
Would you like to save this recipe?
Categories:
Appetizer Recipes, Gluten Free Recipes, Healthy Dinner Ideas, How To Techniques, Mediterranean Recipes, Side Dishes, Toppings and Spreads,All images and text ©Lyubov Brooke for ©Will Cook For Smiles. Please do not use my images without prior permission. If using my posts in collections and features, please link back to this post for the recipe.
Disclaimer: Nutrition information shown is not guaranteed to be 100% accurate as most ingredients and brands have variations.


The explanations are simple and easy. Well done.
Thank you, Michèle! So glad you like the recipe.
Does this recipe make about a pint of peppers?
Also, is there a reason the stream time says 15 hours?
Steam time*
This was good thanks for the recipe!
I have done this but I canned the peppers. I think I used EVOO & vinegar as it has been so long I forget but make sure to use salt & my husband did not like garlic so I didn’t use it. I use garlic in dishes that only I eat. I did them on the grill as it is easier to do more ata time. They are great & I love them. I have a motto for me: if you can buy it at the store canned you can do it.
Awesome! Thanks for your input, I haven’t canned much but would like to!