
Homemade Lemon Pepper Seasoning Recipe

This post may contain affiliate links.
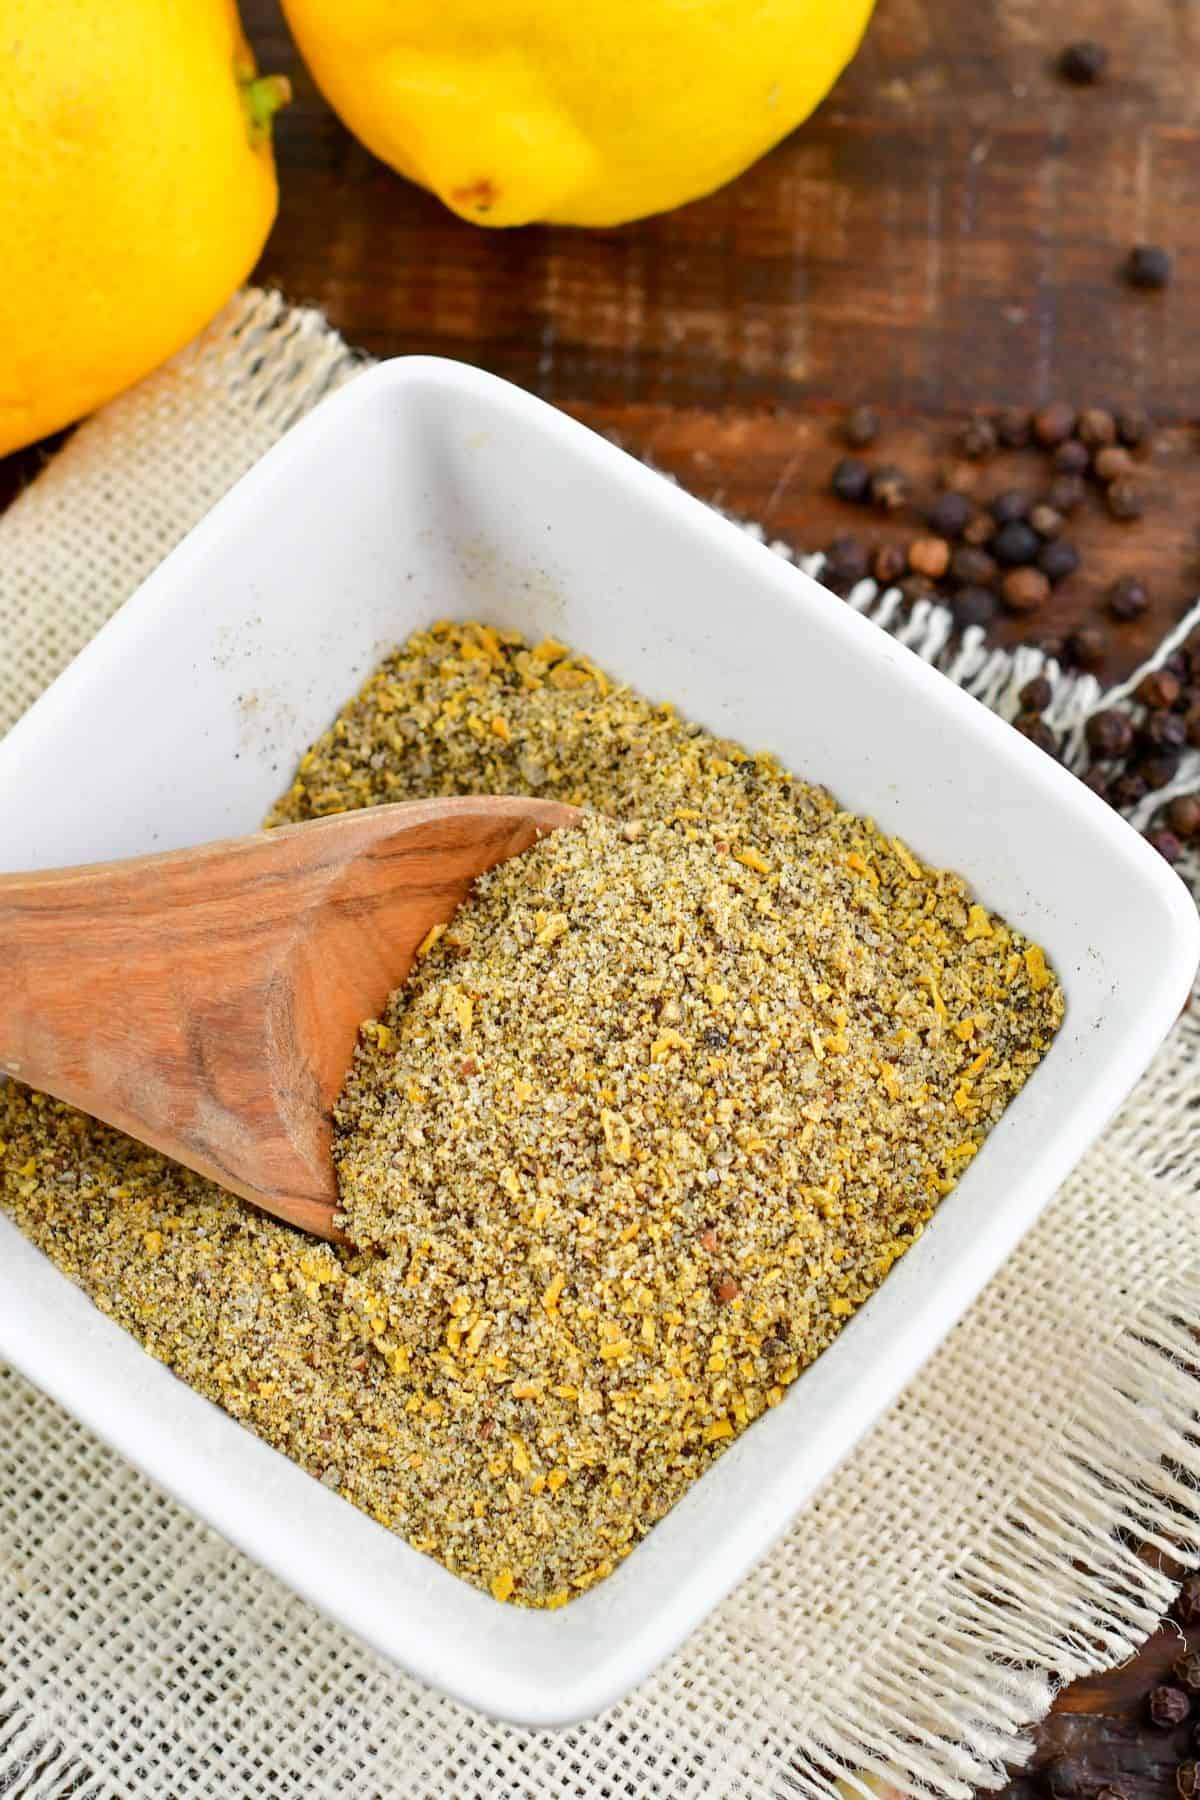
Quick Look: Lemon Pepper Seasoning Recipe
- 🕐 Prep time: 20 minutes
- 🍳 Cook time: 1 hour (drying the peels)
- ⏱ Total time: 1 hour 35 minutes
- 🍽 Servings: 8 (makes about 1/2 cup)
- 🔥 Calories: 15kcal per serving
- 🥘 Cook Method: Oven-dried, then blended
- 😋 Flavor Profile: Bright, citrusy, and peppery 📊 Difficulty: Easy
SUMMARIZE & SAVE THIS CONTENT ON
Table of Contents
What Makes This Recipe Great
- 🍋 Real dried lemon peel for bold, true citrus flavor.
- 🧂 Only 6 ingredients, no fillers or anti-caking agents.
- 🕐 Can dry out lemon peels ahead of time.
- 🥣 Comes together in a spice grinder or blender in minutes.
- ✅ Gluten free happens naturally, without additives.
- 🫙 Keeps for months in an airtight jar.
- 🔢 Easy to double of triple if needed.
Key Ingredients In Lemon Pepper Seasoning
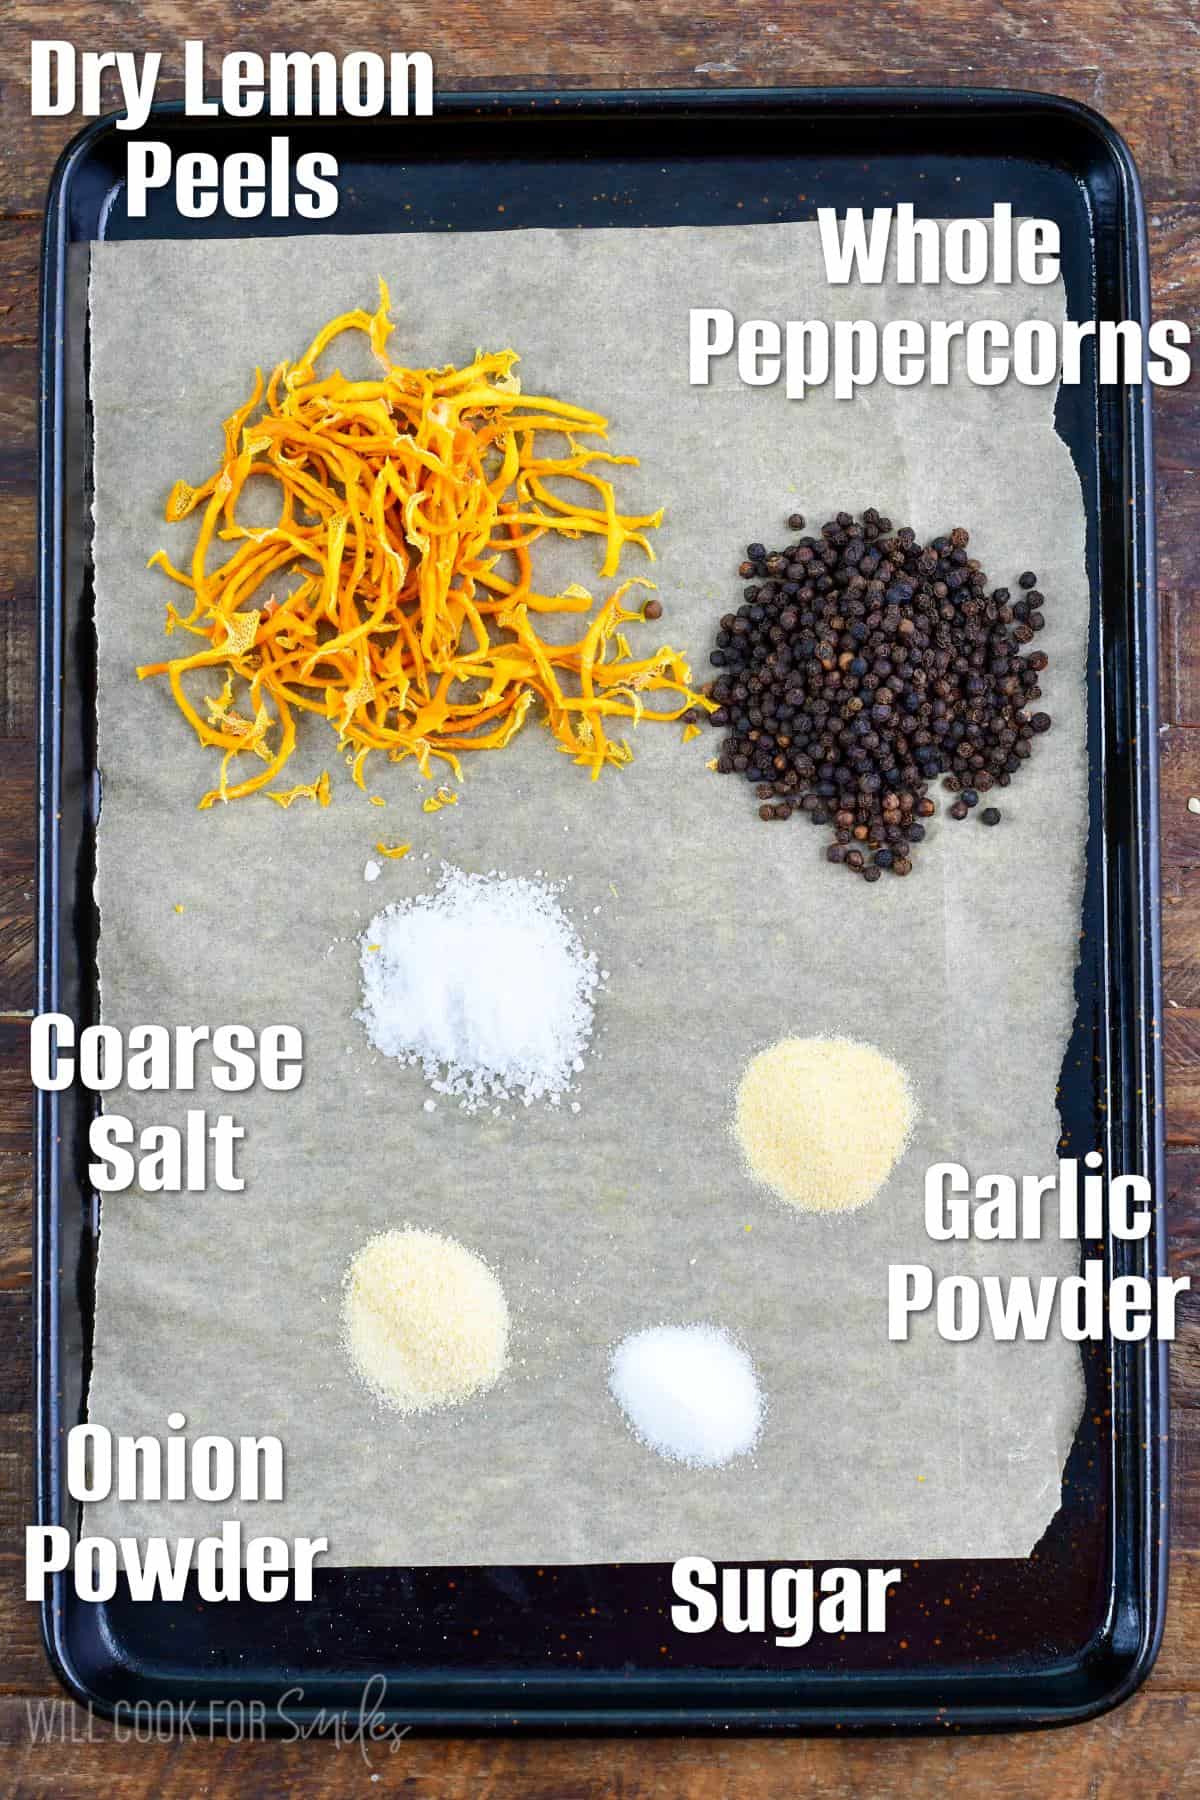
Lemon pepper seasoning comes together from six pantry staples: dried lemon peel, whole peppercorns, salt, garlic powder, onion powder, and a pinch of sugar. A few of these are worth a closer look before you start.
- Lemons – You need the peels only, not the juice or the pith. A vegetable peeler or a Y-peeler works best because it takes off a thin layer of just the yellow zest. If you’re short on time, you can substitute 2 to 3 tablespoons of store-bought dried lemon peel and skip the drying step entirely.
- Whole peppercorns – Whole peppercorns that you grind yourself taste noticeably fresher and sharper than pre-ground pepper. If you don’t have a spice grinder, use a small blender or a small food processor, or even a small coffee grinder. A mortar and pestle or even a rolling pin will work but will take a bit of effort.
- Sugar – Just a pinch to balance out the citrus and pepper without making the blend sweet.
How to Make Lemon Pepper Seasoning at Home
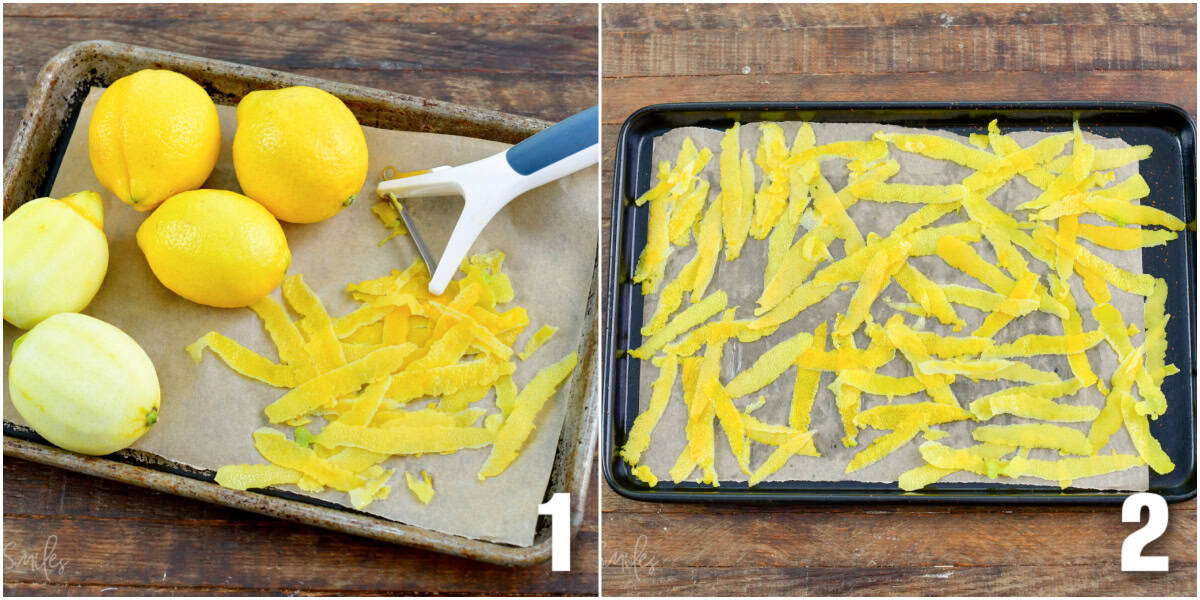
- Peel the lemons. Use a vegetable peeler to peel the very outer yellow skin of lemon (zest), and none of the white pith! (It’s best to use Y peeler or a citrus peeler, those tent to take off skin without the pith better.)
- Spread into an even layer. Line a sheet pan with parchment paper and spread the lemon peels in the pan in one even layer.
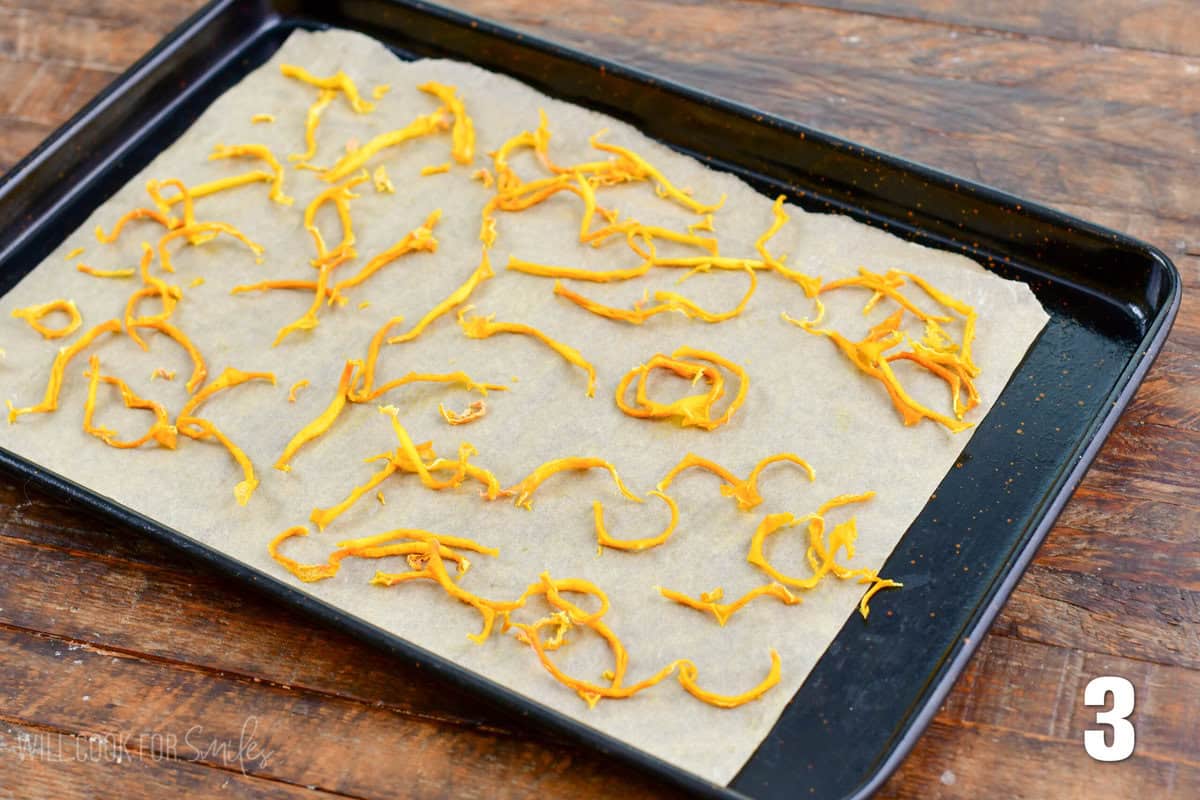
- Dry the peels. Preheat the oven to the lowest setting! Place the sheet pan into the oven and allow the lemon strips to dry out for about 1-2 hours. Remember to check on the peels from time to time and remove them as soon as they’re completely dried out.
- PRO TIP: Dried lemon peels have the edged curled in, no moist spots, and all the color changed from bright yellow to dark dull yellow.
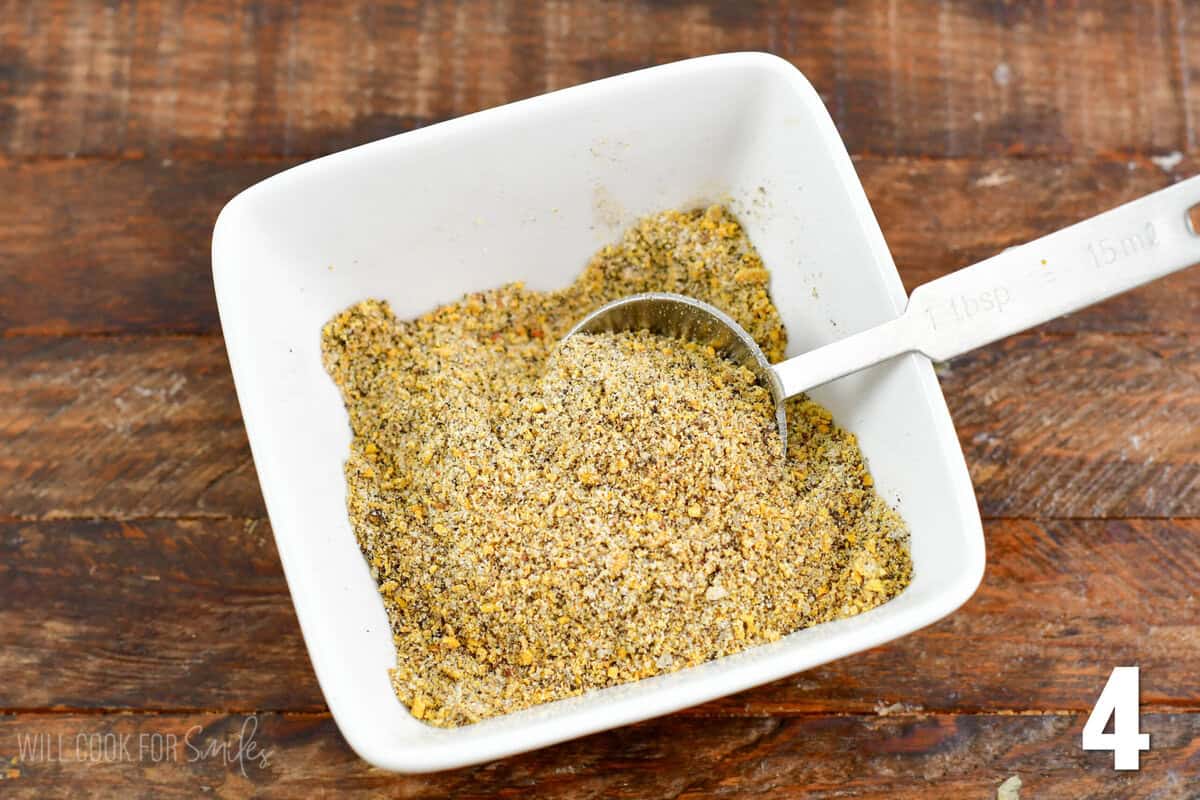
- Blend it together. Place the dried lemon, whole peppercorns, coarse salt, and sugar into a spice grinder or a high-powered blender. Blend until it’s ground into small texture and no large chunks remain.
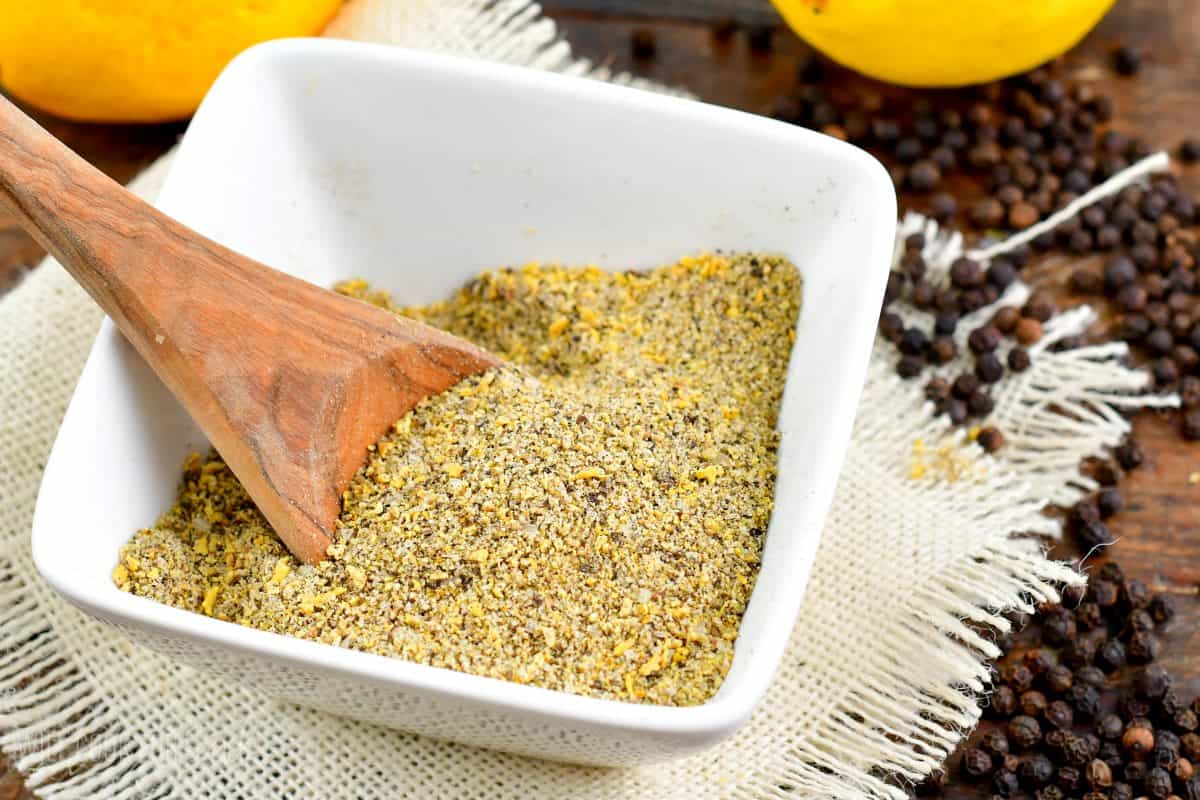
- Add remaining spices. Mix together with the garlic powder, and onion powder and pour into an air-tight glass jar with a lid for storage.
Uses For Lemon Pepper Seasoning
- This is the perfect seasoning for a variety of dishes like baked chicken drumsticks, healthy baked salmon and lemon pepper chicken pasta.
- When it comes to chicken, you can really use it on any cut you like best. One of my favorite things to make is lemon pepper grilled chicken wings! You can use it on thighs, breasts, or even a whole roasted bird (like the best spatchcock chicken).
- Lemon pepper shrimp has always been a go-to summer recipe that I make when the weather is nice and hot. Lemon pepper seasoning is also great on some simple pan seared white fish.
- Mix some lemon pepper seasoning with softened butter as a flavored butter topping!
- Or, mix it into creamy or wine based sauces.
- I also really like to combine it with mayo to make a fun and easy aioli spread for sandwiches.
- Comment below and let me know if you use it in a way you didn’t see mentioned here!
- You can also use it in dinners like Lemon Pepper Rotisserie Chicken Salad, Truffle Lemon Pepper Roasted Potatoes, Lemon Asparagus Pasta, Lemon Risotto with Lemon Pepper Shrimp.
Storage Instructions
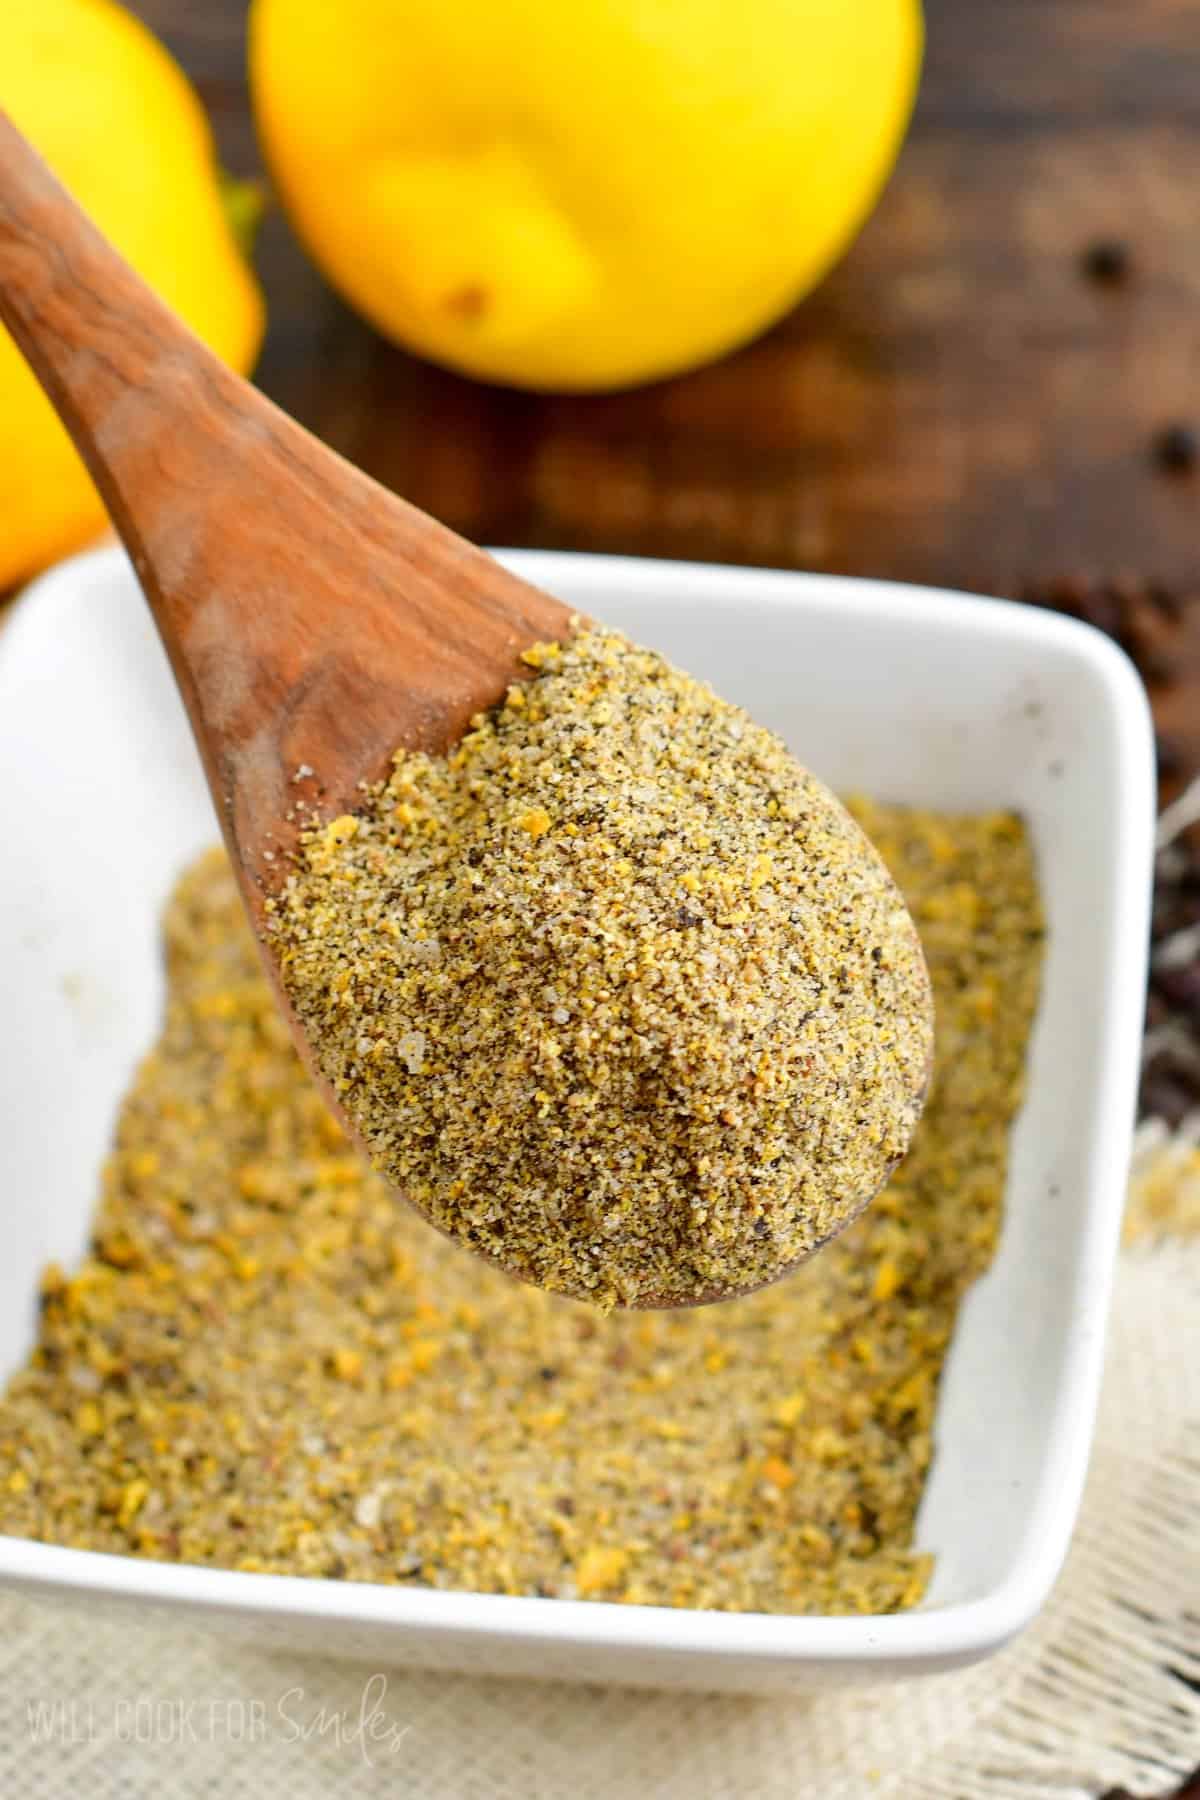
You can store lemon pepper seasoning for up to 6 months in an airtight container at room temperature. To keep it around for even longer, you can freeze it for up to 2 years!
Recipe FAQs
Yes, you can definitely alter amounts of salt and pepper if needed! You can even omit the salt altogether if you need to due to health requirements. The pepper is good to adjust if you need a more or less spicy taste.
Yes, a dehydrator works well, though it typically takes longer than the oven since it runs at a lower temperature. (4 to 12 hours.) If using an air fryer, use the lowest setting available and check the peels frequently since air fryers run hotter than a standard oven’s lowest setting. (Air fry at around 160°F for 15 to 25 minutes.)
Yes, but you’ll still need to spread it on a sheet pan and dry it out before grinding, so it’s not really a shortcut. Fresh zest also has a finer texture than peeled strips, so it dries faster, closer to 30 to 45 minutes.
This homemade version is naturally gluten free, since all six ingredients are gluten free on their own. Store-bought blends can vary, so always check the label if you’re buying instead of making your own.
More Seasonings and Dry Rub Recipes To Try
DID YOU MAKE THIS RECIPE? PLEASE leave a 🌟 star rating! Let me know how you liked it by leaving the 📝 comment below or share and tag me on social media @willcookforsmiles. DON’T FORGET to subscribe to my newsletter!
Lemon Pepper Seasoning Recipe
Ingredients
- 5 large lemons peels only
- 2-2.5 tbsp whole peppercorns
- 1 tbsp coarse salt
- 2 tsp garlic powder
- 2 tsp onion powder
- 1 tsp white granulated sugar
Instructions
Tips Before Starting:
- Use a vegetable peeler that will take the least amount off! Yes, peelers are different, some take off a thick layer and those are good for hearty veggies like potatoes. Some take off very thin layer and they are good for things like apples, carrots, lemons, etc. I recommend using a Y peeler because it take off a thinner amount of skin. You only need to peel the very outer yellow skin of lemon (zest), and none of the white!
- Remember that every oven is different! Ovens cook slightly different and they will have different lowest cooking setting.
- Set your oven to the lowest setting it will let you bake it, it could be between 150℉ to 175℉. Of course, this will affect bake time of the lemon peels. Make sure to check on the peels from time to time because it will take from 1 hour to 2 hours for them to completely dry out (shrivel).
To Make The Seasoning:
- Preheat the oven to its lowest setting (between 150℉ and 175℉).
- Using a vegetable peeler to peel the very outer yellow skin of lemon (zest), and none of the white!
- Line a sheet pan with parchment paper and spread the lemon peels in the pan in one layer. Place into the oven and allow the lemon strips to dry out for about 1-2 hours. Remember to check on the peels from time to time and remove them as soon as they’re completely dried out (edged curled in, no moist spots, and all the color changed from bright yellow to dark dull yellow).
- Place the dried lemon, whole peppercorns, and sugar into a spice grinder or a high-powered blender. (Depending on the size of your spice grinder, you may need to do it in a few batches.) Blend until it’s ground into small texture and no large chunks remain.
- Mix together with the salt, garlic powder, and onion powder and pour into a small, air-tight glass jar for storage.
Video
Notes
Nutrition
Would you like to save this recipe?
Categories:
30 Minute Meals, Dinner Recipes, Gluten Free Recipes, How To Techniques, Toppings and Spreads,All images and text ©Lyubov Brooke for ©Will Cook For Smiles. Please do not use my images without prior permission. If using my posts in collections and features, please link back to this post for the recipe.
Disclaimer: Nutrition information shown is not guaranteed to be 100% accurate as most ingredients and brands have variations.










Tips Before Starting:
Use a vegetable peeler that will take the lease amount off! Yes
LEAST!
Thanks for the tip!
I just used this seasoning on some chicken breast and it turned out delicious!
I am so glad you liked it! 🙂