Pumpkin Cheesecake Pie
This Pumpkin Cheesecake Pie is a combination of a classic pumpkin pie with silky creaminess of a cheesecake. This easy dessert is perfect to serve at holiday dinners or just because you feel like having a pumpkin treat. It’s a classic Pumpkin Pie taken to the next level!
If you need more pies, try my Caramel Apple Pie and a Sweet Potato Pie.
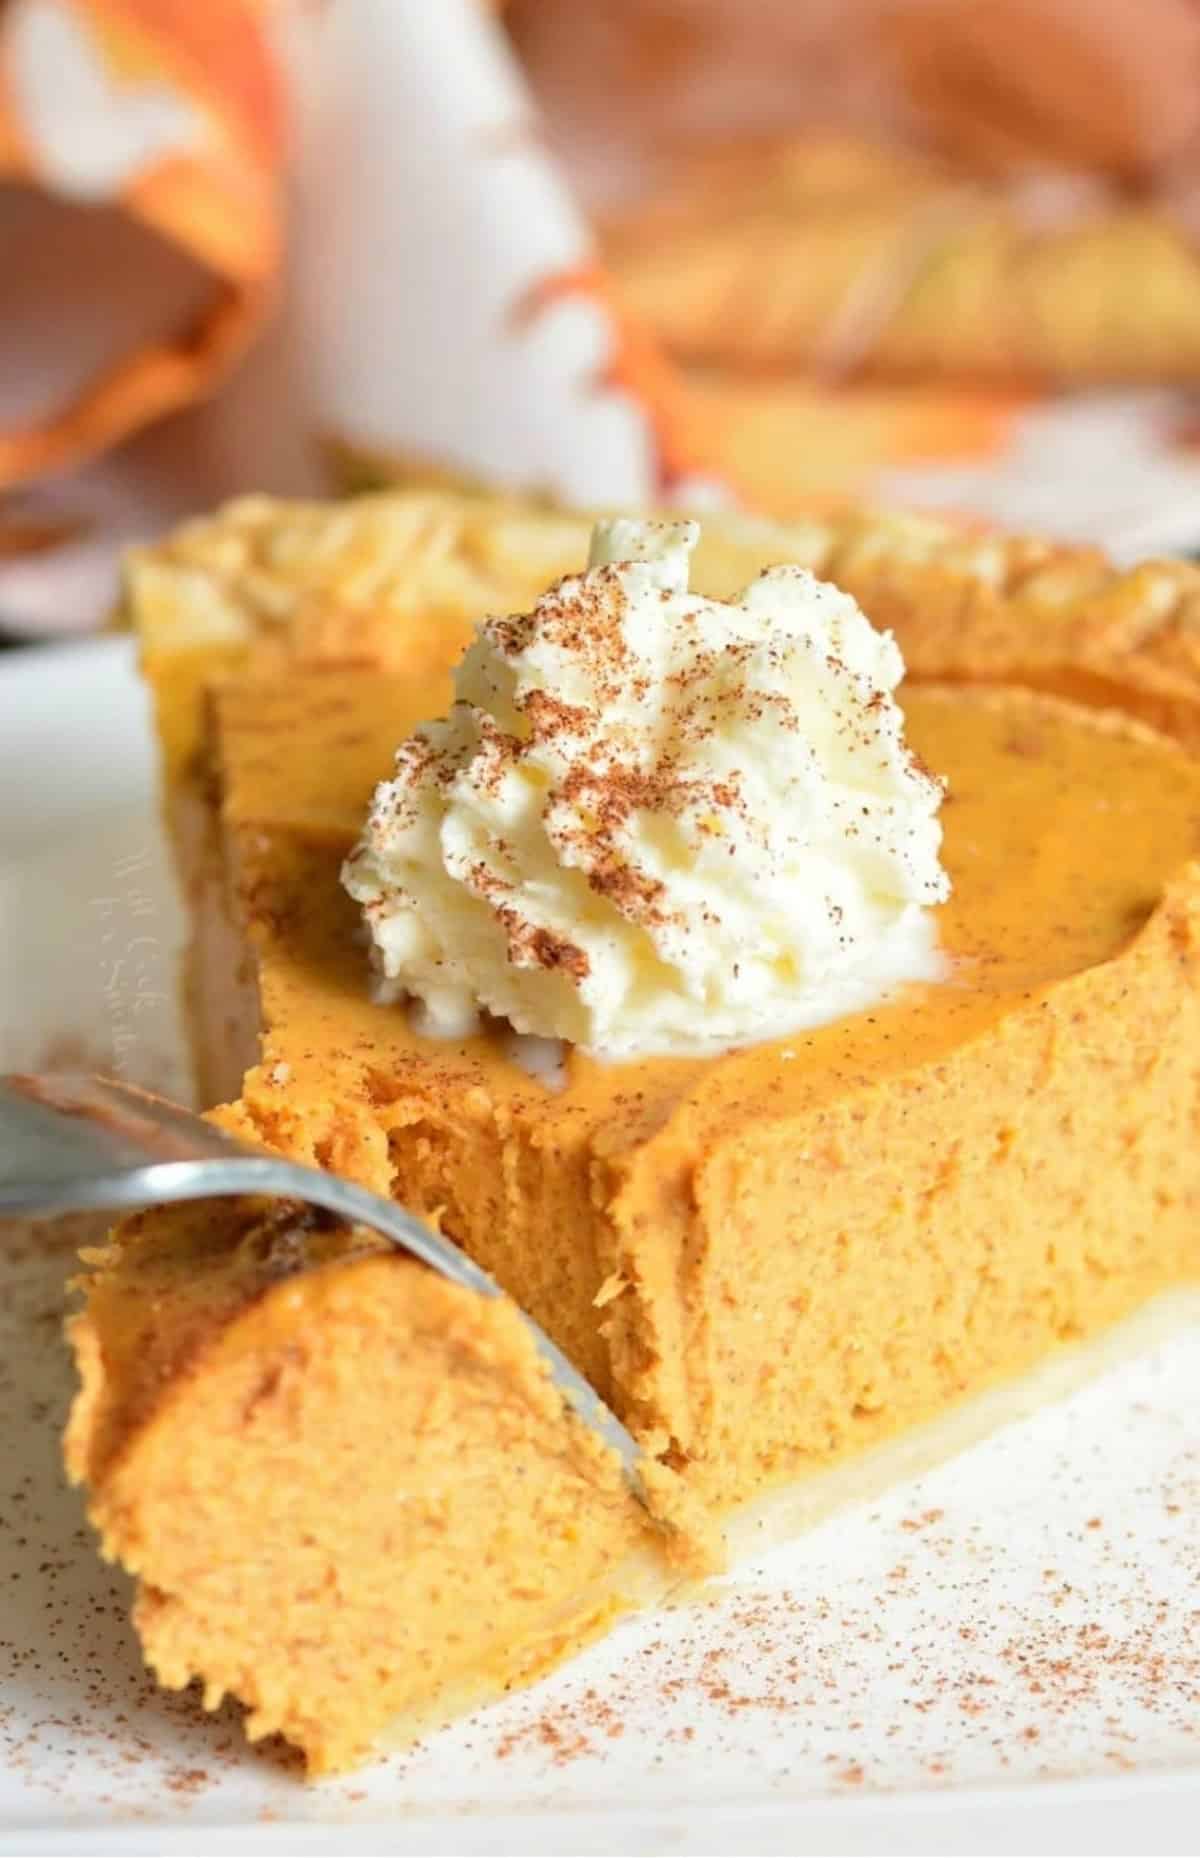
Table of Contents
It’s time for me to re-introduce you to our family favorite pie recipe. When I say “family favorite,” I truly mean it. We all love desserts, especially holiday pies, but this Pumpkin Cheesecake Pie is something special to us.
No matter how much turkey and mashed potatoes we stuff ourselves with on Thanksgiving dinner, we make sure to still have room for this pie. If we didn’t have much room left…well then we wait!
There have been a couple of years where I made a fancy pumpkin cheesecake or another dessert for our holiday dinner and the first thing that everyone mumbled was, “what? No Pumpkin Cheesecake Pie?”I’ve actually been told that I can make any other dessert my heart desires as long as I ALSO make this pie. It’s a good thing that this pie is so easy to whip up.
Easy few minutes of beating the ingredients in a bowl, followed by about 45 minutes of baking, and then cool and chill. Simple steps for a luscious pumpkin dessert.
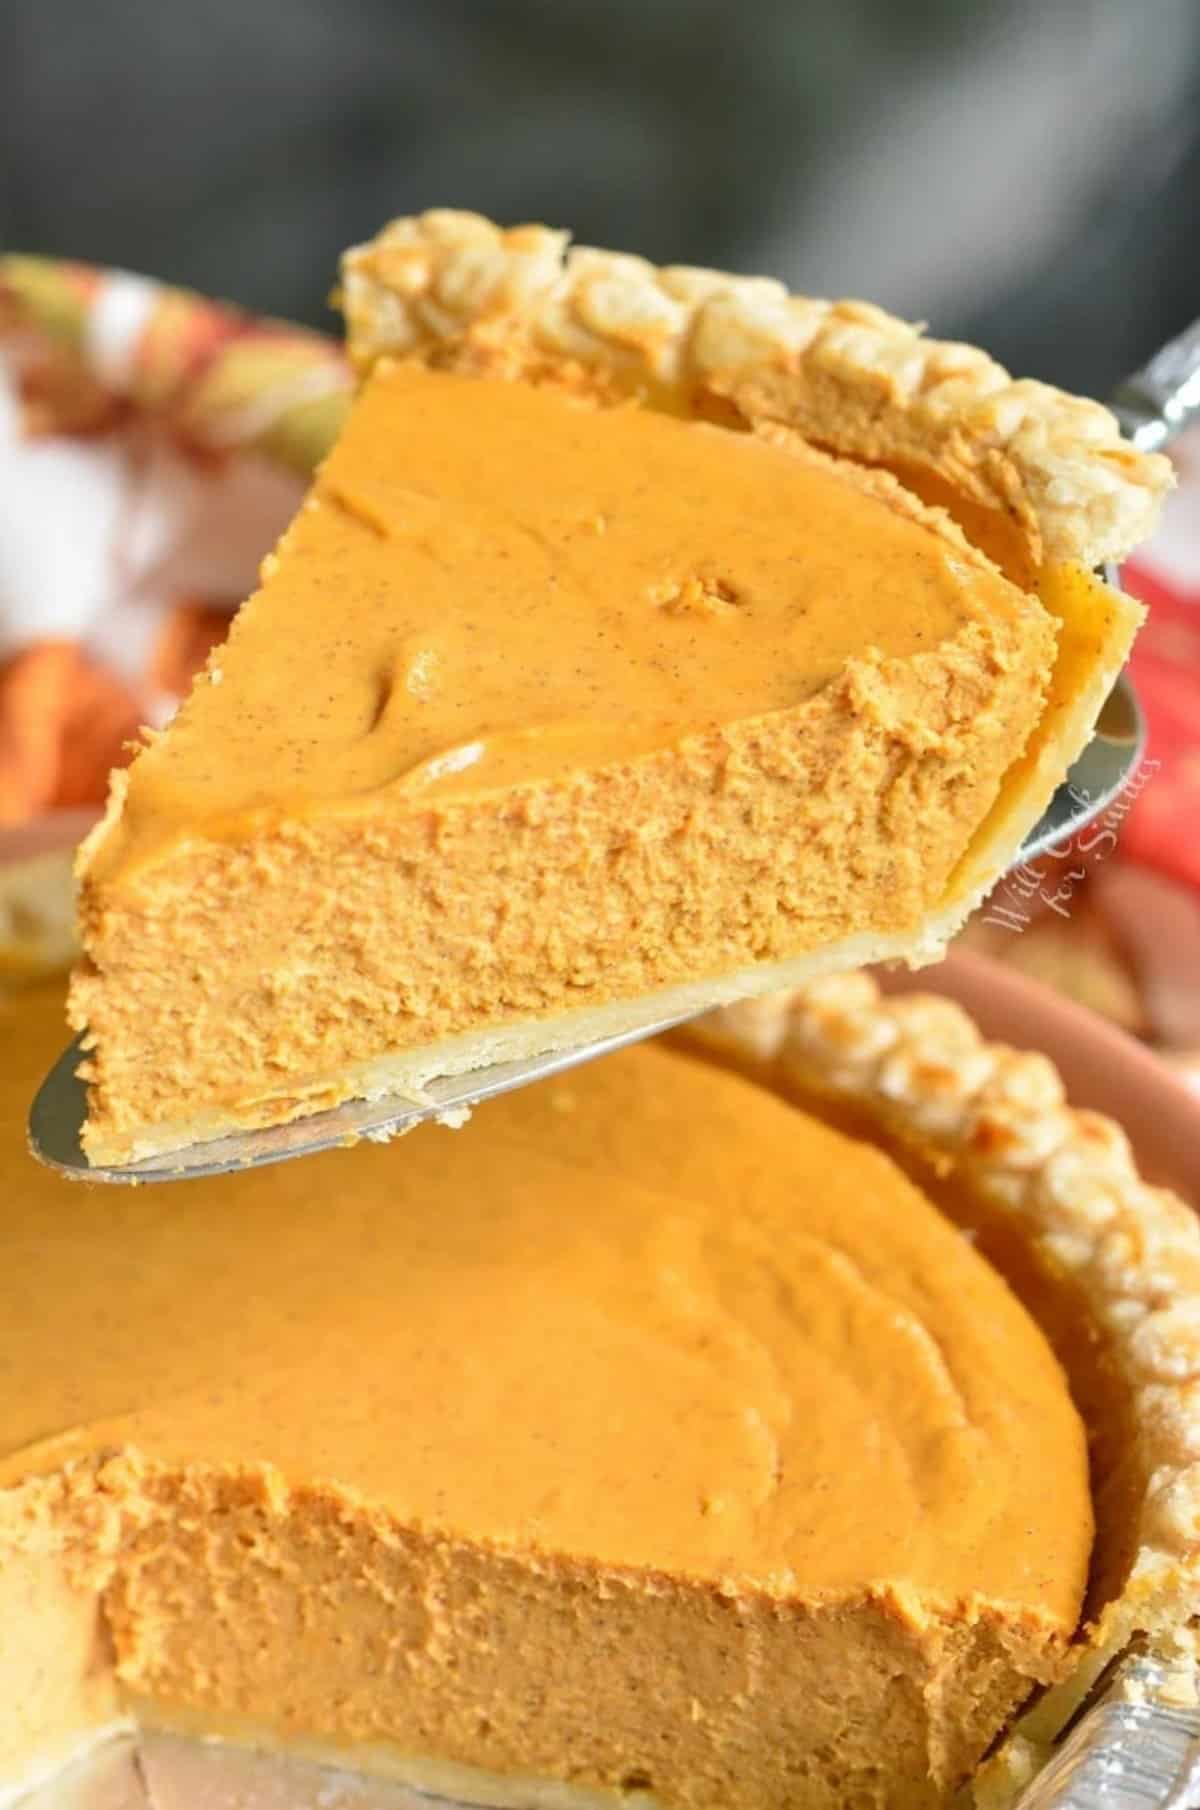
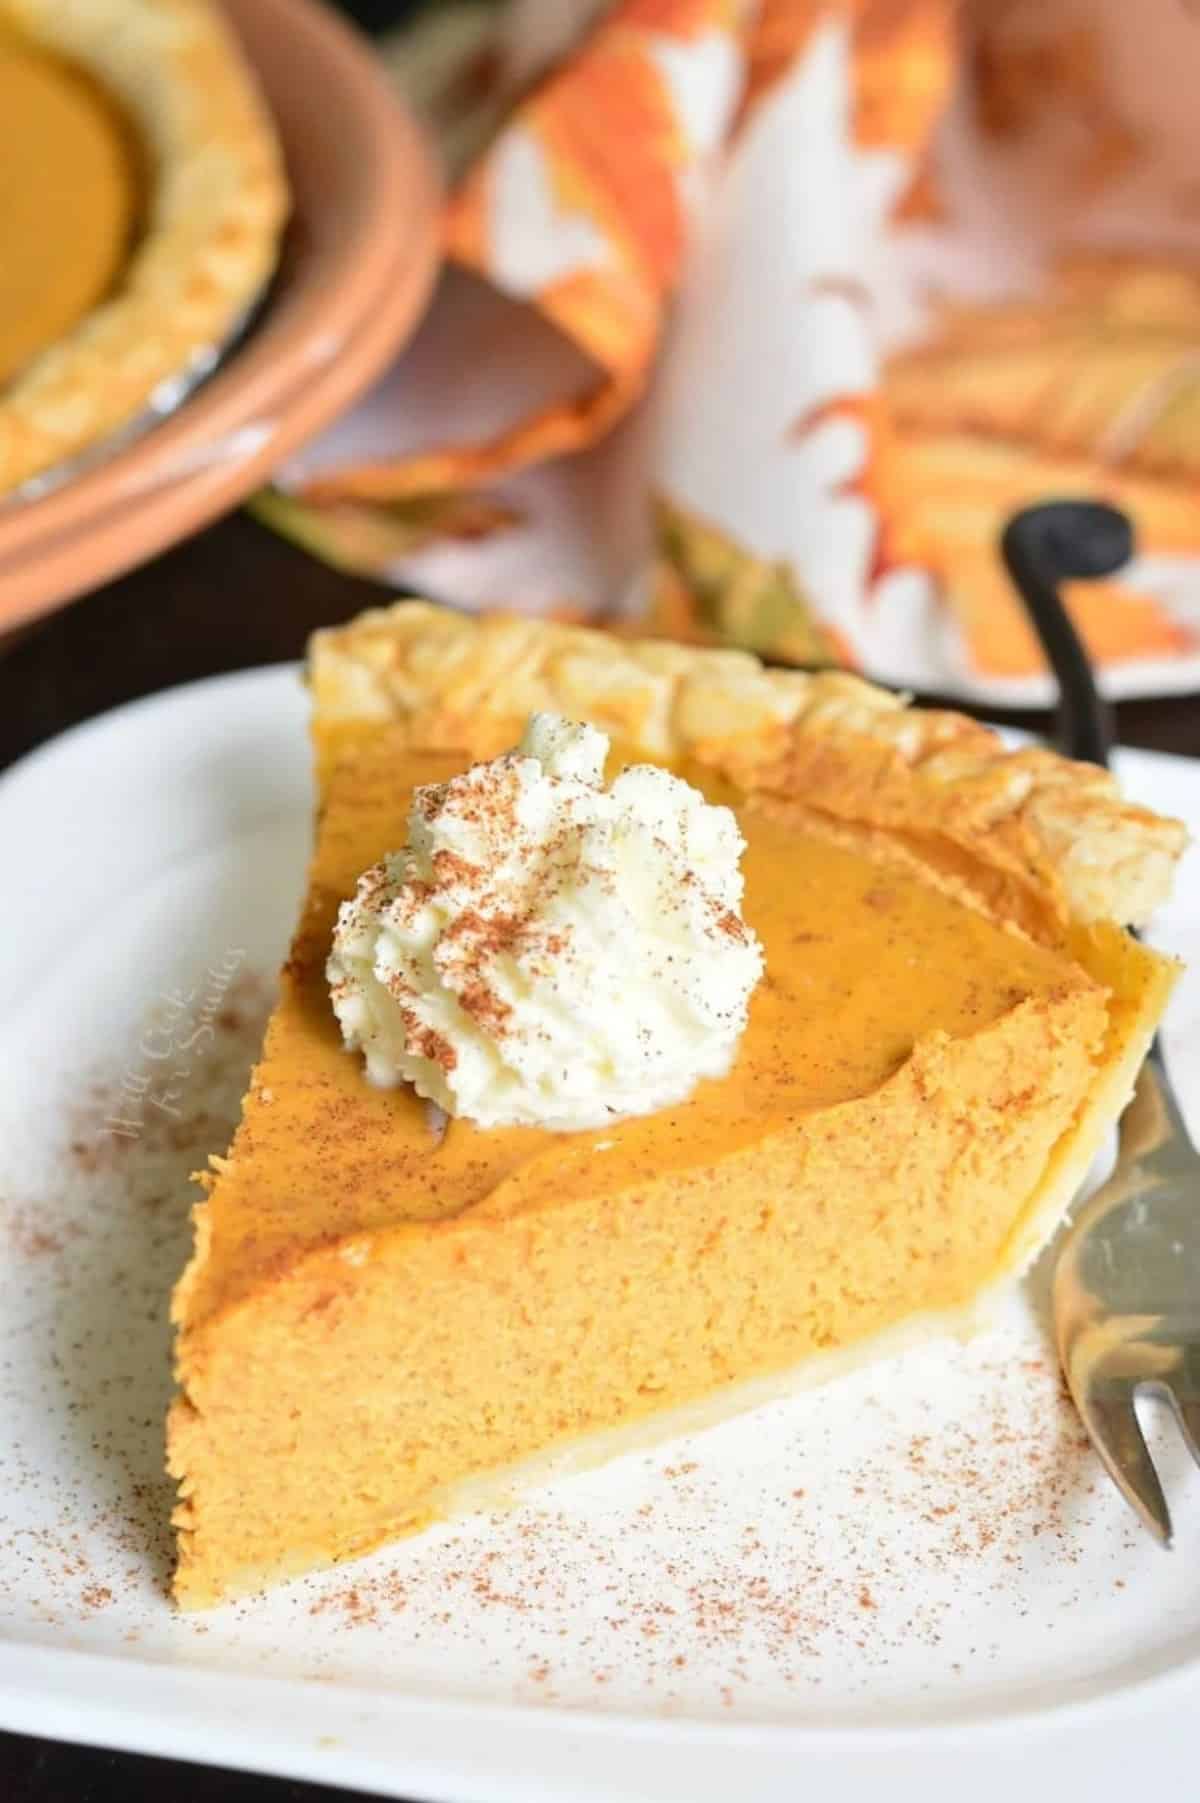
You will love the soft and smooth texture and creamy pumpkin flavor of this pie. Serve it with some whipped cream and cinnamon on top or even with a scoop of vanilla ice cream on the side.
Ingredient Notes
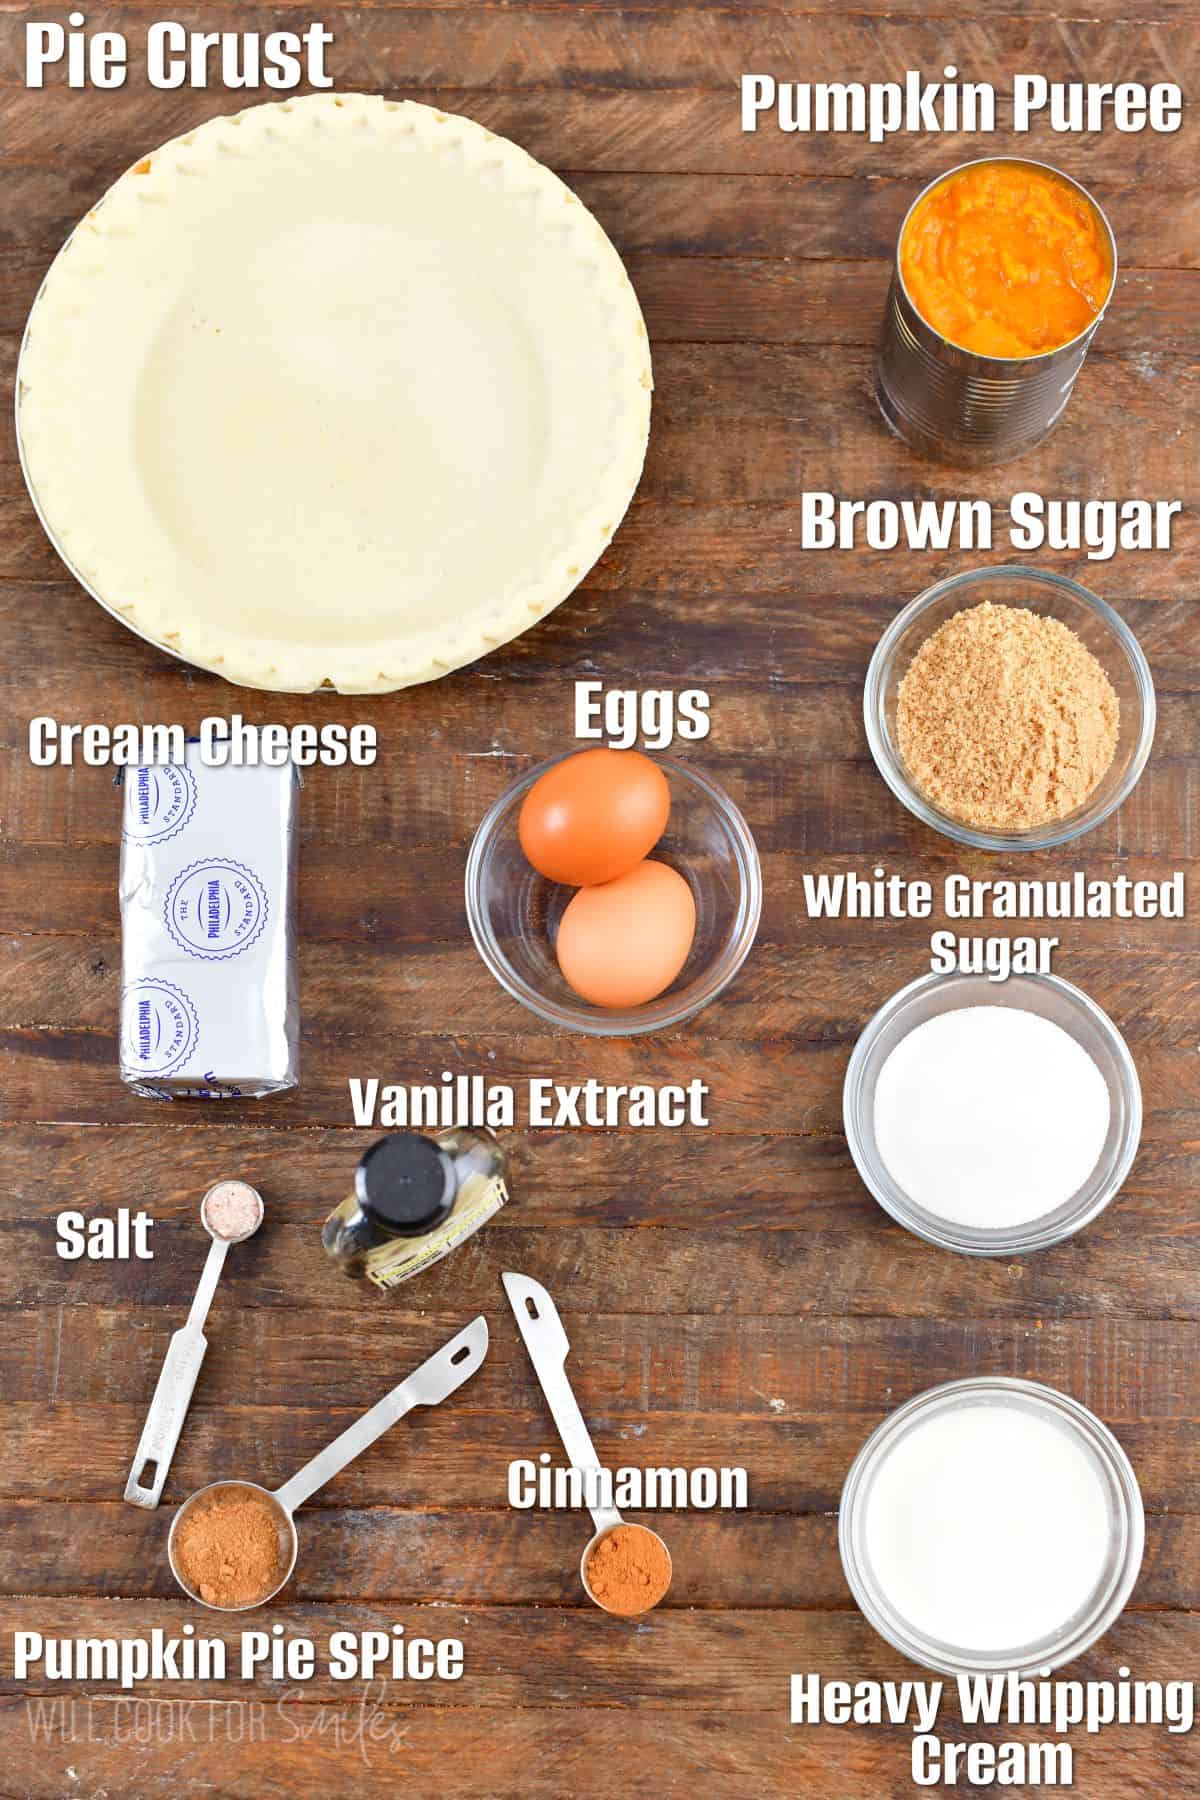
Pumpkin Puree – you can use your favorite store-bought or homemade pumpkin puree. When getting store-bought, make sure to get pumpkin puree NOT pumpkin pie mix!
Heavy whipping cream – Heavy whipping cream will give you a creamy rich consistency. I do NOT recommend substituting it with anything that has less fat.
Spices – here is where you add the fall flavor to the pie. Use the pumpkin pie spice mix and cinnamon. Pumpkin pie spice usually contains a combination of like ground cinnamon, ground ginger, ground allspice, and ground nutmeg.
Cream cheese – for the best results, make sure to use full fat cream cheese.
Pie crust – This is another ingredient that you can choose homemade or store-bought. I do choose store-bought pie crust quite often to save time. If getting a frozen pie shell, make sure to get deep dish pie shell! You can also use refrigerated gluten free pie crust when needed. Pie crust filling is already gluten free!
PRO TIP: note that you can also use pre-made refrigerated pie crust and your own pie baking dish. Make sure to use a deep pie dish to make this pie.
See the recipe card below for the full list of ingredients and instructions.
How To Make Pumpkin Cheesecake Pie
Preheat the oven to 350°.
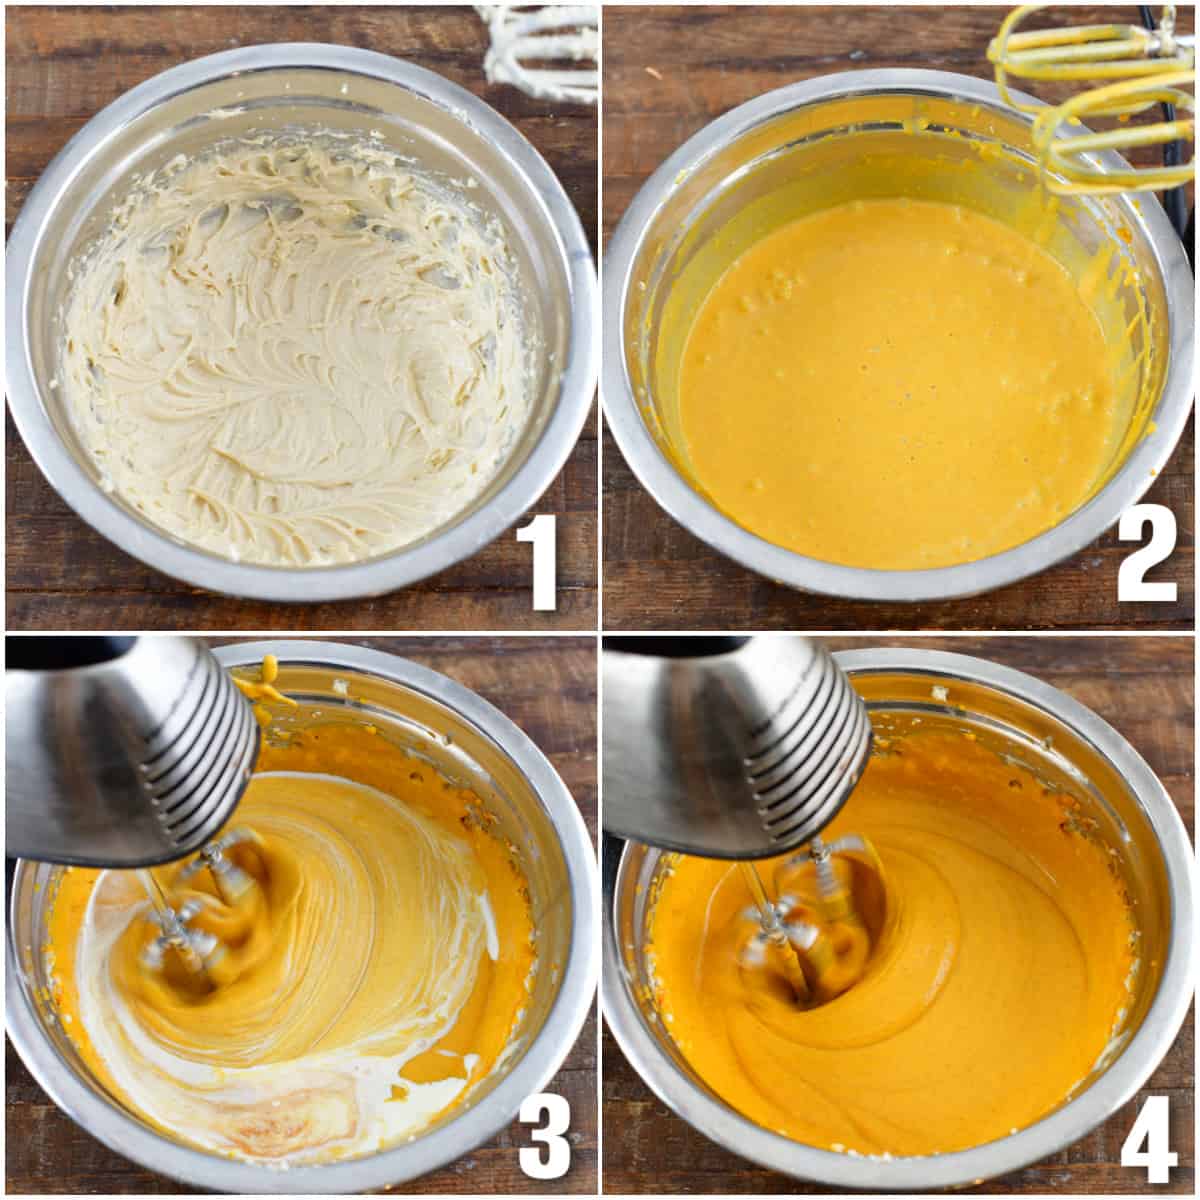
Pumpkin filling: Beat cream cheese and sugar until smooth at medium-high speed for about 2 minutes, until it’s light and fluffy. Beat in one egg at a time, beating after each addition.
Add pumpkin puree and dry spices, beat until well blended. Pour in heavy whipping cream and vanilla extract. Scrape sides and bottom of the bowl and beat well, until everything is smooth and blended.
PRO TIP: Place pie shell on the baking sheet. This will make it easier to place the pie in the oven and take it out.
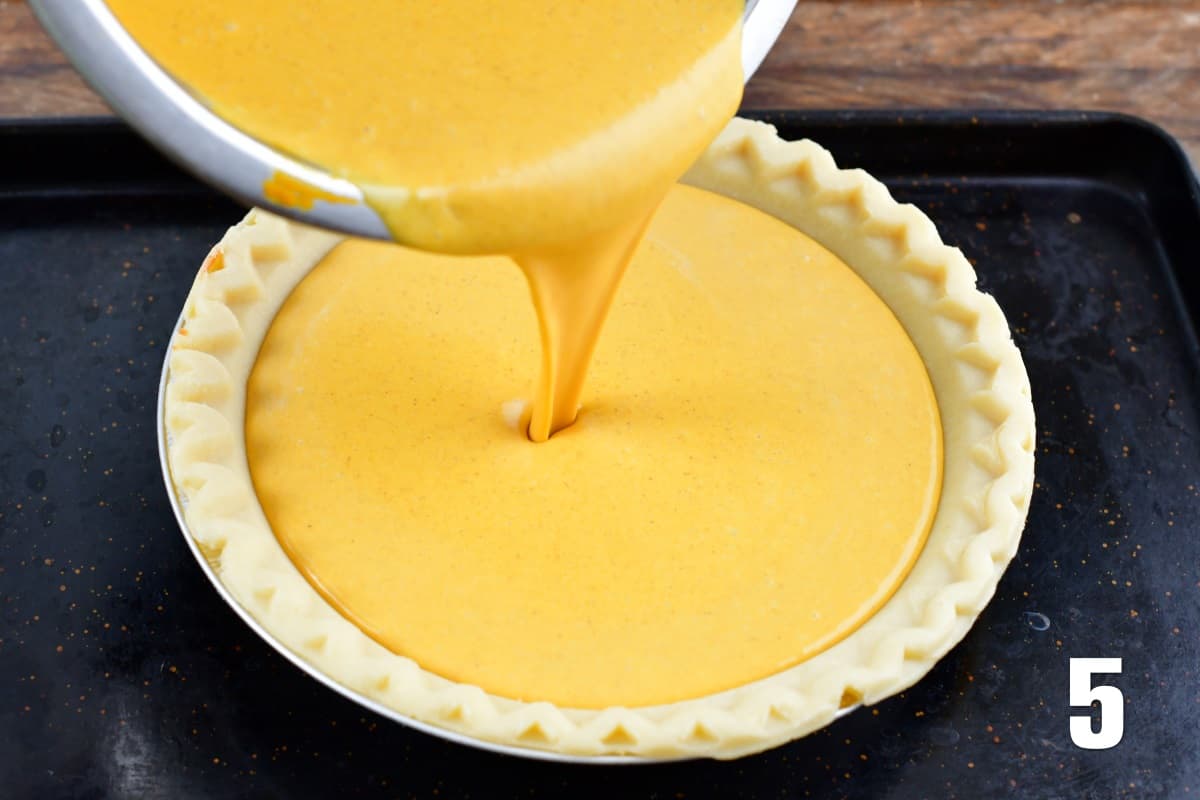
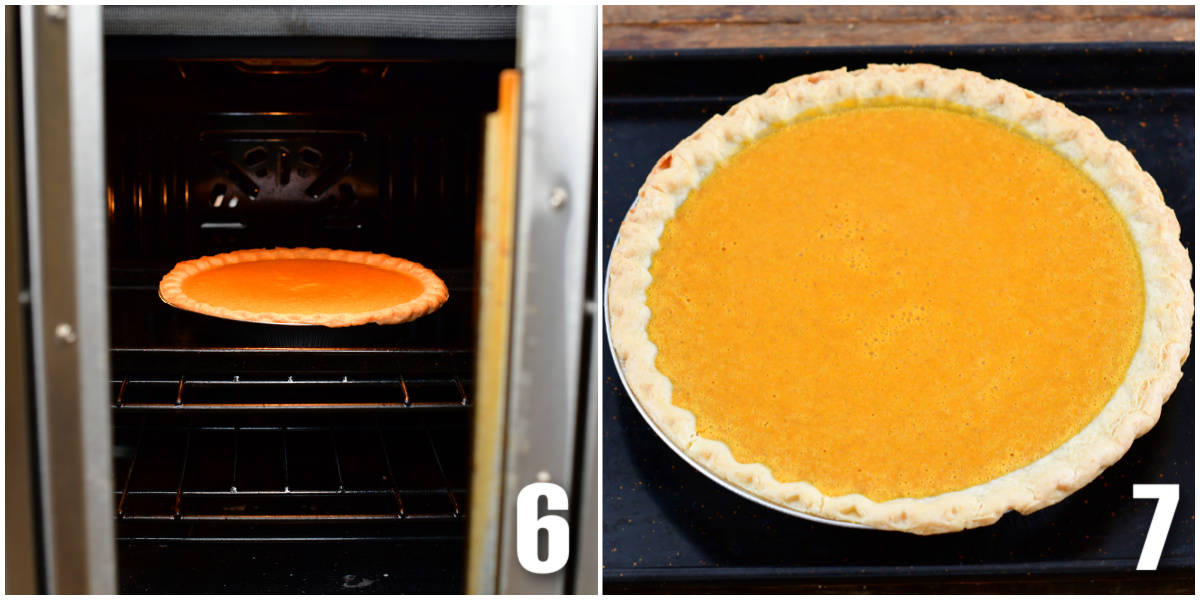
Baking: Pour filling into the pie shell and make sure it’s spread evenly. (Don’t overfill the pie shell. There will be a little bit of pie filling left over.) Bake for 40-45 minutes (it will be a little jiggly in the middle but set at edges. You can see it in the demo video above.).
Cool and chill: Turn off the oven and open the oven door half way. Let pie sit in the oven for about 10 minutes before taking it out. Let the pie sit on the counter for about an hour to cool down. Cover and refrigerate for at least 4 hours before serving.
Recipe FAQs
Personally, I don’t worry about blind baking the crust in a pumpkin pie. The crust here cooks the same amount of time and the filling so they will be good. Note that the crust will be soft but it should not be under-baked.
Some people do not like the pie crust to be soft and if you do prefer a crispier, flaky crust, then you will want to blind bake it. (You can see my instructions to blind-bake the homemade or refrigerated crust in our Sweet Potato Pie recipe.)
Yes, this is the only way. Just KIDDING! Absolutely not. I use store-bought crust for the ease of it. If you want to make your own homemade pie crust, here is a wonderful recipe that I personally use.
For Thanksgiving and Christmas dinner, or any other special even, I like to make homemade crust. Anytime we just feel like having pumpkin cheesecake pie for dinner, I take out a quick, frozen pie shell or a refrigerated pie crust. Just make sure the store-bought one is a deep dish.
So the reason pumpkin pie, sweet potato pie, and similar pies crack is due to overbaking. Try to stick to the recommended bake time but also keep an eye on your pie. (Turn on the oven light rather than opening the oven door when possible.) The top of the pie should be slightly jiggly while the outside edges are set. Don’t worry about the slight giggle in the center, it will set.
Tips For Making This Pie
- Make sure not to overfill your pie shell. When using a store-bought deep-dish pie crust, you will have just a little bit of pie filling leftover. Don’t try to squeeze every last drop of pie mixture into the shell because it might overflow as it bakes. This pie filling raises as it bakes, so if it’s overfilled, it will overflow. There will not be much batter leftover, only about 1/2-1/4 cup. (The same applies for the homemade crust because some pie dishes can slightly vary in size.)
- Place filled pie shell on a baking sheet while baking. This will make it easier to place it in the oven and take it out. (This is not needed is you made your own pie crust in a ceramic/glass pie dish.)
- After 40-45 minutes of baking, open the oven door halfway and turn off the oven. Leave the pie in the oven for about 10 minutes before taking it out. This will help with the pie possibly cracking. (Although, if it does crack, don’t stress! It can easily be covered with some whipped cream when served.)
- Cool pie to room temperature and chill in the refrigerator before servings.
- Serve cold with some whipped cream or a side of ice cream.
Storing Instructions
Best way to store this pumpkin cheesecake pie is in the refrigerator. Make sure to cool the pie completely and cover it air-tight with plastic wrap or aluminum foil. Properly stored, it will last up to 4 days in the refrigerator.
Some More Recipes To Try
CLICK HERE TO PIN IT FOR LATER
DID YOU MAKE THIS RECIPE? PLEASE leave a 🌟 star rating! Let me know how you liked it by leaving the 📝 comment below or share and tag me on social media @willcookforsmiles. DON’T FORGET to subscribe to my newsletter!

Pumpkin Cheesecake Pie
Ingredients
- 1 Deep dish pie shell*
- 15 oz can of pumpkin puree
- 8 oz cream cheese softened
- 1/2 cup white granulated sugar
- 1/2 cup brown sugar
- 1 tsp ground cinnamon
- 1/2 tbsp pumpkin pie spice mix
- 1/8 tsp salt
- 2 large eggs
- 1/2 cup heavy whipping cream
- 1 tsp vanilla extract
Instructions
- Preheat the oven to 350°.
- Beat cream cheese and sugar until smooth at medium-high speed for about 2 minutes, until it’s light and fluffy.
- Add pumpkin puree and dry spices, beat until well blended.
- Beat in one egg at a time, beating after each addition.
- Pour in heavy cream and vanilla. Scrape sides and bottom of the bowl and beat well.
- Place pie shell on the baking sheet. (This will make it easier to place the pie in the oven and take it out.)
- Pour filling into the pie shell and make sure it's spread evenly. (Don't overfill the pie shell. There will be a little bit of pie filling left over.)
- Bake for 40-45 minutes (it will be a little jiggly in the middle but set at edges).
- Turn off the oven and open the oven door half way. Let pie sit in the oven for about 10 minutes before taking it out.
- Cool pie to room temperature and refrigerate for at least 4 hours.
- Serve it cold. You can serve it with some whipped cream and a side of vanilla ice cream.
Video
Notes
Nutrition
Originally published on Will Cook For Smiles October 1, 2011!
Categories:
Cheesecake Recipes, Christmas Baking Recipes, Dessert Recipes, Fall Recipes, Most Popular Recipes, Pie Recipes, Pumpkin Recipes, Thanksgiving Dinner Recipes,All images and text ©Lyubov Brooke for ©Will Cook For Smiles. Please do not use my images without prior permission. If using my posts in collections and features, please link back to this post for the recipe.
Disclaimer: Nutrition information shown is not guaranteed to be 100% accurate as most ingredients and brands have variations.



This was my best cheesecake, yet. I used 1/2 cup of honey instead of 1 cup of sugar(s). I forgot the vanilla. Next time I’ll try maple syrup. I still had about 1/2 cup leftover that would not fit in the pan. So, I might use 1/2 cup less of something else, I just don’t know what. I would par bake the shell next time. I cooked it at 350 for 40 minutes and it didn’t set. I tried 20 minutes more and it didn’t set. I bumped the temp up 400 and gave it 10 minutes more. Perfect. Probably just the oven I used.
The beauty of using honey instead of sugar and brown sugar is… you don’t get fat eating it. The majority of the pie is protein. Replace the man made sugars with honey or maple syrup and don’t add a sugary topping and you can actually eat this and not put on any weight. Try it.
Can I make this 4 days in advance and cover and refrigerate?
That is pushing it I would go with 3 days in advance if you are not going to have leftovers.
Have you ever tried this recipe using a cookie crust instead? Was thinking about gingersnap crust, but wasn’t sure if it would hold up to 45 minutes in the oven without burning…
I Liza, I haven’t tried that so I am not sure how that would taste but let me know if you experment how it turns out!
Do you need to cook the pie shell before filling it?
You can if you like but I never do.
Simple and delicious
Thanks, Tabitha!
You show the ingredients but not measurements