Apple Cider Braised Pork

This post may contain affiliate links.
What I Love About My Apple Cider Braised Pork
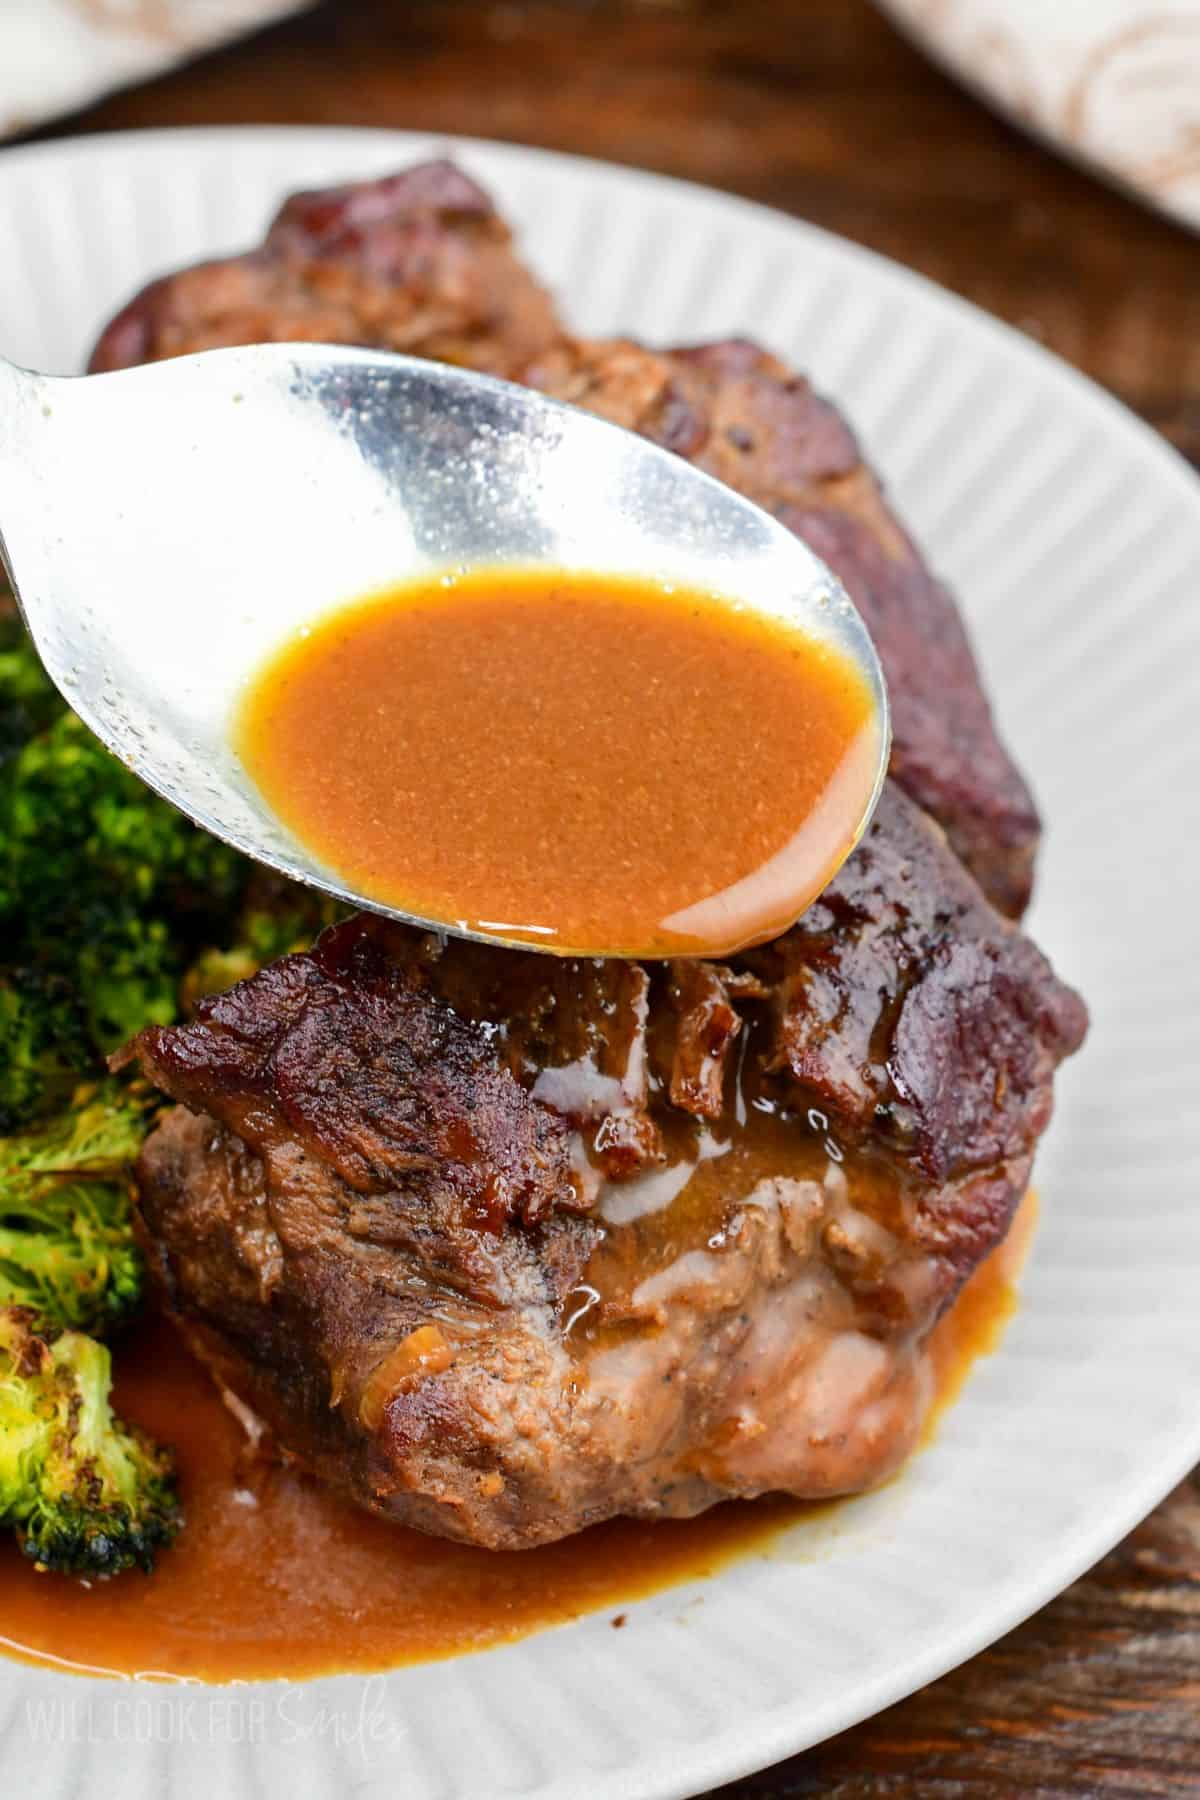
Braising is one of my favorite ways to cook, especially in the fall. Start with a sear on the meat first for a deep golden crust, then cook it low and slow in the oven with liquid. A few hours of gentle, moist heat melt the collagen into gelatin, so you end up with fall-apart tender pork and a succulent, rich sauce. It’s the same technique behind my red wine braised short ribs, Mexican style braised short ribs, and coq au vin. My husband now calls this “the best pork he’s ever tasted!” Here’s what I love about this one:
- A sauce with real balance. It tastes savory, sweet, umami and tangy all at once, with hard cider and a sweet apple for fruitiness, Dijon for tang and depth, and a splash of lemon juice and apple cider vinegar for brightness. Soy sauce helps provide a deeper umami flavor without altering the taste.
- Pieces or pulled, your choice. Serve the pork in whole pieces with sauce on top, or shred it by hand and keep it in the sauce for sandwiches, tacos, and bowls.
- Perfect for making ahead. Chilling the strained sauce overnight makes the fat easy to remove, so it’s a smart one to cook a day before company comes. Simply reheat it the next day.

Table of Contents
Pork Butt vs. Pork Shoulder: Which Cut to Buy
Pork butt and pork shoulder both come from the shoulder of the pig. They’re actually often mistaken for the same thing. The name “pork butt” is a little confusing, since it doesn’t come from the rear of the animal at all. Pork butt, often labeled “Boston butt,” is the upper part of the shoulder, and picnic shoulder (or picnic roast) is the lower part closer to the leg.
For this braise, I recommend boneless Boston butt. It has less fat on the outside, and the marbling is more even through the meat, so you get tender, juicy chunks after just a quick trim of the larger pieces of fat cap. Labels vary from store to store, so look for “Boston butt” or “pork butt” on the package.
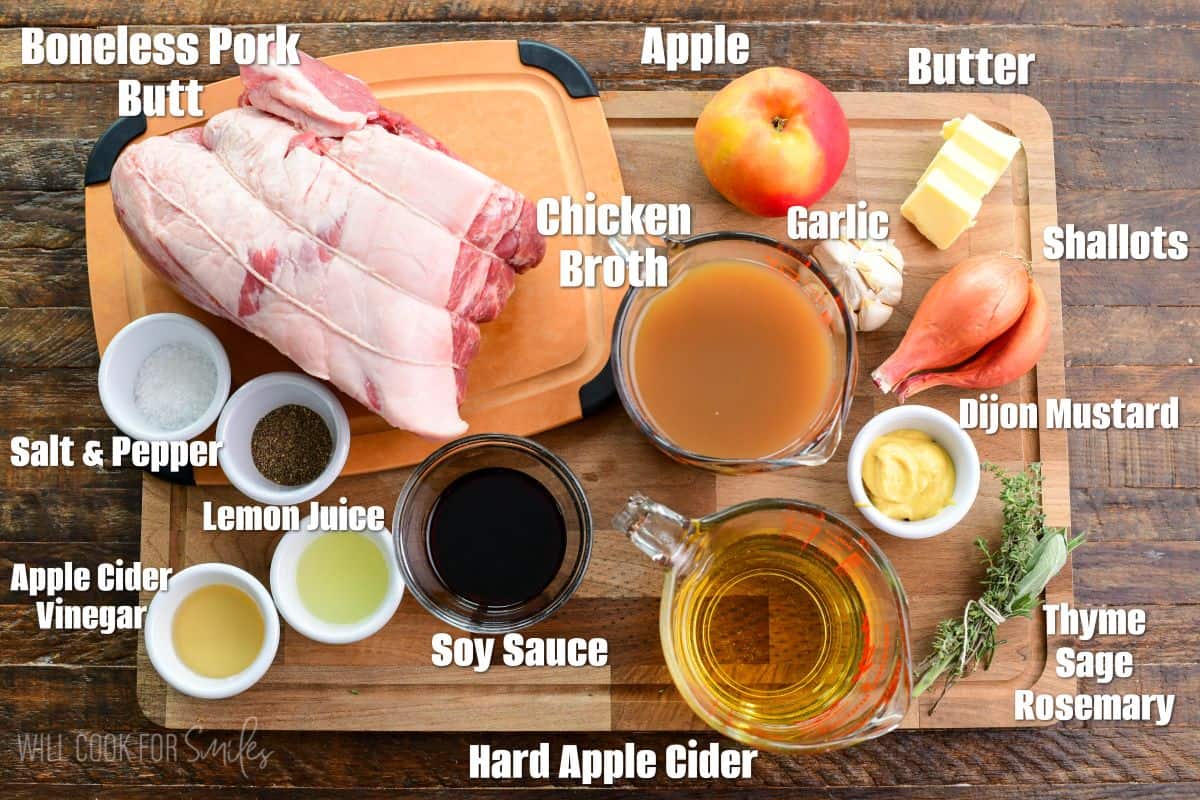
Ingredient Notes for Cider Braised Pork Shoulder
- Boneless Boston butt: I recommend this cut over shoulder but both will work. I note above why I prefer pork butt but if you choose to use pork shoulder, make sure to cut off the fat cap and skin if it’s still attached.
- Hard apple cider: Hard cider is fermented apple juice, so it’s drier than regular apple cider, and I use one that’s light and crisp, not too sweet. With a little alcohol in the pot, you draw more flavor out of the browned bits, aromatics, and herbs, and you’re left with a more aromatic and flavorful sauce. Can’t use alcohol? You can use regular apple cider but with a little flavor difference.
- Sweet apple: Any large sweet apple works here, like Honeycrisp, Fuji, or Gala.
- Low sodium soy sauce: I use it for an umami depth. Use low sodium to control the saltiness, regular can oversalt very fast. For gluten free dish, use gluten free soy sauce or tamari since regular soy sauce contains wheat.
- Chicken stock: Use homemade chicken stock or a good quality low sodium store-bought chicken stock or broth.
- Fresh herbs: Fresh thyme, rosemary, and sage is a classic pairing with pork. Using whole and fresh herbs helps bring the fresh herb flavor without overpowering others. If you only have dried herbs, use about 1 teaspoon dried thyme, 1/2 teaspoon dried rosemary, and 1/2 teaspoon dried sage, and stir them right into the braising liquid.
Tools You’ll Need
- 5-quart Dutch oven with a lid: Cast iron Dutch ovens are perfect for braising. Also easily go from searing on the stovetop to cooking in the oven. Since you cut the pork butt into chunks, a 5-quart pot is plenty. For larger meats and increased recipes, use larger pot.
- Kitchen twine: for tying the herb bouquet.
- Whisk: for mixing the stock, Dijon, lemon juice, vinegar, and soy sauce.
- Fine mesh strainer: for straining the sauce.
How to Make Apple Cider Braised Pork
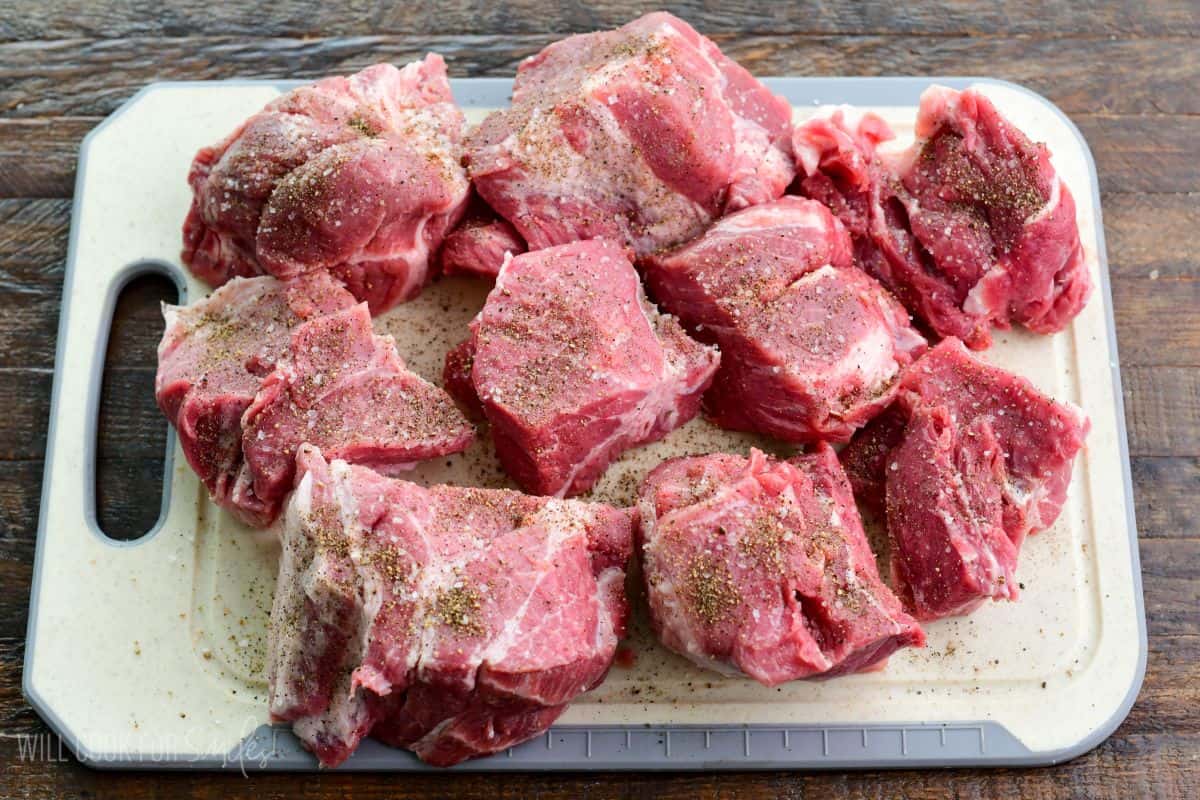
1. Prep the pork. Untie the pork butt, trim off any large chunks of fat cap, and cut it into even 3 to 4 inch chunks. Keeping the pieces close in size means they all turn tender at the same time.
2. Prep the aromatics and preheat the oven. Peel and slice the shallots, chop the apple, and smash and mince the garlic. Tie the thyme, rosemary, and sage together with kitchen twine. Heat the oven to 325°F with the rack set low enough to fit the Dutch oven.
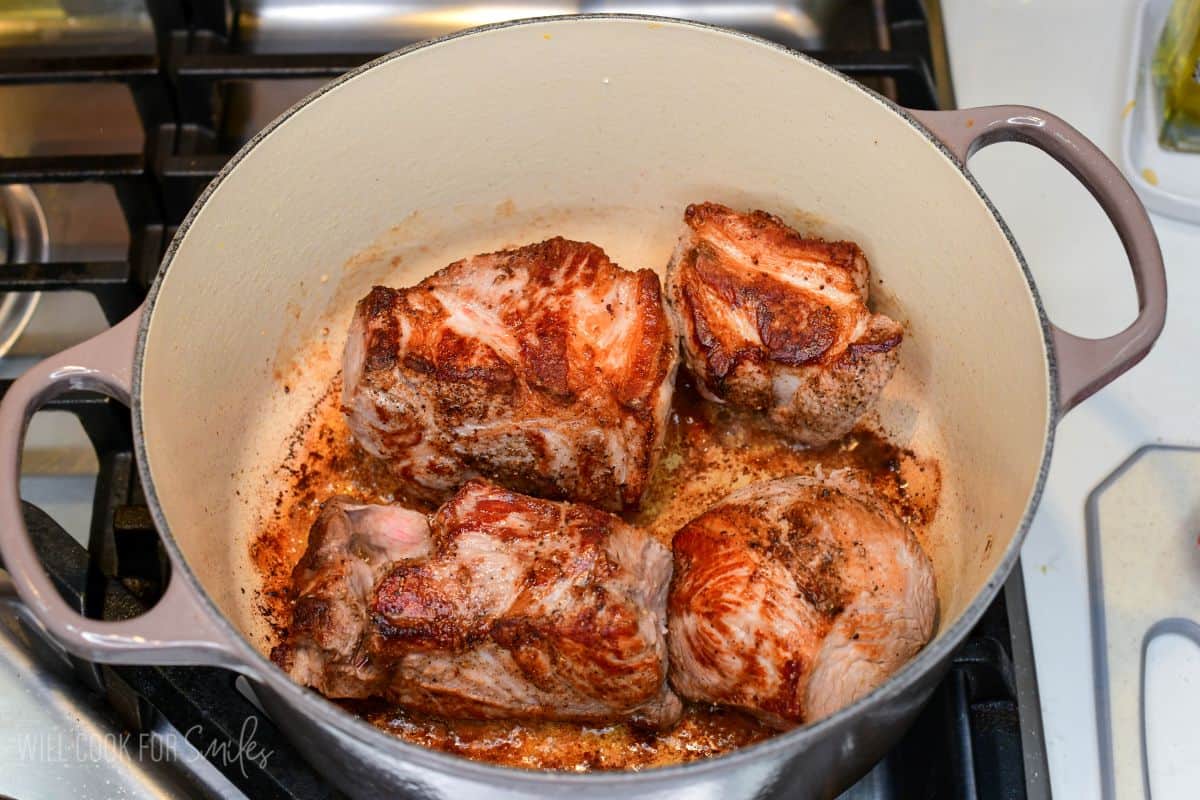
3. Sear the pork. Heat the oil in a Dutch oven over medium heat and sear the pork in two or three batches until deep golden brown on every side. Don’t overcrowd the pot. Set the seared pork aside on a plate.
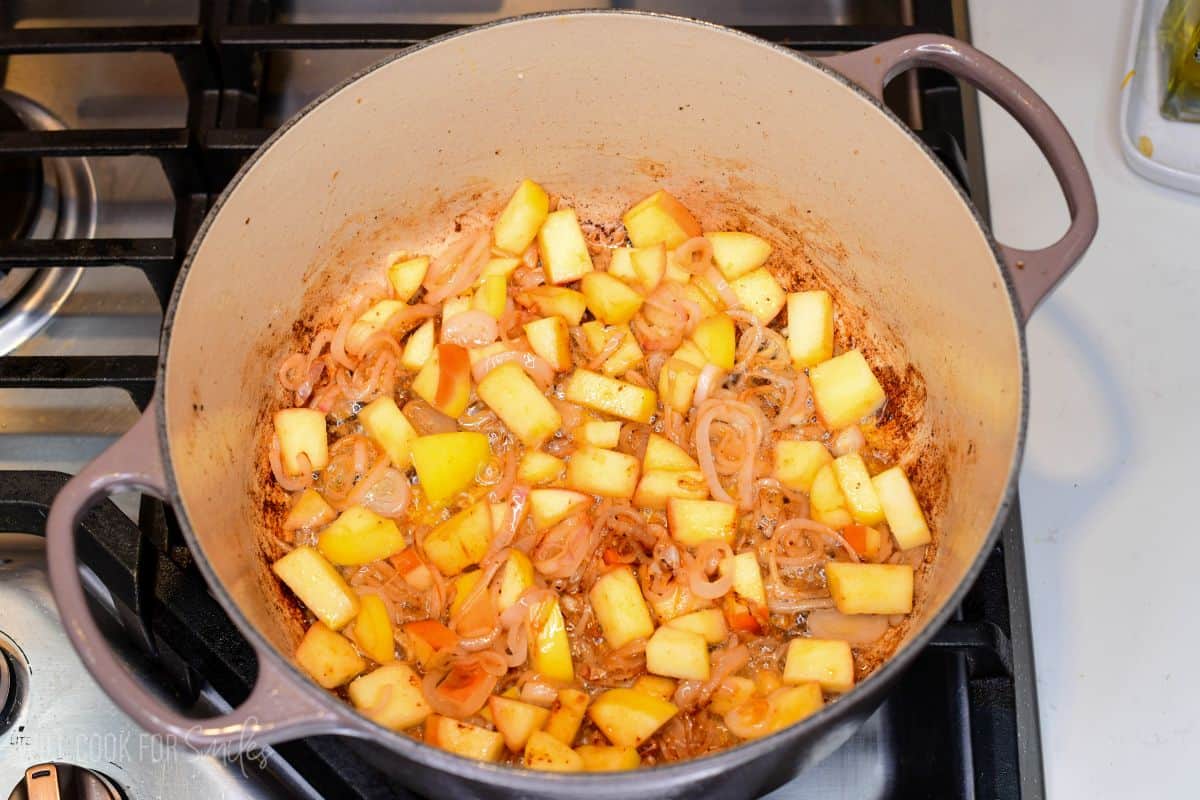
4. Cook the shallots, apples, and garlic. Melt the butter in the same pot, add the shallots and apples, and cook until golden. Make a well in the center, add the garlic, and cook for a few seconds until fragrant, then stir everything together.
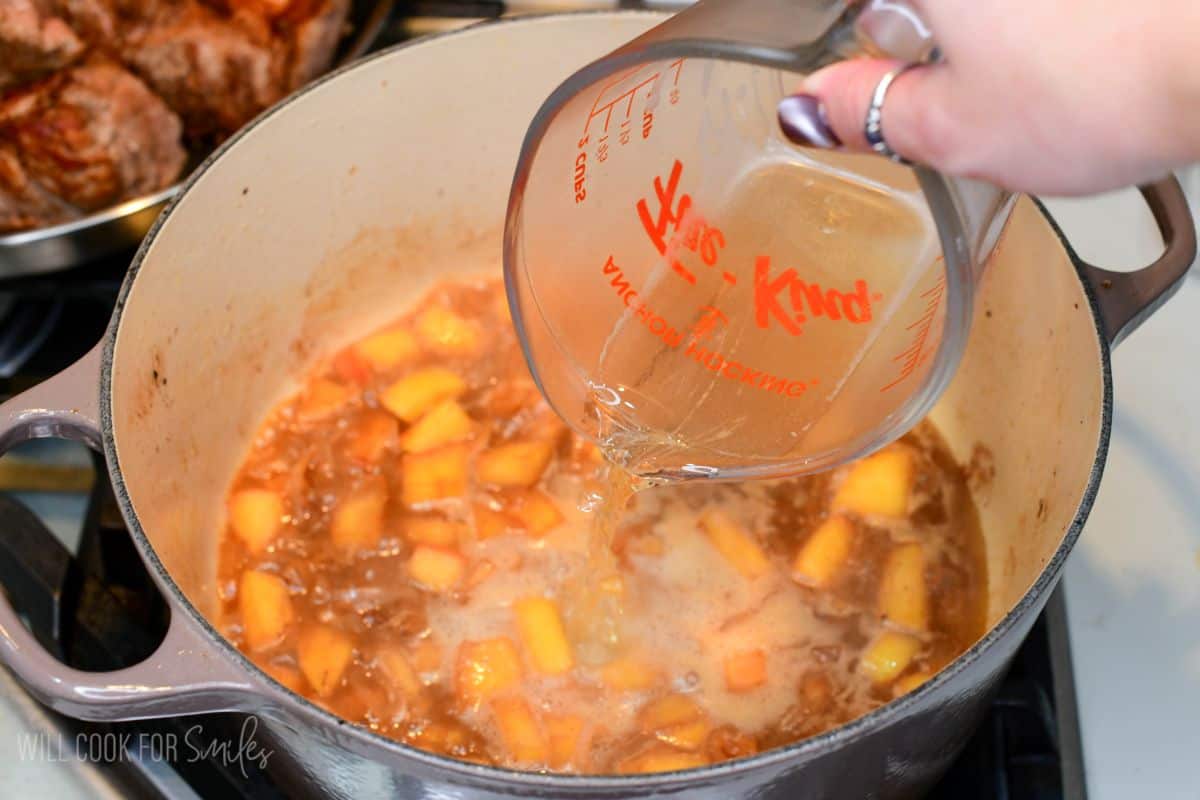
5. Deglaze with hard cider. Pour in the hard cider and scrape up all the browned bits from the bottom of the pot. Those bits carry a lot of the flavor for the sauce, so get every one.
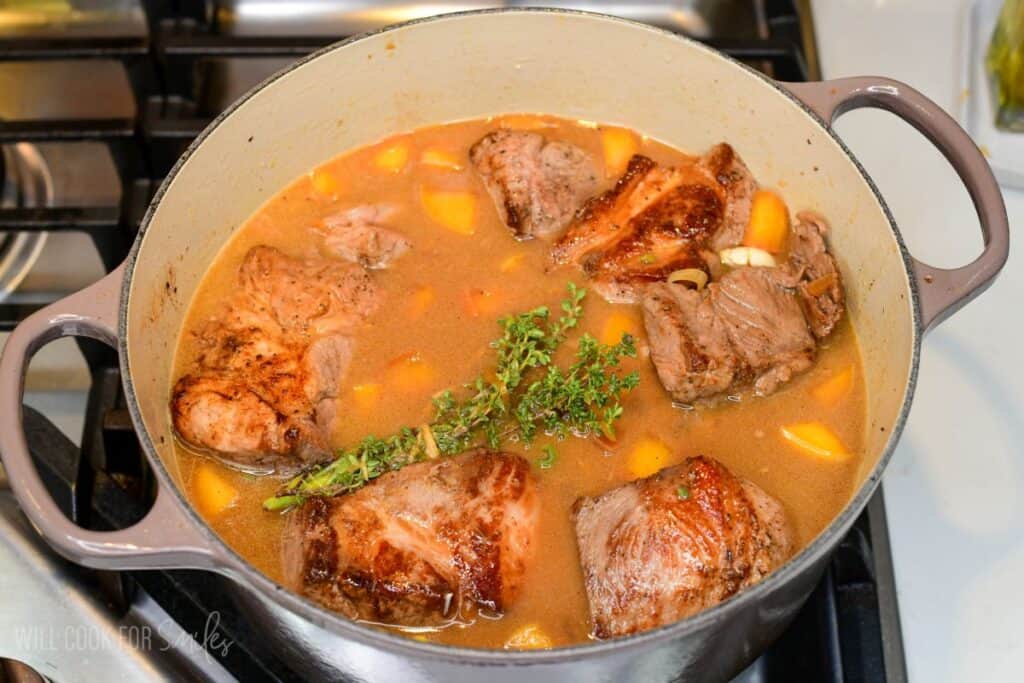
6. Add the braising liquid and the pork. Whisk together the chicken stock, Dijon mustard, lemon juice, apple cider vinegar, and soy sauce, and pour it into the pot. Season with salt and pepper and add the herb bouquet. Taste the sauce! Nestle the pork back in an even layer, along with any juices from the plate, so the sauce comes most of the way up the pieces.
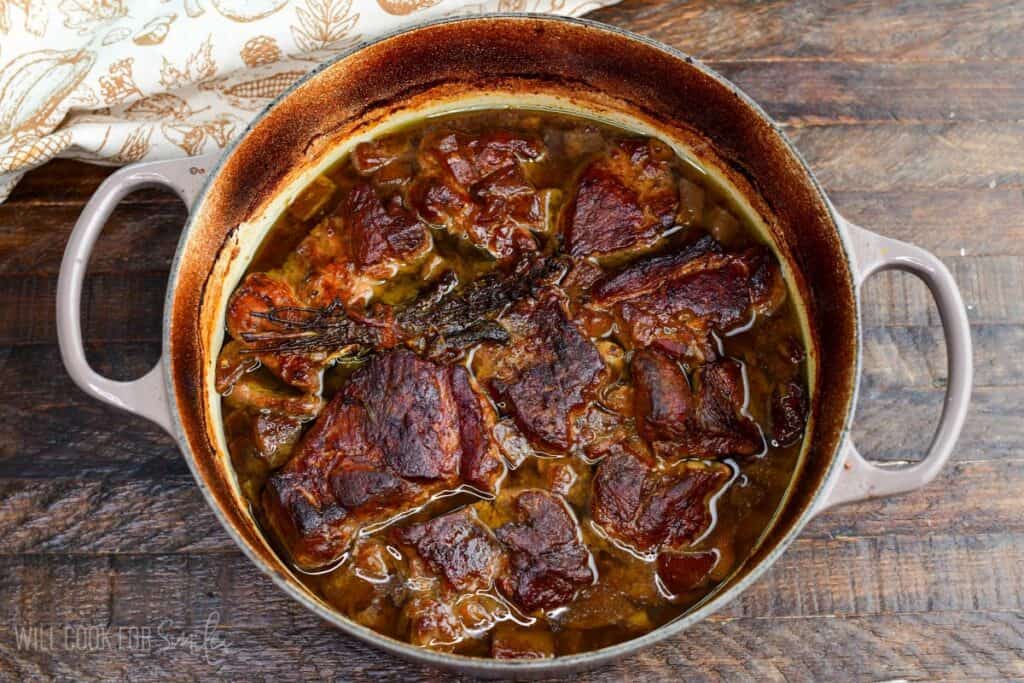
7. Braise covered, then uncovered. Cover the pot and braise at 325°F for 2 hours. Take the lid off and cook for 1 more hour, so the liquid reduces into a more concentrated sauce and the tops of the pork roast gently. The pork is ready when a fork slides in easily and the meat pulls apart. (If it still feels firm, cover the pot and keep cooking in 20 to 30 minute increments.)
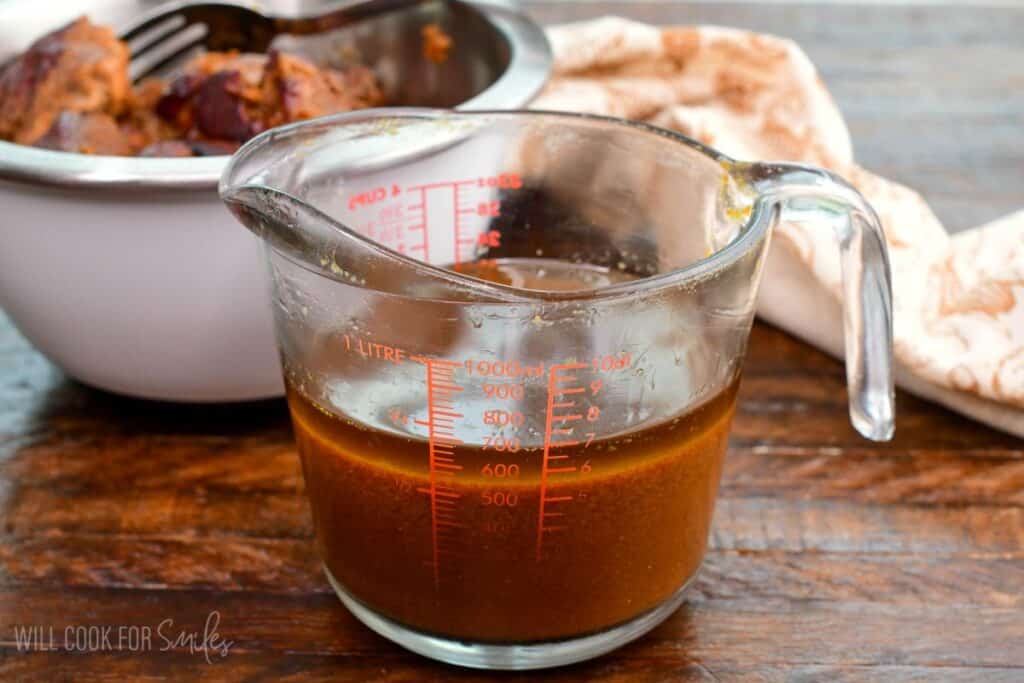
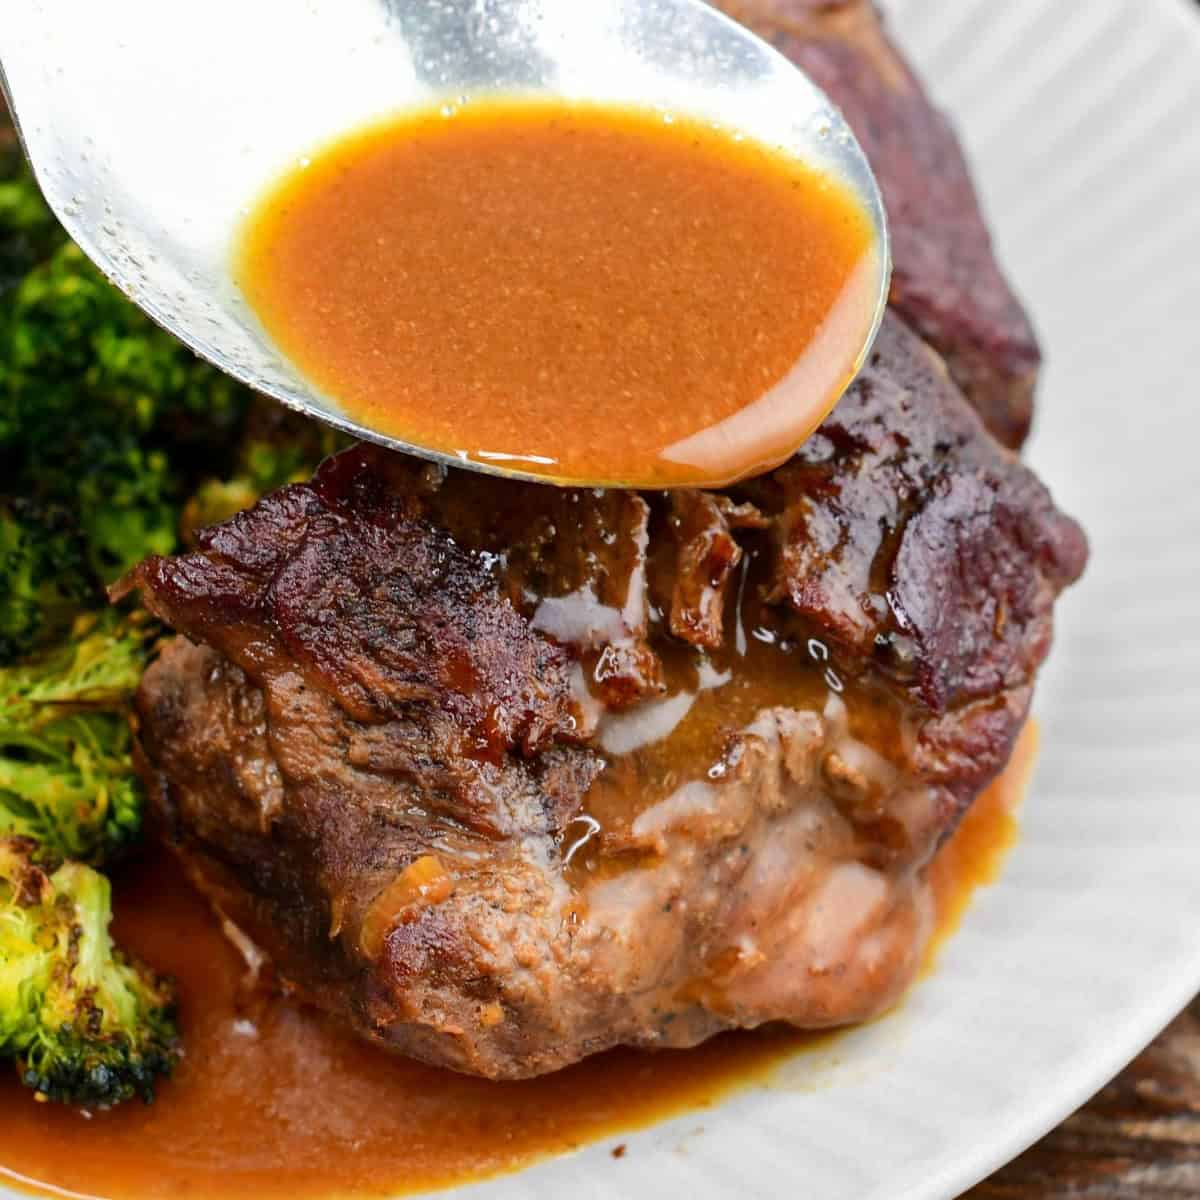
Strain the sauce and remove the fat. Move the pork to a bowl. Pour the sauce through a fine mesh strainer, pressing on the apples and shallots to get all the juices out, and discard the solids. Spoon most of the fat off the top, or chill the sauce until the fat solidifies and lift it off in one piece.
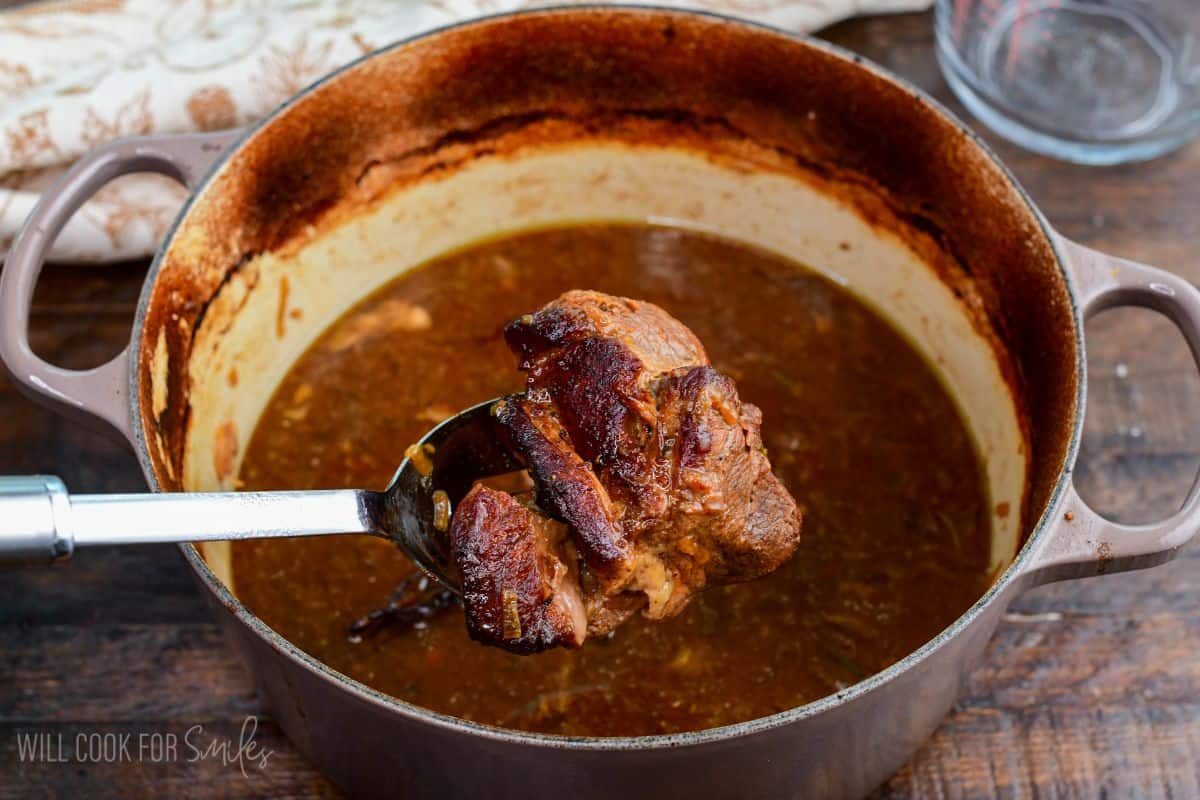
You can keep the pork pieces intact and serve them whole with some sauce on top. Store pork pieces with strained sauce.
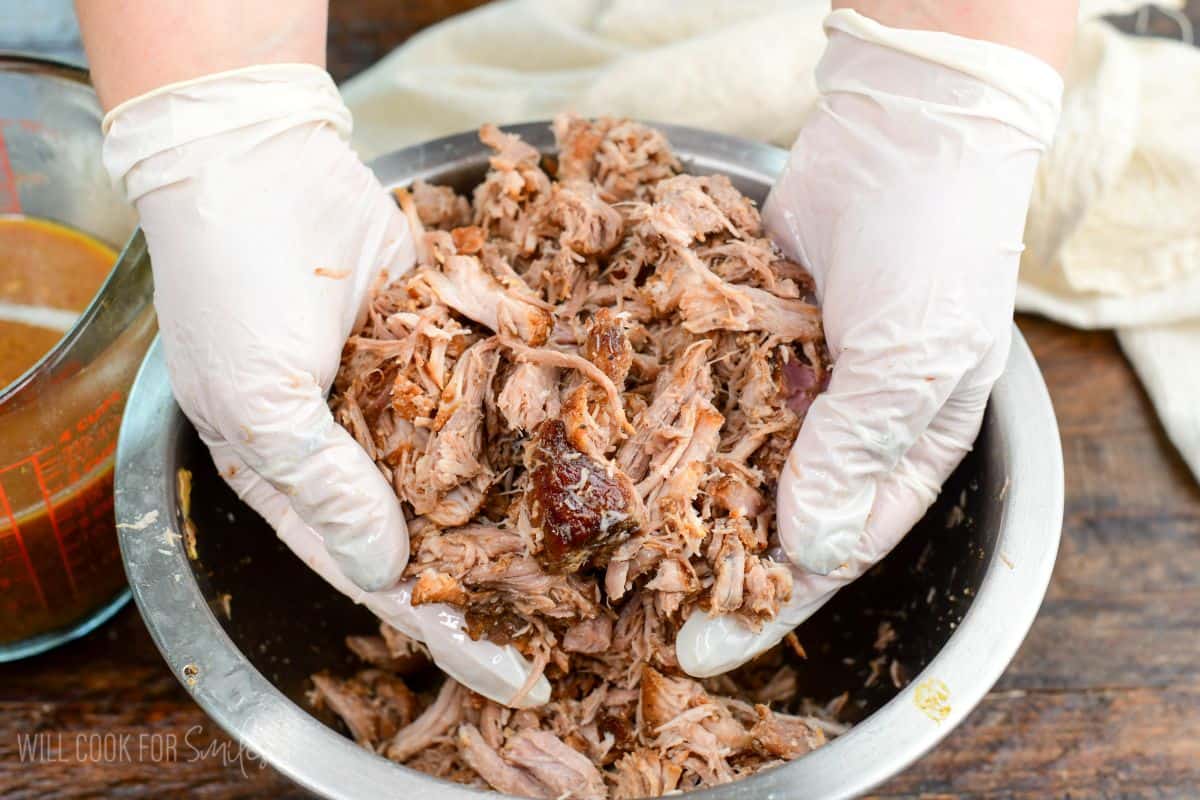
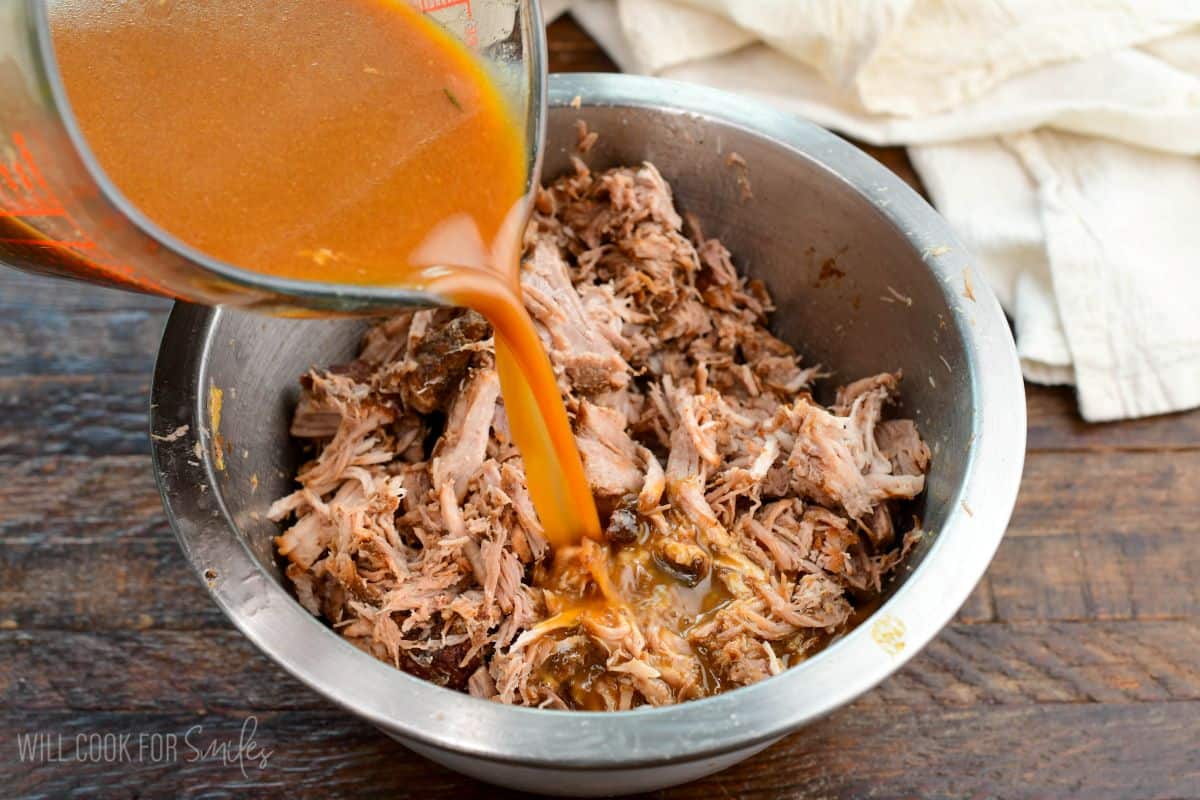
Or, you can pull apart the pieces into pulled pork. I also recommend taking out large pieces of fat while pulling the pork. Add sauce to the pulled pork and store with sauce.
What to Serve with Braised Pork Shoulder
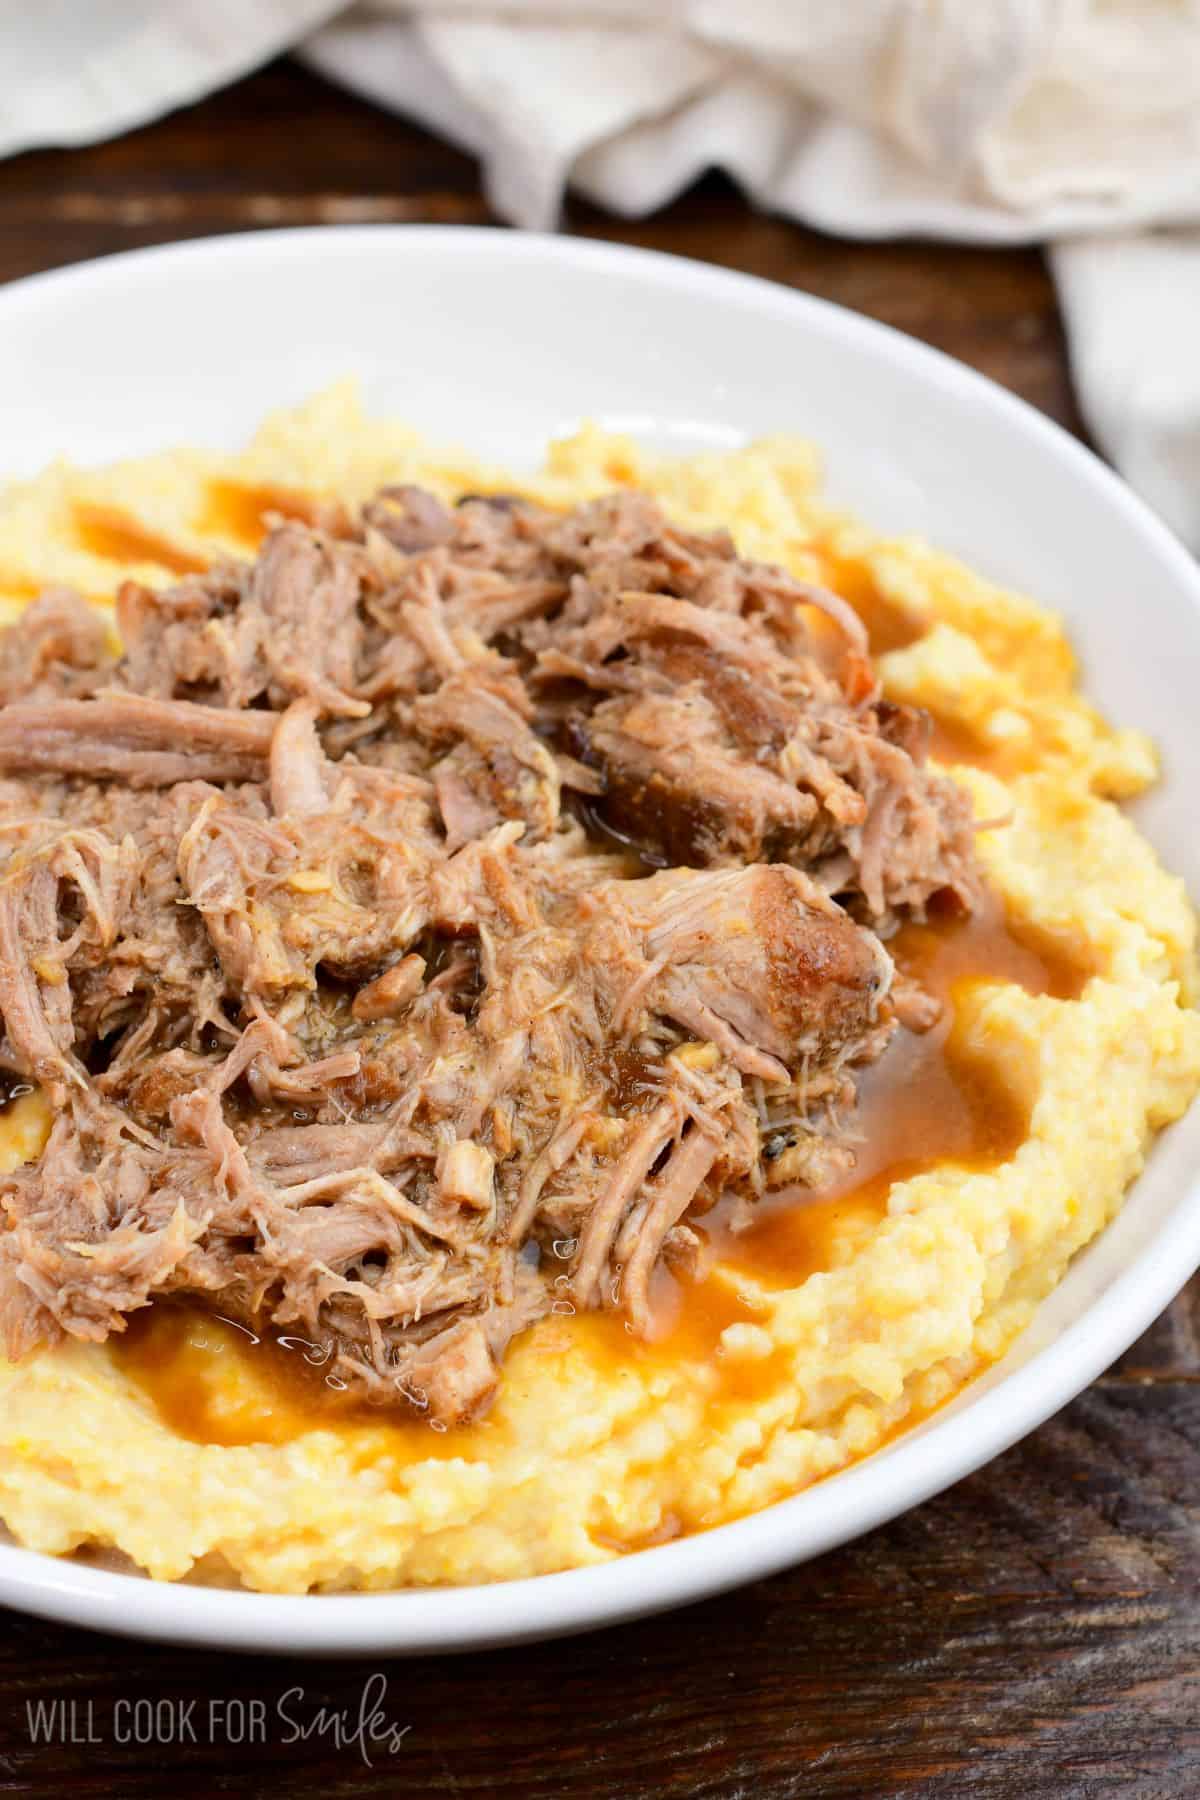
- Spoon the pork and sauce over fluffy mashed potatoes or creamy polenta.
- Buttery Irish colcannon with cabbage and bacon pairs beautifully with pork and apples.
- For a green side, make pan roasted Brussels sprouts with bacon and shallots.
- Serve spiced roasted honeynut squash alongside for a full fall dinner.
- Crusty bread or parmesan rice is perfect for soaking up the extra sauce.
- Turn leftover pulled pork into pulled pork sandwiches the next day.
- Pour a glass of the same hard cider you used in the braise.
How to Store, Freeze, and Reheat Apple Cider Braised Pork
- Make ahead: Make the whole dish ahead, let it cool, and refrigerate the pork in the strained sauce. The fat hardens on top overnight, so you can lift it off in one piece or spoon it off, then reheat everything gently in the pot.
- Store: in an airtight container in the refrigerator for 3 to 4 days. Store the pork in sauce no matter if it still in whole pieces or pulled.
- Reheat: in a covered pot over medium-low heat until warmed through to 165°F. You can also microwave individual portions, covered, in increments of 30-45 seconds at a time, stirring in between. Don’t let the sauce boil.
- Freeze: Cool completely, then transfer to a freezer-safe container with the sauce covering the pork. Freeze for up to 3 months and thaw overnight in the refrigerator before reheating.
Apple Cider Braised Pork Recipe FAQs
Regular apple cider works if you’d like to skip the alcohol, but keep in mind that apple cider is much sweeter, and hard apple cider has a clean, crisp apple taste. Taste the sauce before serving and add a little more apple cider vinegar or lemon juice if it needs more balance. You can even use my homemade apple cider. Use cider instead of apple juice here, since apple juice is sweeter and less tart.
Most of it does, but not all. According to the USDA Table of Nutrient Retention Factors, about 5% of the alcohol remains after 2½ hours of simmering or baking. This pork braises for 3 hours, so only a small amount remains. If you’re cooking for someone who avoids alcohol completely, use regular apple cider instead.
This recipe does work in a slow cooker, but you’ll get much less flavor development, so expect a much milder dish. Sear the pork and cook the shallots, apples, and garlic in a pan on the stove, deglaze with the hard cider, then move everything to the slow cooker with the rest of the braising liquid and herbs. Cook on low for 8 to 9 hours or on high for 5 to 6 hours, until a fork slides in easily, then strain the sauce and remove the fat the same way.
To thicken, return the strained sauce to the pot, preferably with the fat removed, and stir in a roux of 1 tablespoon flour and 1 tablespoon softened butter. Whisk it in and bring the sauce to a gentle simmer. Simmer for a few minutes until thickened. (Use gluten free flour if needed.)
More Recipes From Me
- Roast Pork Recipe
- Pork Carnitas
- Instant Pot Pulled Pork
- Apple Bacon Stuffed Pork Chops
- Roasted Pork Chops with Peach Sauce
- Pulled Pork Tacos
DID YOU MAKE THIS RECIPE? PLEASE leave a 🌟 star rating! Let me know how you liked it by leaving the 📝 comment below or share and tag me on social media @willcookforsmiles. DON’T FORGET to subscribe to my newsletter!
Apple Cider Braised Pork Recipe
Ingredients
- 2 Tbsp avocado oil or canola oil
- 4.5-5 lbs boneless pork butt can be labeled "Boston butt"
- 2 tsp kosher coarse salt more or less to taste
- 1 tsp black pepper more or less to taste
- 2 Tbsp unsalted butter
- 2 large shallots
- 1 large sweet apple
- 1 bulb of garlic
- 2 cups hard apple cider
- 2 cups chicken stock
- 1/4 cup low sodium soy sauce use gluten free if needed
- 2 Tbsp Dijon mustard
- 2 Tbsp lemon juice
- 2 Tbsp apple cider vinegar
- 3 sprigs of thyme
- 1-2 small sprigs of rosemary
- 2 sprigs of sage
- 1/2 tsp coarse kosher salt more or less to taste
- 1/2 tsp black pepper more or less to taste
Instructions
Prep the Ingredients:
- Untie the pork butt and cut off any large chunks of fat cap. Cut the meat into about 3-4 inch chunks but try to keep them even.
- Slice shallots and chop the apple. No need to peel the apple and you can keep the ends of shallots and apple core since the sauce will be strained well. (Do peel the shallot though.) Smash and mince the garlic cloves. Tie the herbs together into a bouquet with a piece of kitchen twine.Measure remaining ingredients.Preheat the oven to 325℉. Make sure the oven rack is set far enough down so the Dutch oven can fit well.
Sear the Pork:
- Season the pork pieces with salt and pepper on all sides.
- Preheat a Dutch oven over medium heat and add oil. (A 5 Quart Dutch oven will work great.)
- Sear the pork pieces on each side until deep golden brown. Don't overcrowd the pot for best searing results. You will need to sear them in two or three batches. Set seared pork pieces aside.
Cooking Braised Pork:
- Add butter to the pot, let it melt, and add sliced shallots and chopped apples. Stir well and let it sear until golden.
- Make a well in the center and add in the minced garlic. Let it sear for a few seconds, until fragrant and stir with shallots and apples.
- Pour in hard apple cider while scraping the bottom of the pot.
- Whisk together the chicken stock, Dijon mustard, lemon juice, apple cider vinegar, and low sodium soy sauce. Pour the whisked mixture into the pot. Season with salt and pepper and add in the herb bouquet.
- Nestle in the seared pork pieces and pour in the liquid accumulated in the plate from the pork. Make sure pork is evenly distributed and mostly covered with sauce.
- Cover the Dutch oven pot with a lid and pop it into the preheated oven.
- Let it cook at 325℉ for 2 hours covered with a lid. Take the lid off and let it cook for 1 more hour uncovered.
Final Preparation:
- Carefully take the pork pieces out and set into a bowl.
- Strain the sauce into a fine mesh strainer. Press on the veggies in the strainer to squeeze the juices out of them. Discard leftovers in the strainer.
- You will notice some fat accumulated as a top layer in the sauce. You can strain and spoon most of it off or for an easy way, let it cool in the refrigerator until fat is solidified. Once fat layer is solidified, it's easy to take off.
- As far as the pork pieces, you can serve them in whole pieces with sauce on top or pull and shred the pork with your hands to serve it as pulled pork. Store the pork in sauce.
Notes
- Pork: Boneless pork butt or pork shoulder both work here. Pork butt (often labeled Boston butt) is the upper part of the shoulder, with less fat on the outside and more even marbling, so it’s the one I recommend. Pork shoulder (picnic shoulder) is the lower part, closer to the leg. Trim only the large chunks of fat cap and leave the marbling inside for juicy meat.
- Hard cider: For an alcohol-free version, use regular apple cider instead. The sauce will taste much sweeter.
- Gluten free: Regular soy sauce contains wheat. Use tamari or soy sauce labeled gluten free, and check the labels on your hard cider and chicken stock too.
- Doneness: If the pork isn’t fork tender after 3 hrs, cover and keep cooking in 20-30 min increments.
- Storage: Store the pork in the sauce in the refrigerator for 3-4 days or freeze for up to 3 months.
Nutrition
Would you like to save this recipe?
All images and text ©Lyubov Brooke for ©Will Cook For Smiles. Please do not use my images without prior permission. If using my posts in collections and features, please link back to this post for the recipe.
Disclaimer: Nutrition information shown is not guaranteed to be 100% accurate as most ingredients and brands have variations.